Making a great instructional video really boils down to three key phases: you plan it, you create it, and you share it. Think of this guide as your complete roadmap, taking you from that first spark of an idea all the way to a fully optimized video that actually helps people learn.
Why Instructional Videos Are a Game Changer
Before we get into the nuts and bolts, let's talk about why this matters. The way people learn has completely changed. Gone are the days of dense instruction manuals; today's learners want dynamic, visual content they can engage with. This isn't just a trend—it's a fundamental shift in how people absorb information.
This guide is built to walk you through every stage, ensuring the videos you create actually get results. We'll cover:
- Strategic Planning: Nailing down your goals, figuring out who you're talking to, and scripting for total clarity.
- Essential Equipment: Picking the right camera, mic, and lighting without breaking the bank.
- Confident Production: Mastering simple recording techniques and creating a smooth editing workflow.
- Smart Optimization: Using SEO tactics so your video actually gets discovered by the right audience.
The Modern Learner's Preference
The demand for video-based learning is massive, and the numbers back it up. People aren't just watching videos; they're actively seeking them out for answers. In fact, 55% of consumers watch instructional videos more than twice a week.
This hunger for visual content is a huge opportunity. A separate study found that 54% of consumers want to see even more video content from the brands and businesses they follow. You can dig into more of these numbers by checking out the latest video production trends.
The magic of instructional videos is that they tap into both auditory and visual learning channels at the same time. This makes it so much easier for viewers to process and remember what you're teaching compared to just reading text. It’s a direct, personal, and incredibly effective way to share knowledge.
The whole process can be broken down into a simple workflow. First you plan, then you create, and finally, you share.
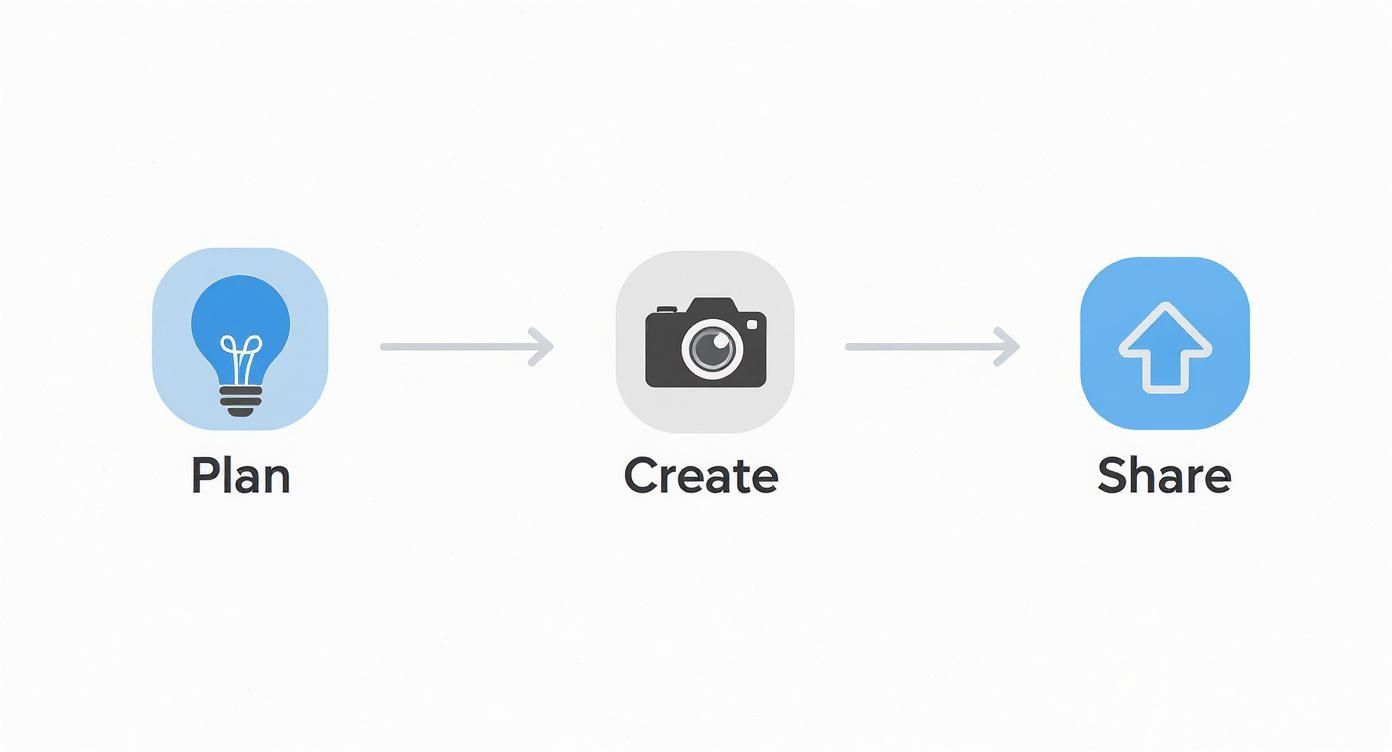
This workflow drives home a key point: a successful video starts long before you ever hit the record button and the work continues well after you publish. Each stage builds on the last, turning your initial concept into a valuable asset for your audience.
To give you a clearer picture, here’s a quick overview of what this workflow looks like from start to finish.
Instructional Video Creation Workflow at a Glance
| Stage | Primary Goal | Key Activities |
|---|---|---|
| Plan | Establish a clear objective and strategy for the video. | Define the target audience, research keywords, outline the content, and write a script. |
| Create | Produce a high-quality, professional-looking video recording. | Set up equipment (camera, mic, lighting), record the content, and capture B-roll footage. |
| Share & Optimize | Publish the video and ensure it reaches the intended audience. | Edit the footage, add captions, create a thumbnail, optimize metadata, and promote the video. |
Each of these stages is crucial for creating content that not only looks good but also achieves your goals. In the following sections, we’ll dive deep into each one, giving you the practical steps and tips you need.
Planning Your Video for Maximum Impact
Great instructional videos don't just happen. They’re carefully architected, and the real work starts long before you even think about hitting the record button. This planning phase is the foundation for everything that follows, and it’s what separates a video that truly helps from one that just adds to the confusion.
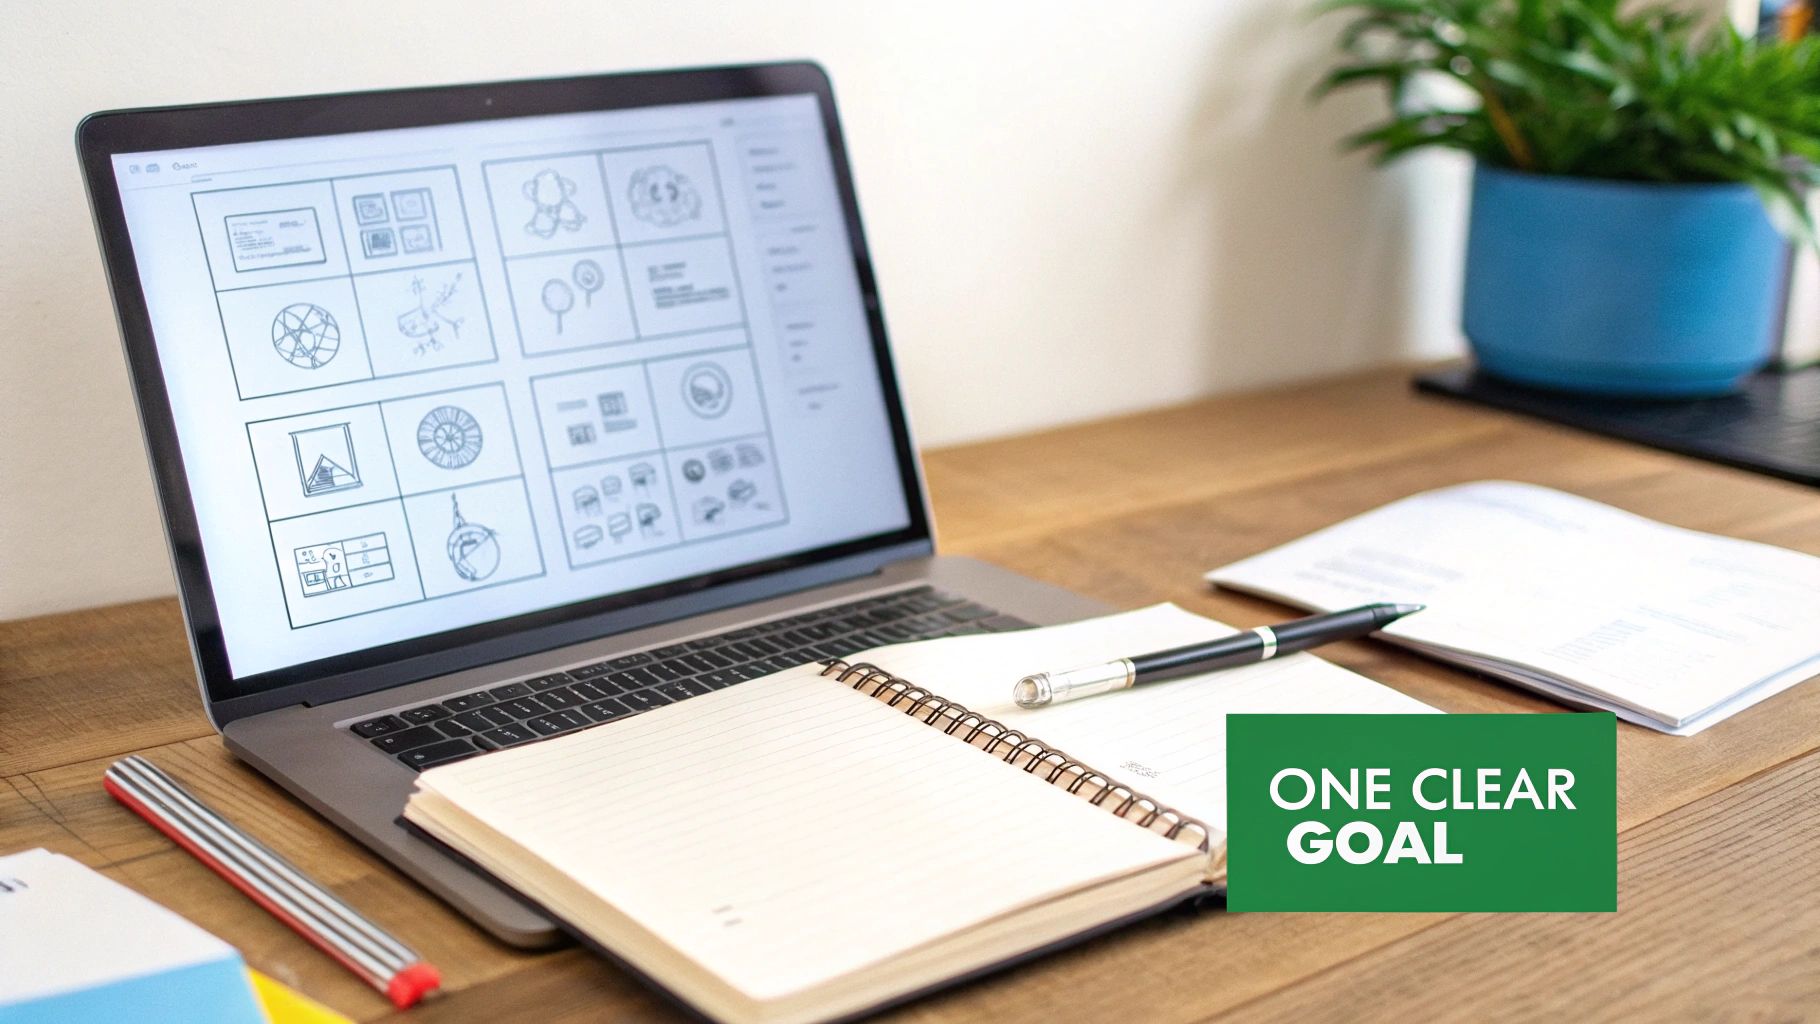
The entire process boils down to one simple, foundational question: what is the one thing you want your viewer to learn? I'm not talking about a laundry list of ten items. You need a single, clear learning objective. This becomes your North Star, guiding every decision you make from scripting to the final edit.
For example, a vague goal like "teach users about our new software" is a recipe for a rambling, unfocused video. A much sharper, more actionable objective would be: "Show users how to create and save their first project in under two minutes." That kind of clarity ensures every second of your video serves a specific purpose.
Get Inside Your Audience's Head
Once you’ve nailed down your objective, it's time to figure out who you're actually talking to. Making a video without knowing your audience is like trying to give directions without knowing the destination. You need a crystal-clear picture of what they already know and where they’re getting stuck.
Ask yourself a few critical questions:
- What's their current skill level? Are they total beginners who need every single term defined, or are they power users looking for advanced hacks? A video for a novice is going to feel completely different than one for an expert.
- What specific problem are they trying to solve? People watch how-to videos because they're stuck. If you can pinpoint their exact frustration, your content will feel incredibly relevant and helpful.
- What language do they use? Ditch the internal company jargon that nobody outside your team will understand. Speak their language to build a real connection and make sure your message actually lands.
Answering these questions helps you tailor everything—your content, your tone, your examples—directly to the viewer. You’re not just making a generic video; you're solving a specific person's problem.
The Power of a Solid Script
With your objective and audience locked in, it’s time to script. It’s tempting to just wing it on camera, but trust me, a script is your secret weapon for creating a polished, professional video. It’s the best way to stop yourself from rambling, cut out all the "ums" and "ahs," and save a ton of time in the editing room later.
A well-crafted script doesn't make you sound robotic—it makes you sound prepared. It frees you up from worrying about what to say next, so you can focus on delivering your message with confidence and a bit of personality.
One of the most effective ways to script is using a two-column format. It’s a simple layout that helps you organize your thoughts and make sure your audio and visuals are perfectly in sync.
| Visuals (What the Viewer Sees) | Audio (What the Viewer Hears) |
|---|---|
| Wide shot of the main dashboard. | "Welcome! In this video, we'll cover how to get your first project set up." |
| Cursor clicks on the 'New Project' button. | "To start, navigate to the top left and click the 'New Project' button." |
| Close-up of the project naming field. | "A dialog box will appear. Give your project a memorable name here." |
This structure forces you to think about what the audience is seeing at every moment, which is a great way to avoid those awkward moments where your voiceover doesn't match the on-screen action. If you want to go deeper on structuring your entire production, check out our guide on the complete YouTube video production workflow.
From Script to Storyboard
The final piece of your planning puzzle is the storyboard. This is basically a visual outline of your video, shot by shot. Don’t worry, you don't need to be an artist—stick figures and rough sketches work just fine. The whole point is to visualize the flow of your video before you start filming.
Storyboarding helps you:
- Pace your content: You can see how the video flows from one idea to the next and catch any jarring transitions before they happen.
- Identify visual needs: This is where you'll realize you need a specific graphic, a piece of B-roll footage, or a particular camera angle.
- Streamline filming: When it’s finally time to record, you’ll have a clear shot list to follow, which makes the entire process faster and way more efficient.
For anyone tackling really complex topics, a deeper dive into effective storyboarding and clarity for explainer videos can be a huge help. By putting in the time upfront on a clear objective, audience analysis, a tight script, and a simple storyboard, you're setting yourself up for a much smoother production and a final video that actually hits the mark.
Choosing Gear That Gets the Job Done
You don’t need a Hollywood budget to create polished instructional videos. Honestly, one of the biggest mistakes I see new creators make is getting bogged down by expensive, complicated equipment.
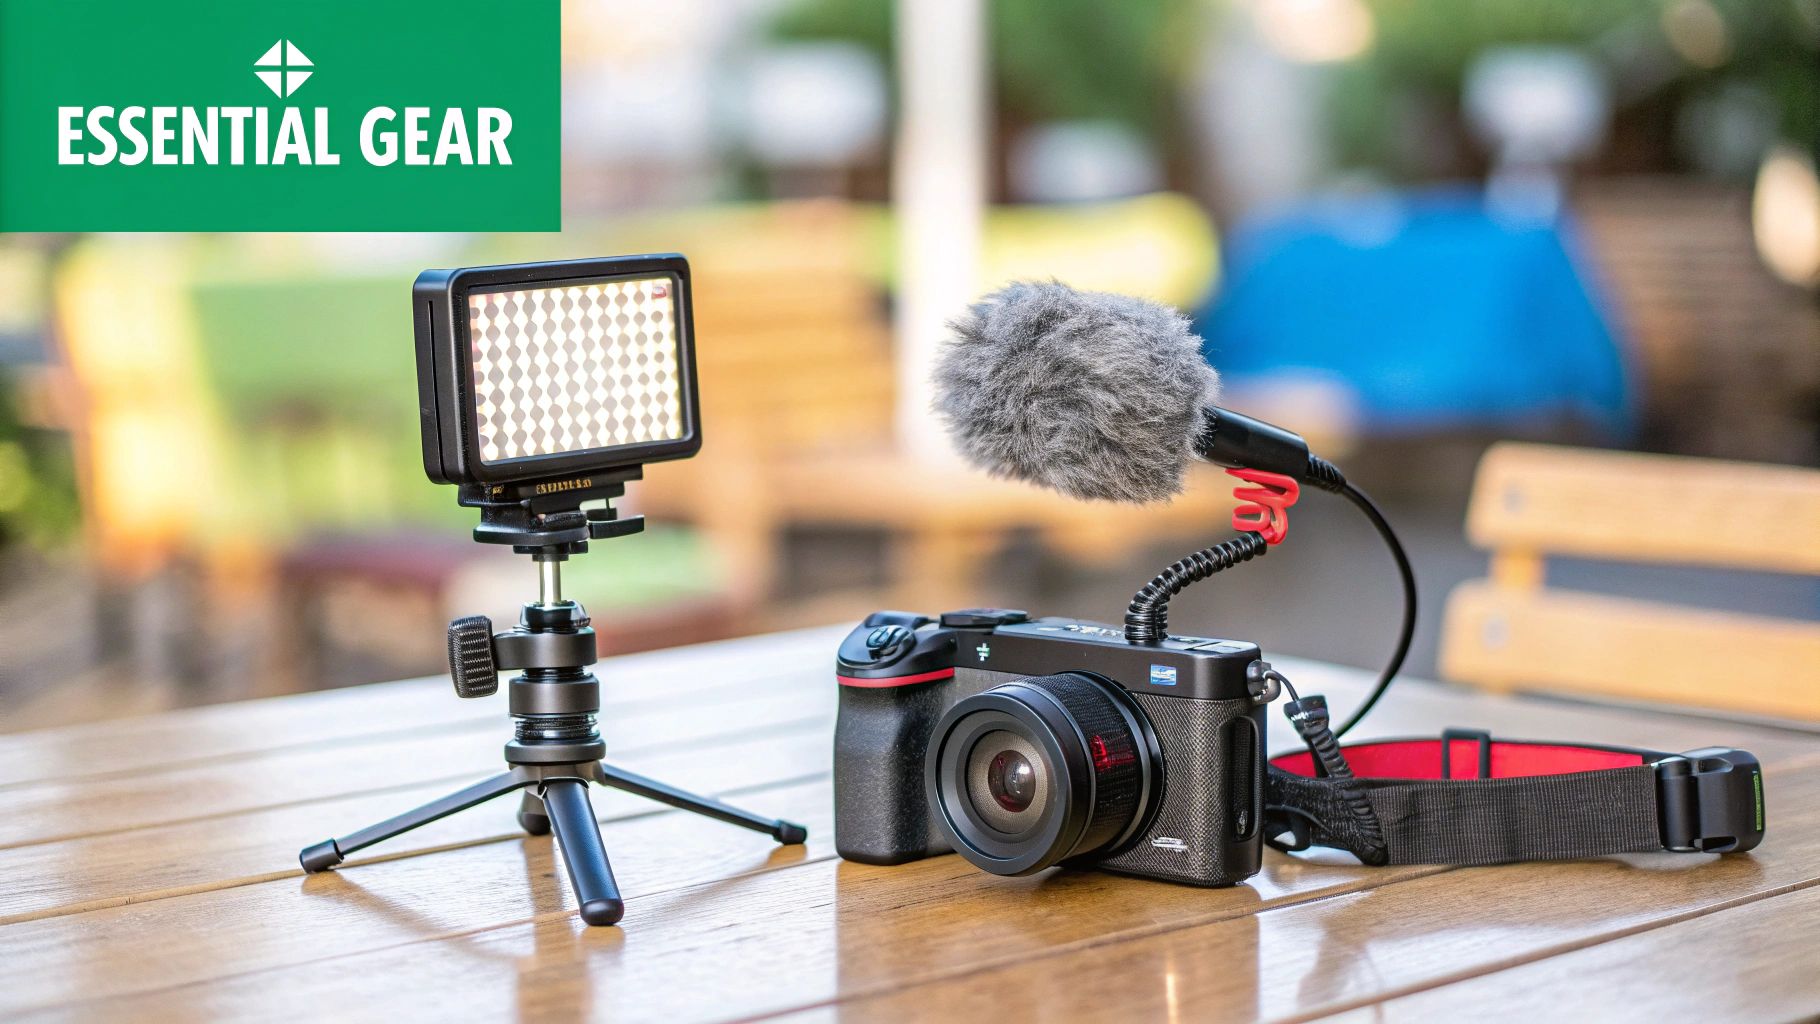
The truth? You can get seriously professional results by just focusing on three core components: your camera, your microphone, and your lighting. Let's get into what actually matters.
Your Camera: The Starting Point
When people think about making a video, the camera is usually the first thing that comes to mind. But guess what? You probably already own a fantastic one. Modern smartphones are more than capable of shooting crisp, high-quality video that’s perfect for online content.
If you’re just starting out, your smartphone is your best friend. It’s simple, you already know how to use it, and the quality is often outstanding. Just grab a small tripod to keep your shots steady, and you’re already halfway to a pro-looking setup.
For those ready to level up, here are a few solid options:
- High-Quality Webcam: A dedicated webcam like a Logitech C920 or Brio will give you a major quality boost over your laptop's built-in camera. This is especially true for screencasts where you want a picture-in-picture of your face.
- Mirrorless or DSLR Camera: If video is going to be a core part of your strategy, investing in a dedicated camera from brands like Sony, Canon, or Panasonic offers way more control and that buttery, cinematic look.
Audio: The Most Important Element
Here’s a secret that every experienced creator knows: audio quality is more important than video quality. Seriously. Viewers will forgive a slightly grainy image, but they will click away almost instantly if your audio is muffled, echoey, or hard to understand.
Bad audio just screams amateur and makes your content frustrating to get through.
Your computer's built-in mic is almost never good enough. It picks up every keyboard tap, room echo, and distant lawnmower. Investing even a small amount in a dedicated microphone will make the single biggest improvement to your video's production value.
For crystal-clear audio, these are your go-to options:
- USB Microphones: These are the workhorses of instructional video. A Blue Yeti or Rode NT-USB+ plugs right into your computer and delivers rich, broadcast-quality sound with minimal fuss. Perfect for voiceovers and talking-head videos.
- Lavalier (Lapel) Mics: If you plan to move around or demonstrate something physically, a "lav mic" that clips onto your shirt is a fantastic choice. It keeps the microphone a consistent distance from your mouth, so your audio level stays nice and steady.
Lighting: The Secret to Looking Professional
Good lighting is what separates a sharp, professional shot from a murky, amateur one. You don't need a complex studio setup; the goal is simply to get soft, even light on your face. This eliminates harsh shadows and creates a clear, flattering image.
The most effective and widely used setup is called three-point lighting. It sounds technical, but the concept is super straightforward.
- Key Light: This is your main, brightest light. Place it slightly off to one side of the camera, aimed at your face.
- Fill Light: A softer, less intense light placed on the opposite side. Its only job is to "fill in" the shadows created by the key light.
- Back Light: Positioned behind you and off to the side, this light separates you from your background. It adds depth and gives your shot a really polished, professional touch.
You can achieve this with a simple ring light for a basic one-light setup, or you can buy an affordable LED panel kit. Honestly, even just positioning yourself facing a window with plenty of natural daylight can work wonders.
The key is to control your environment for consistent, high-quality results every single time. By focusing on these three essentials—camera, audio, and light—you'll have all the gear you need to produce instructional videos that look and sound fantastic.
Recording and Editing with Confidence
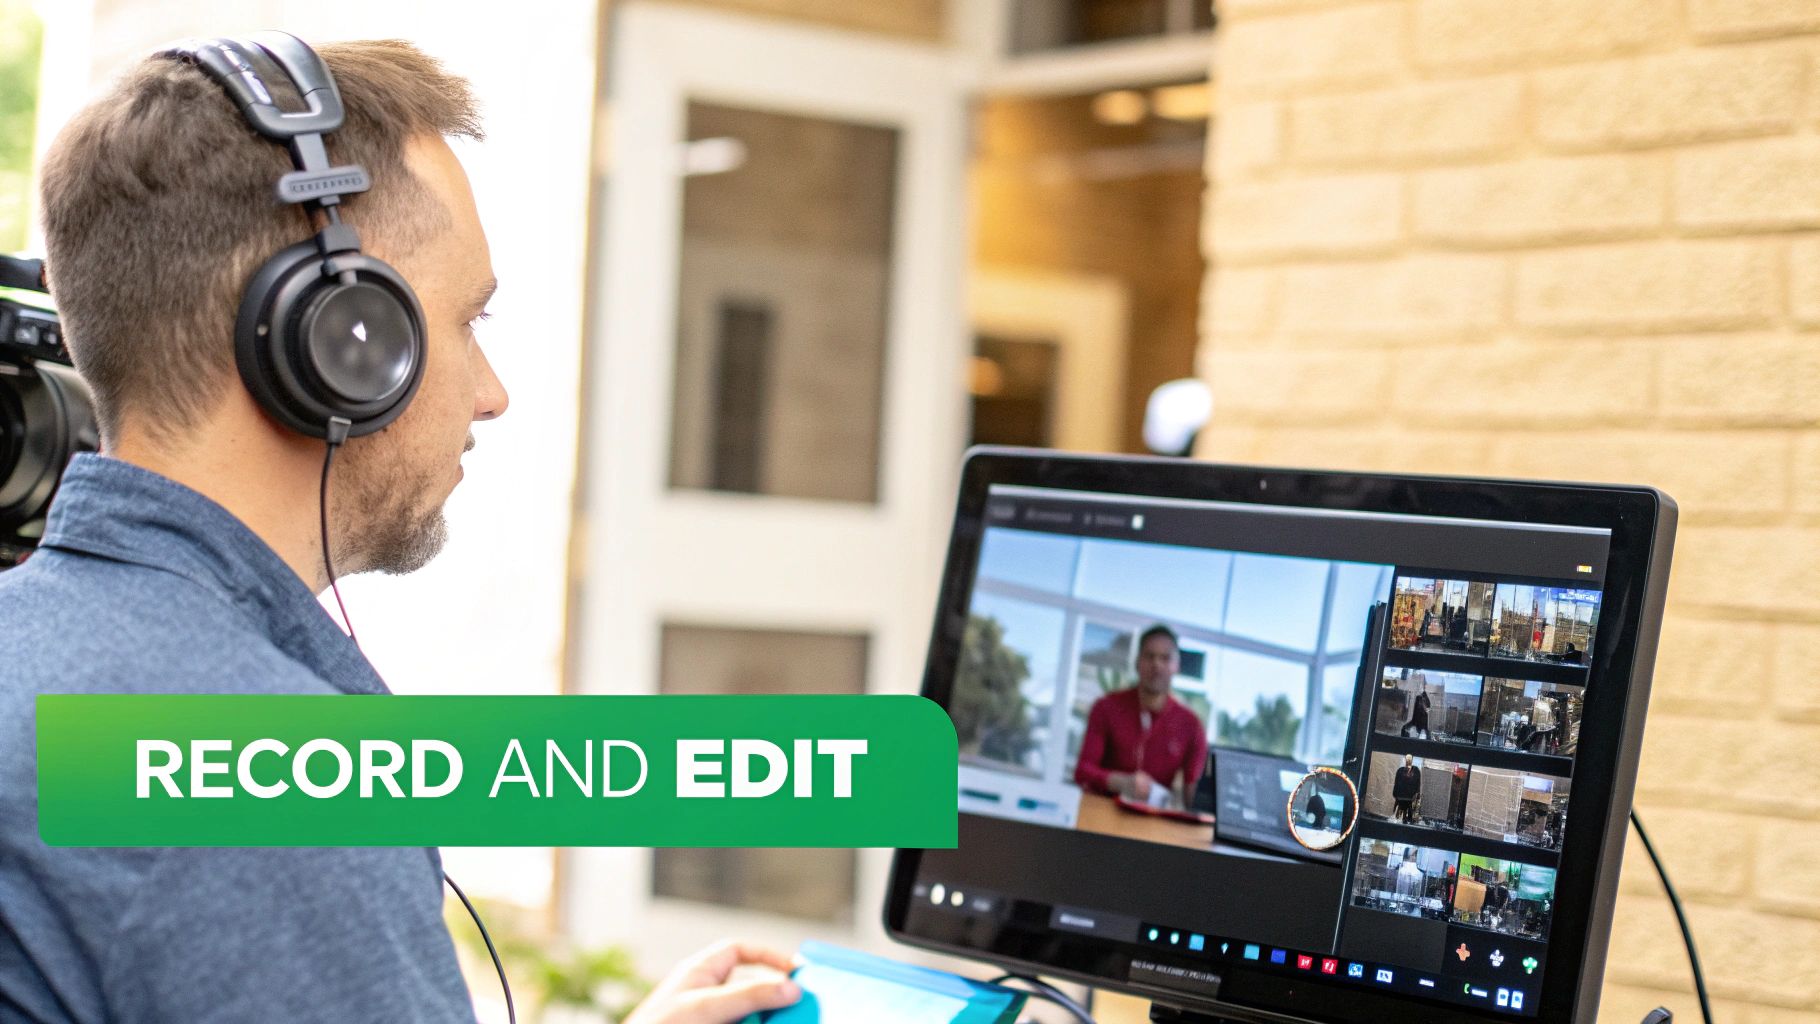
Alright, you've got your plan locked in. Now for the fun part: bringing your instructional video to life. This is where your script and storyboard start to look like an actual, polished piece of content that can really help your audience. First things first, you need to capture some clean, engaging footage.
Whether you're stepping in front of the camera or just recording your screen, your delivery is what sets the tone. Speak clearly, but keep it conversational—like you're explaining something to a friend. Your script is just a safety net, not a teleprompter. It’s there to keep you on course so you can focus on making a genuine connection with the viewer.
Nailing Your On-Screen Presence
An engaging delivery is everything. Mix up your vocal tone to keep it interesting, and don't be afraid to use natural hand gestures. And if you mess up? Don't sweat it. Just pause for a beat, clap your hands once (this trick creates a huge spike in the audio waveform, making it super easy to find in your editor), and start the sentence over.
For screencasts, clarity is king. Slow down your mouse movements and make your clicks obvious and deliberate. If you can, use a screen annotation tool to highlight specific buttons or draw boxes around important areas. The whole point is to make it ridiculously easy for someone to follow along without ever feeling lost.
The Art of the Edit
Once you've wrapped up recording, the real storytelling begins in the edit. This is your chance to assemble the raw footage, snip out mistakes, and add the professional touches that make a video pop. Don't let editing software scare you; the basics are much easier to pick up than you'd think.
Your first job is to create a "rough cut." This just means laying out your main footage (your A-roll) on the timeline and chopping out all the flubs, long pauses, and retakes. This initial pass tightens up the pacing and gives you a solid foundation to work from.
Once you have a clean take, it's time to layer in the good stuff.
- B-Roll Footage: This is your secret weapon for visual variety. It could be close-ups of a product, shots of someone doing the action you're describing, or even some relevant stock video. Sprinkling in B-roll keeps things interesting and breaks up those long talking-head segments.
- On-Screen Graphics: Simple text callouts, arrows, or highlighted boxes can do wonders for emphasizing key information. You don’t need fancy animations; a well-placed title can make a huge difference in comprehension.
- Zoom and Pan Effects: To add a bit of dynamic movement to a static shot, you can slowly zoom in on your face to drive a point home or pan across a screen recording to focus on a detail. These subtle movements, often called the "Ken Burns effect," can make a shot feel much more alive.
Picking the right software is a big part of having a smooth post-production process. For a detailed breakdown of the best options out there, check out our guide on comparing video production software.
Editing is less about technical wizardry and more about finding a good rhythm. Your job is to cut out anything that doesn't move the story forward. A tight, well-paced edit respects the viewer's time and keeps them hooked.
Let AI Lighten the Load
The way we produce instructional videos is changing, and a lot of that is thanks to artificial intelligence. As you get into your recording and editing flow, AI tools can be a massive time-saver. In fact, around 18% of businesses are already using AI for their video content. For a great rundown of what's out there, this list of the best AI tools for content creators is a fantastic starting point.
One of the most powerful uses is in post-production. The most common application, making up 59% of AI use in video, is for auto-generating captions and transcripts. This not only makes your videos more accessible but also saves you from hours of mind-numbing manual work.
Modern tools can also help with:
- Removing filler words: Automatically find and snip out all the "ums" and "ahs."
- Color correction: Instantly balance the colors in your footage for a clean, consistent look.
- Background noise reduction: Clean up your audio by isolating and removing distracting background noise.
By working smart during the shoot and leaning on modern tools in the edit, you can confidently create high-quality instructional videos that look professional, hold attention, and actually teach your audience something valuable.
Optimizing Your Video for Discovery and Reach
You've just created a brilliant instructional video. That's a huge accomplishment, but it's only half the battle. If nobody can find your video, all that hard work might as well not exist. This is where optimization comes in—making sure your video actually gets discovered by the right people on platforms like YouTube.
It helps to remember that YouTube isn't just a video site; it's the second-largest search engine in the world. People are constantly turning to it for answers, making it the perfect place for your instructional content to shine. Your job is to give the platform’s algorithm all the right signals so it knows exactly what your video is about and who needs to see it.
Crafting Magnetic Titles and Descriptions
Your video’s title and description are your most important pieces of SEO real estate. Period. They tell both viewers and search algorithms what your content promises to deliver, so you need to be both keyword-rich and genuinely compelling. It’s a tricky balance to strike.
Get inside your audience's head. What specific phrases would they type into the search bar when they're stuck? Those are your keywords. Your title needs to feature your main keyword while also sparking curiosity or promising a clear, immediate benefit.
- Weak Title: "Software Tutorial"
- Strong Title: "How to Master Pivot Tables in Excel (in Under 10 Minutes)"
The description is where you can fill in the details. The first couple of lines are absolutely critical since they show up directly in search results. Use this space to expand on your title, sprinkle in your primary keywords again, and clearly state the value viewers will get. If you want to dive deeper into getting this right, you can find more expert tips for optimizing videos for YouTube.
Designing Thumbnails That Demand a Click
Never, ever underestimate the power of a good custom thumbnail. On a crowded search results page, your thumbnail is what makes your video pop. Think of it as your digital billboard—it has to grab attention in a split second. Trust me, the auto-generated thumbnails YouTube offers are rarely your best bet.
A great thumbnail usually includes a few key things:
- A Clear, High-Quality Image: This could be a clean shot of the final product or even your face making an expressive gesture.
- Bold, Easy-to-Read Text: Just a few words summarizing the core benefit of the video. Make sure the font is big enough to be legible on a tiny phone screen.
- Contrasting Colors: Use bright colors that stand out against YouTube’s white, gray, and black interface.
Your thumbnail and title work together as a powerful one-two punch. The thumbnail grabs their eye, and the title confirms your video has the answer they're looking for. When these two elements are perfectly aligned, your click-through rate can jump significantly.
Your thumbnail makes a promise. Your video needs to deliver on it.
The Hidden Power of Video Chapters
One of the most effective—and most overlooked—optimization tools is video chapters. Also known as timestamps, chapters break your video into logical, easy-to-navigate sections. They show up as clickable segments on the video progress bar, letting viewers jump directly to the part that’s most relevant to them.
But this isn't just a nice-to-have for user experience. It’s a massive SEO advantage.
By creating chapters, you're essentially handing Google and YouTube a detailed table of contents for your video. This extra context helps them understand your content on a much deeper level. The result? Individual chapters from your video can start showing up in Google search results as "key moments," driving highly targeted traffic directly to specific points in your timeline.
Of course, manually creating timestamps can be a real grind, especially for longer, in-depth instructional videos. This is where a tool like TimeSkip becomes a lifesaver. It uses AI to automate the entire chapter generation process, identifying the main topics in your video and creating SEO-friendly timestamps in seconds. This saves you a ton of time while ensuring your video is perfectly structured for both viewers and search algorithms, giving your content the best possible shot at ranking.
Measuring Success and Proving Your Impact
So you’ve created and published your instructional video. That’s a huge accomplishment, but the job isn’t quite done. The final piece of the puzzle is figuring out if your video actually worked.
Proving the value of your video goes way beyond just chasing a high view count; it’s about connecting your creative efforts to tangible, real-world results. Let's look at how to do that.
https://www.youtube.com/embed/3NPieJutT9I
To truly understand how your video is performing, you need to look at the right metrics. Vanity numbers like views can be misleading. Instead, focus on the data that shows how your audience is actually interacting with your content. This is how you learn, adapt, and make even better instructional videos next time.
Key Metrics That Truly Matter
If you want a real sense of your video's effectiveness, you need to dive into your YouTube Analytics (or whatever platform you're using). Pay close attention to a few specific numbers that tell a deeper story about viewer behavior and engagement.
- Audience Retention: This is arguably the most important metric of them all. It shows you the exact percentage of viewers who are still watching at any given point in your video. A high retention rate is a clear signal that your content is engaging and valuable.
- Click-Through Rate (CTR): This tells you how many people clicked on your video after seeing its thumbnail and title in their feed or search results. A strong CTR means your packaging—your title and thumbnail—is doing its job and grabbing attention.
- Average View Duration: This one's simple: on average, how long are people watching? A longer duration means your content is successfully holding their attention and delivering on the promise you made in your title.
Look for sharp drop-off points in your audience retention graph. These moments are goldmines of feedback, showing you exactly where viewers lost interest. Did you ramble? Was a concept confusing? This data gives you a clear roadmap for what to improve.
Connecting Video Performance to Business Goals
Beyond the platform analytics, the ultimate measure of success is how your video impacts your bigger objectives. Instructional content is uniquely positioned to drive real business outcomes, from improving customer satisfaction to generating new leads.
The proof is in the numbers. Research shows that a staggering 93% of marketers report a strong return on their video investments. Even better, 87% directly link their marketing videos to an increase in sales. And for how-to content specifically? Viewers retain an impressive 82% of information from instructional videos that are under one minute long. You can see more stats on how video marketing drives results on thedesirecompany.com.
Think back to the specific goal you set during the planning stage. Did you want to:
- Reduce Support Tickets? Keep an eye on the number of support queries related to your video's topic. If you see a decrease after publishing, you know your video is successfully empowering users to solve their own problems.
- Drive Sales or Sign-ups? If your video includes a call-to-action (CTA), monitor the conversion rate on that specific link or landing page. Tools like UTM parameters can make this super easy to track.
- Build Brand Authority? Look at the qualitative feedback, like comments and shares. Positive comments and genuine discussions show that you're not just broadcasting information—you're building a community and establishing trust.
By analyzing both the on-platform metrics and the real-world impact, you can confidently prove your video's ROI and gather the insights you need to make your next one even more successful.
Ready to make your video chapters in a fraction of the time? Try TimeSkip and see how our AI-powered Chrome extension can automatically generate SEO-optimized timestamps for your YouTube videos in seconds. Get started for free at https://timeskip.io.