A reliable YouTube video production workflow really comes down to four distinct stages: planning, filming, editing, and distribution. Honestly, having a system like this is what separates channels that grow consistently from those that flame out. It’s the blueprint that turns a chaotic pile of ideas into a predictable, repeatable process for making great content.
Building Your Production Blueprint Before You Film

The real magic behind a successful video happens long before you even think about hitting the record button. This pre-production phase is your best defense against wasted time, forgotten shots, and a story that just doesn't land. Think of it this way: every great YouTube video starts with a plan, much like any good content creation process. You're building the foundation for everything else.
Ideation and Audience Alignment
Every video starts as an idea, but you can't just run with the first thing that pops into your head. A truly effective idea has to do two things at once: fit your channel's purpose and solve a problem or satisfy a curiosity for your specific audience. So, don't just brainstorm what you find interesting; dig into what your viewers are actually looking for.
A great way to do this is to use the autocomplete feature in YouTube's search bar. See what people are searching for. Look at what your competitors are doing, and check the polls in your own community tab to validate your ideas. Is there a conversation already happening that you can add value to? Is there a common frustration you can help resolve? The sweet spot is where your passion meets your audience's needs.
Scripting for High Retention
Your script is so much more than just a bunch of words. It's the skeleton that holds your video's pacing and story together. Even if you're going for a casual, off-the-cuff feel in a vlog, a simple bullet-point outline can be the difference between a tight, engaging video and a rambling one that goes nowhere.
For more technical or educational videos, a full script is a must. It forces you to sharpen your message, trim the fat, and make sure you cover every key point in a logical order. When you're writing, try to include these key elements:
- The Hook: Those first 5-15 seconds are everything. Kick things off with a surprising statement, a provocative question, or a sneak peek of the final result to pull people in right away.
- The Value Proposition: Tell them exactly what they'll get out of watching. When you set clear expectations early, viewers are far more likely to stick around.
- The Core Content: Break your main topic into digestible chunks. Use clear signposts and transitions to guide your viewer from one point to the next.
- The Call to Action (CTA): End with one clear, simple instruction. Do you want a subscription? A comment? A click on another video? Don't confuse them by asking for too many things at once.
Pro Tip: Read your script out loud. It feels a little weird at first, but it’s the single best way to catch clunky phrasing and unnatural sentences. If it sounds wrong when you say it, it's definitely going to sound wrong on camera.
Visualizing with Shot Lists and Storyboards
Once the script feels right, it’s time to start thinking with your eyes. A shot list is your best friend during filming—it’s just a simple checklist of every single shot you need to capture. This should include your main A-roll (you talking to the camera) and all your B-roll, like close-ups of a product, screen recordings, or shots of your workspace. It's a lifesaver that ensures you don't get back to the editing room and realize you forgot something crucial.
A storyboard takes this a step further by giving you a rough visual sketch of each shot. It doesn’t have to be a masterpiece; stick figures are totally fine. The goal is to help you visualize the video's flow, plan your camera angles, and figure out what B-roll you'll need to support your story.
Taking the time to plan everything meticulously in pre-production makes filming feel less chaotic and your post-production work significantly easier. If you want to see how this fits into the bigger picture, you can check out our complete guide to the YouTube video workflow.
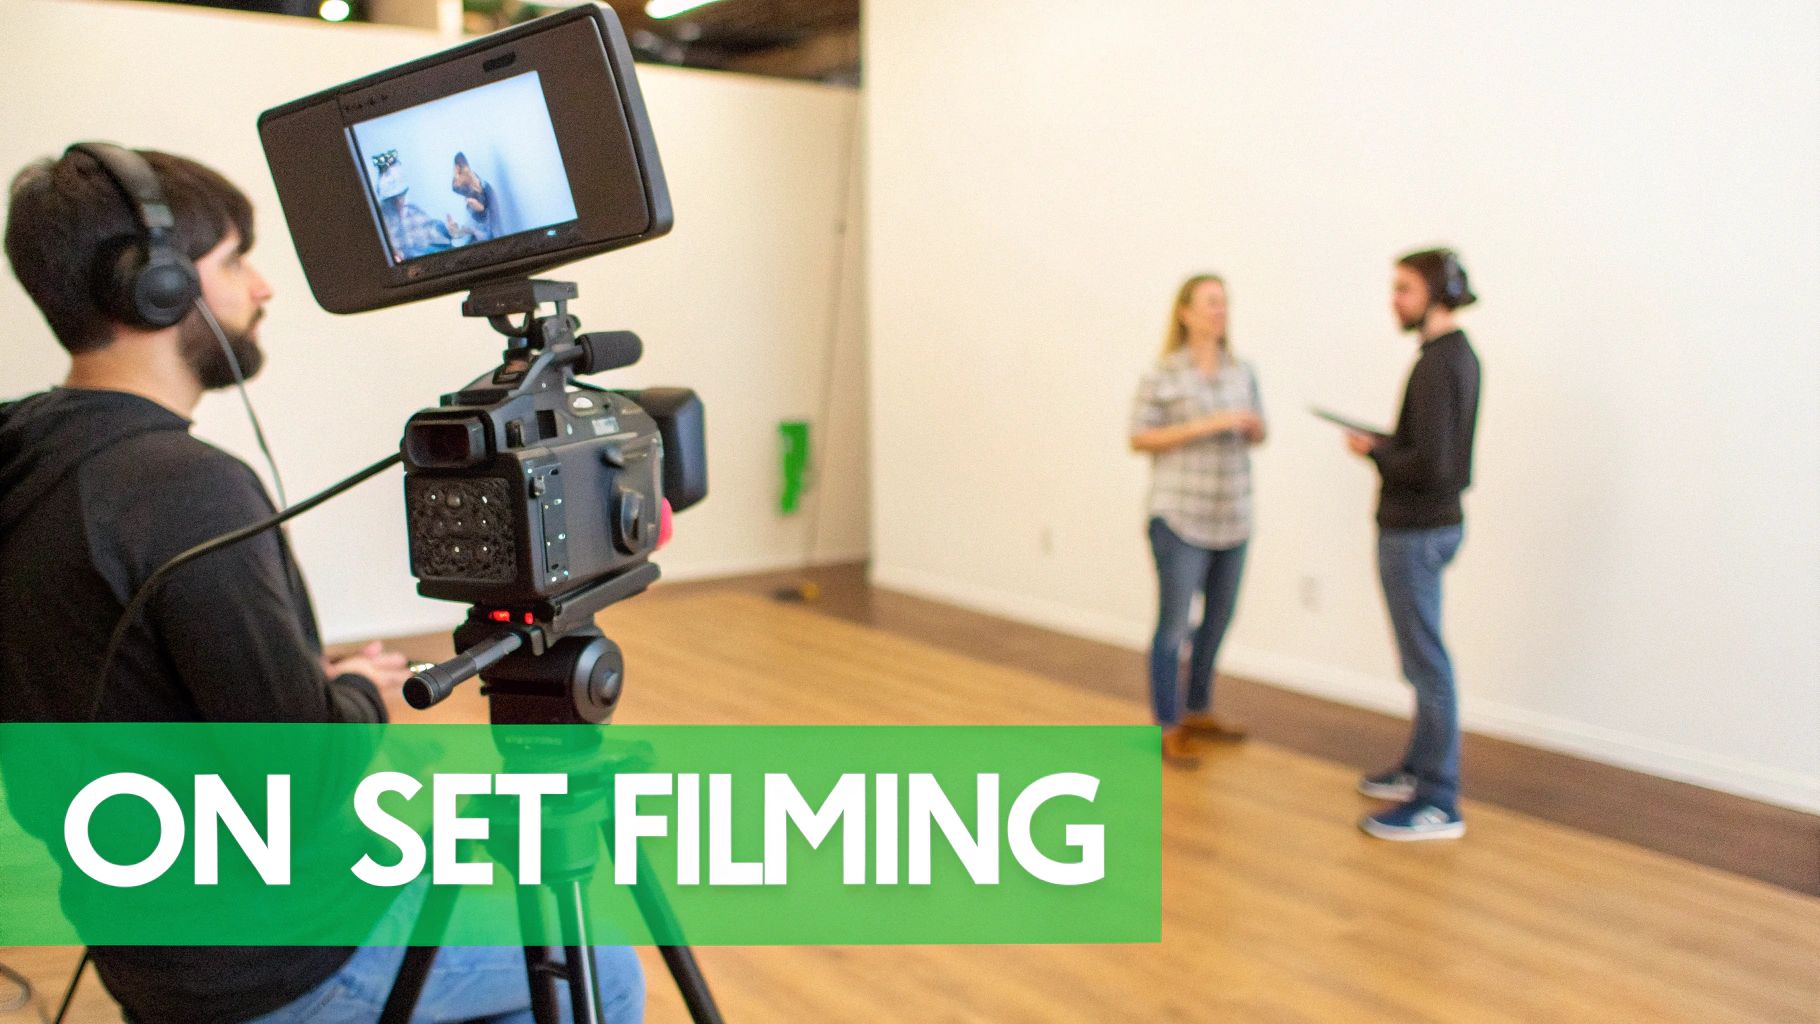
Bringing Your Video to Life: The Filming Stage
Once you have a solid plan, it's time to hit record. This is where all that prep work really starts to pay off, turning your storyboard and shot list into actual, tangible footage. A smooth, organized shoot is what separates a great idea from a great video, and it has a massive impact on your entire YouTube video production workflow.
You don’t need a fancy studio, either. Most of us start by carving out a little corner in a living room or office. The trick is to be consistent. If you can, use the same spot for your primary shots to create a familiar, branded look. Just make sure to clear out any background clutter; you want your audience focused on you, not the pile of laundry in the corner.
Getting Your Lighting Right
I can't stress this enough: lighting is probably the single most important technical piece of the puzzle. Great lighting makes a cheap webcam look fantastic, but bad lighting can make a professional camera look like a potato. What you're aiming for is soft, even light that schmeichls you and gets rid of any harsh, distracting shadows.
The go-to method for this is the classic three-point lighting setup. It’s the industry standard because it just works. Here's the breakdown:
- Key Light: This is your main light. It’s the brightest and usually sits at a 45-degree angle to you.
- Fill Light: Placed on the opposite side, this one is a bit softer. Its job is to "fill in" the shadows created by the key light so the contrast isn't so dramatic.
- Backlight: This one goes behind you, often called a "hair light." It separates you from the background and creates that professional-looking outline, adding a real sense of depth.
Don't worry, you can pull this off without breaking the bank. A big window can be a fantastic key light. For a fill light, try bouncing a desk lamp off a white wall or even draping a white sheet over it. A small, cheap LED panel can work wonders as a backlight.
How to Capture Crisp, Clean Audio
Here’s a hard truth: viewers will put up with slightly grainy video, but they will bounce immediately if the audio is terrible. The microphone built into your camera or laptop just isn't going to cut it. Honestly, buying a dedicated microphone is one of the best investments you can make for your channel.
For most YouTubers, it comes down to two main options: lapel mics or shotgun mics.
- A lapel mic (or lavalier mic) clips right onto your shirt. This is perfect for getting consistent audio levels, especially if you tend to move around a bit.
- A shotgun mic usually sits on your camera or on a boom arm just out of the shot. It captures sound directly in front of it, which is ideal for stationary, talking-head style videos.
Real-World Tip: Is your room echoey? You can fix that with soft furnishings. Seriously. Tossing a blanket on the floor, adding some curtains, or even just opening a closet full of clothes can absorb those sound waves and make a huge difference in your audio quality.
Shooting With a Plan
Alright, it's go time. Grab that shot list you made earlier. Following it now will save you from pulling your hair out during the editing phase.
First, knock out your A-roll. This is all your primary footage—the clips of you talking directly to the camera. It’s much easier to stay in the zone and keep your energy consistent if you film all of this in one session.
Once your A-roll is in the can, switch gears and tackle your B-roll checklist. This means filming all your product close-ups, screen recordings, and other cutaway shots. Batching these similar tasks together makes the whole process feel less chaotic and much more efficient.
Feeling confident on camera takes practice, so don't be hard on yourself. Before you start for real, do a couple of warm-up takes to work out the jitters. Remember to smile, speak with some passion, and don't be afraid to do another take. Your energy is contagious, and it's what will keep your audience hooked.
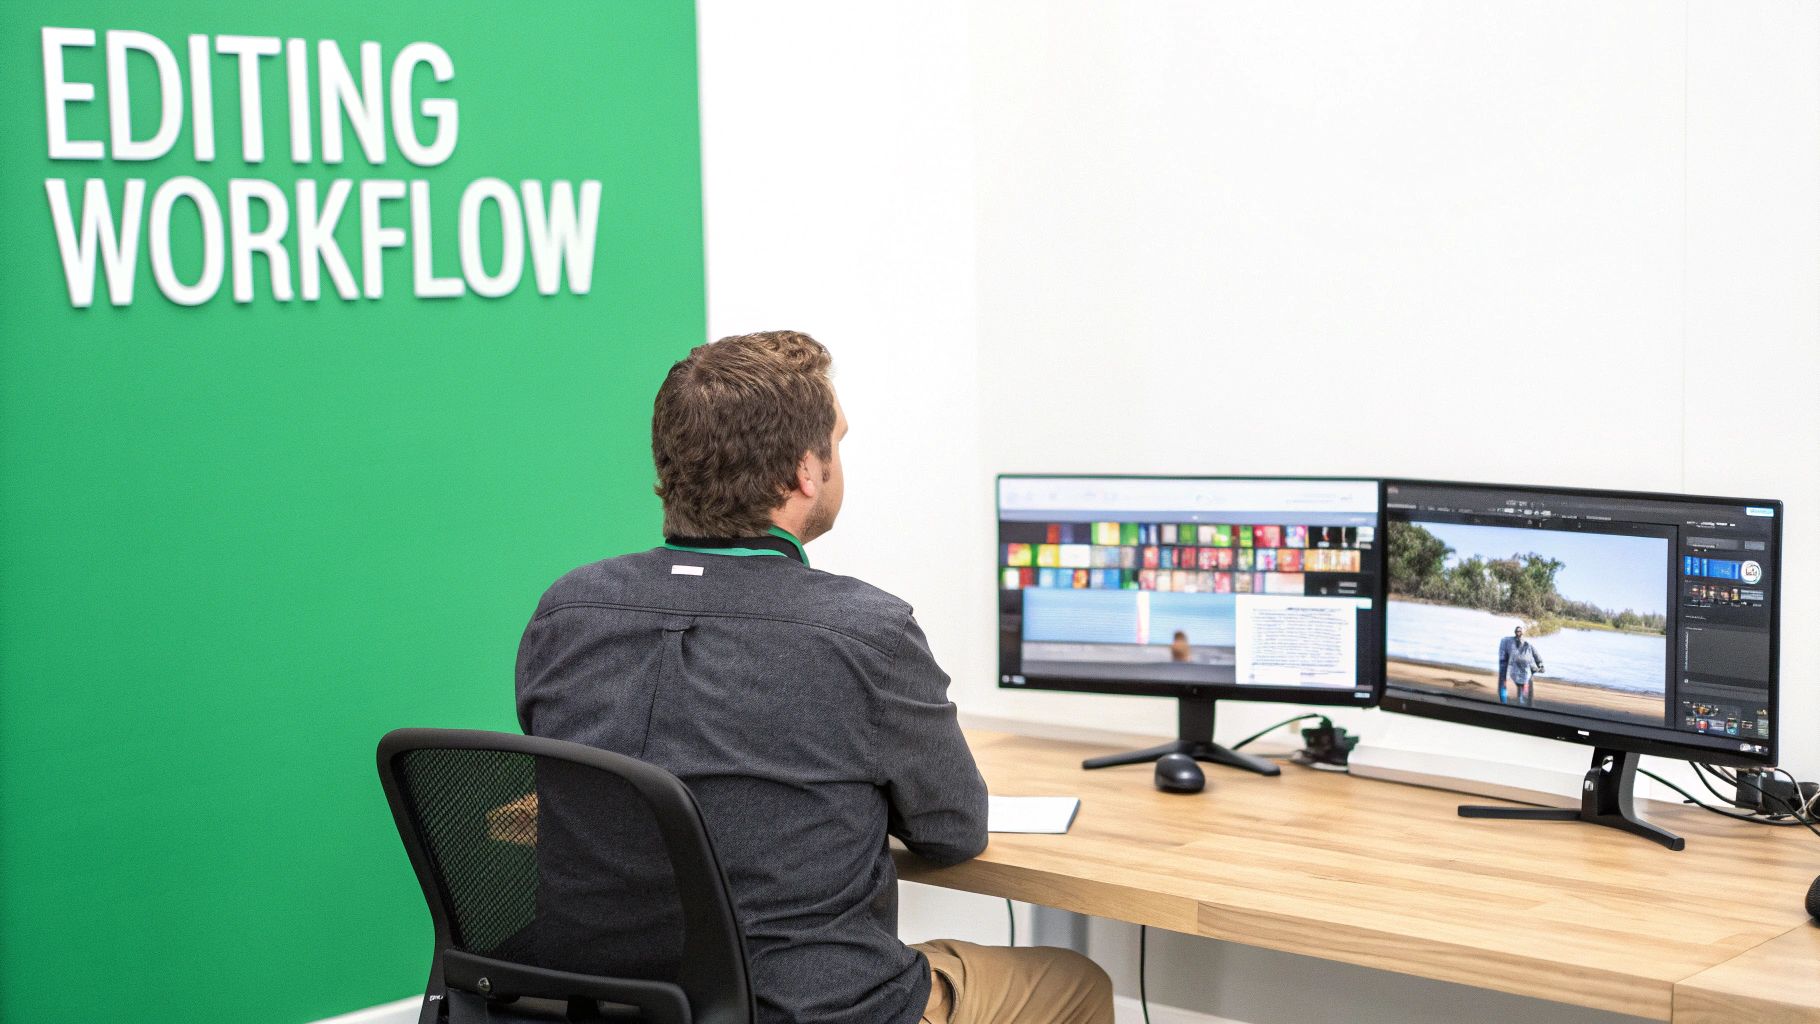
Assembling Your Story in Post-Production
This is where the magic really happens. Post-production is the bridge between the raw footage you shot and the polished, compelling story you envisioned. All that planning and filming finally comes together as you piece together the narrative, add visual flair, and give your content that professional sheen. A structured approach here is absolutely essential for an efficient youtube video production workflow.
It can feel like a mountain of work, I get it. But breaking it down into a repeatable system makes it manageable and, honestly, a lot of fun. It’s less about being an artistic genius from the get-go and more about methodical assembly. You’re not just cutting clips; you’re shaping the viewer’s experience from start to finish.
The Non-Negotiable First Step: Organizing Your Media
Before you even think about opening your editing software, get your files in order. Trust me, this simple act of organization will save you from a world of headaches, lost files, and wasted time. A chaotic media folder directly translates to a chaotic and frustrating edit.
For every single video project, create a master folder. Inside that master folder, you should have a standardized set of subfolders that you use every time. This builds muscle memory and makes your entire process predictable.
A great starting point for your folder structure looks like this:
- 01_Footage: Where all your raw video files live. You can even create subfolders for Camera A, B-roll, and screen recordings.
- 02_Audio: For any external audio you recorded, like from a lavalier or shotgun mic.
- 03_Project_Files: This is where you save your editing software's project file (e.g., your Premiere Pro or DaVinci Resolve file).
- 04_Graphics_and_Assets: A home for logos, lower thirds, animations, and any other visual elements you plan to use.
- 05_Music_and_SFX: Keep all your background music tracks and sound effects neatly tucked away here.
- 06_Exports: The destination for your final, rendered video files.
This system ensures that no matter how complex the project gets, you know exactly where everything is. It’s a simple discipline that pays massive dividends in efficiency down the line.
Building the Narrative Spine with a Rough Cut
With your files neatly organized, it’s time to build the video's skeleton. The goal of the rough cut is not to make it pretty; it’s to assemble your main footage (your A-roll) into a coherent story. You’re simply laying down your primary clips on the timeline in the right order, following your script or outline.
Focus entirely on the narrative flow. Watch it through and ask yourself: Does the story make sense? Is the pacing right? Are there any parts that drag or feel confusing? This is your chance to make big, structural changes—like cutting entire sections, rearranging talking points, or trimming clips down to their essential message.
Don't get bogged down with fancy transitions or color correction yet. The purpose of the rough cut is to validate your story's structure. Getting this right first makes every subsequent step much easier.
Once your A-roll tells a complete story, you have a solid foundation. This narrative spine will guide all your creative decisions moving forward, from adding B-roll to sound design.
Weaving in Visuals to Keep Viewers Hooked
Now that your story has a solid structure, you can start layering in the elements that add visual interest and keep your audience from clicking away. This is where you strategically place your B-roll, motion graphics, and text overlays to bring the story to life.
Your B-roll should always serve a purpose. Use it to:
- Illustrate a point: If you’re talking about a specific tool, show a close-up of it in action.
- Break up monotony: Cutting away from a talking head gives the viewer’s eyes a break and makes the video feel much more dynamic.
- Cover jump cuts: When you edit out an "um" or a long pause from your A-roll, a B-roll clip can seamlessly hide that jarring cut.
This visual storytelling layer is absolutely critical on a platform like YouTube, where viewer attention is so fleeting. The platform has changed dramatically since its early days. Creators are now competing against a staggering 500 hours of new content uploaded every single minute. This immense volume has forced creators to develop highly efficient and engaging production workflows. Today, the average video length is around 12 minutes, but this varies wildly by niche—from under 7 minutes for music to nearly 25 minutes for gaming. This directly influences how much B-roll and editing work is needed. You can learn more about how creators adapt their workflows from the full research about YouTube user trends and statistics on analyzify.com.
This visual flow, much like a storyboard, guides the viewer's eye and reinforces your narrative.
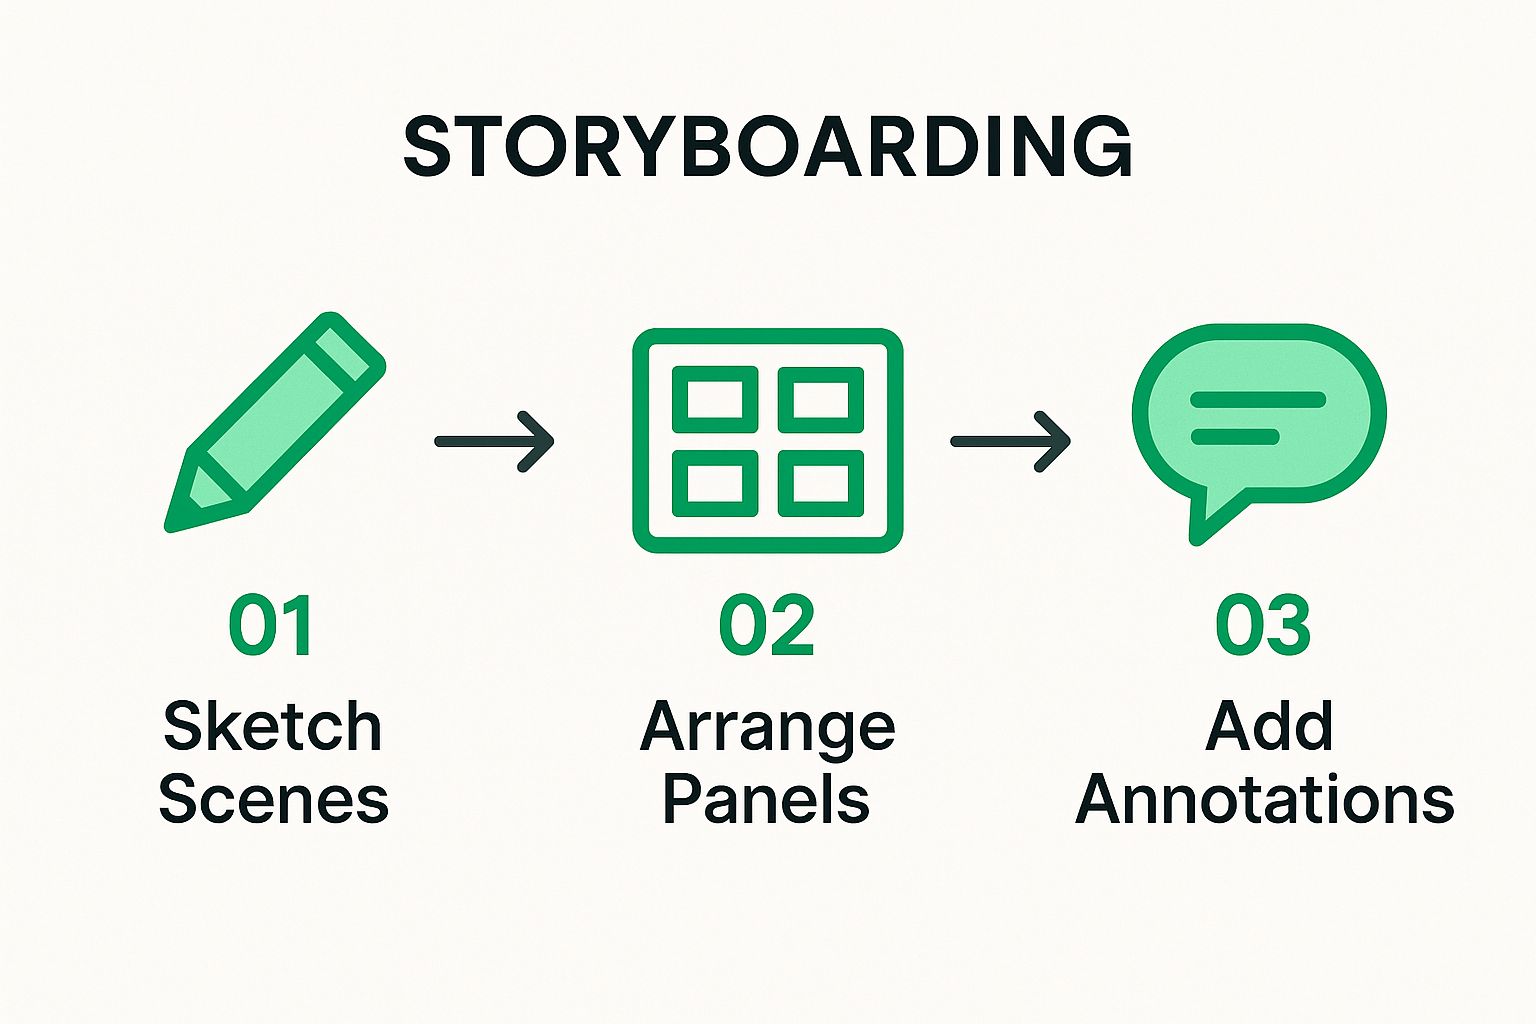
The image above gives you a simplified look at storyboarding, which is basically the pre-production version of assembling your visual story in the edit.
The Final Polish: Color and Audio
The last steps in your editing workflow are the technical polishes that elevate your video from looking like a hobby to a professional production. This comes down to color correction, color grading, and audio mixing.
Color correction is the technical process of fixing problems. This means adjusting your exposure so nothing is blown out or too dark, correcting the white balance so your colors look natural, and making sure shots filmed at different times or with different cameras look consistent.
Color grading is the creative process that comes after the fixes. This is where you apply a specific look or mood to your footage. Do you want a warm, inviting feel for a tutorial, or a cool, cinematic look for a vlog? Even subtle grading can have a huge impact on the emotional tone of your video.
Finally, give your audio the attention it deserves. Your goal is to create a balanced, clear, and pleasant audio experience. This typically involves:
- Leveling Dialogue: Make sure your voice is at a consistent, audible level throughout the entire video.
- Adding Music: Place your background music and adjust its volume so it supports the dialogue without ever overpowering it.
- Mixing in Sound Effects: Add subtle sound effects (like whooshes for on-screen text or clicks for screen interactions) to make the viewing experience more immersive.
These final touches are what make a video feel truly complete and professional. They show your viewers you care about their experience, which can make all the difference in a crowded space.
Choosing Your Editing Toolkit
Picking the right video editing software is a big decision, as it will become the command center for your post-production. The "best" one really depends on your skill level, budget, and the types of videos you're creating. Don't feel pressured to use what the pros use right away; start with what makes sense for you.
Video Editing Software Comparison
A look at popular video editing software options for YouTube creators, highlighting their ideal user, key features, and pricing models to help you choose the right tool for your workflow.
| Software | Best For | Key Features | Pricing |
|---|---|---|---|
| DaVinci Resolve | Beginners to Professionals looking for an all-in-one free solution with powerful color grading. | Industry-leading color tools, robust free version, integrated audio (Fairlight) & effects (Fusion). | Free version is incredibly capable; Studio version is a one-time purchase. |
| Adobe Premiere Pro | Professional creators and those who need integration with other Adobe apps like Photoshop & After Effects. | Seamless Adobe Creative Cloud integration, powerful multi-cam editing, industry-standard tool. | Monthly or annual subscription model. |
| Final Cut Pro | Mac users who want a highly optimized, powerful, and user-friendly professional editor. | Magnetic timeline, excellent performance on Apple hardware, intuitive interface. | One-time purchase, exclusive to macOS. |
| CapCut | Beginners, mobile creators, and those focused on short-form content for TikTok or Shorts. | Auto-captions, trendy effects & transitions, very easy to learn, available on desktop and mobile. | Mostly free, with some premium features available through a subscription. |
Ultimately, the best tool is the one you feel comfortable with and that lets you bring your creative vision to life efficiently. Many offer free trials, so don't be afraid to download a couple and see which one clicks with your personal workflow.
Getting Your Video Seen: Optimization and Discovery
You’ve poured your heart into creating an amazing video. Now what? If you just upload it and hope for the best, you’re leaving its success up to chance. This is where your creative work starts translating into real, tangible channel growth.
Think of it this way: optimization isn't an afterthought. It's the critical bridge between your finished video and the audience you made it for. Without it, even the best content can get lost in the noise. Your job is to give the YouTube algorithm clear, powerful signals about what your video is and who will love it.
Crafting a Title That Begs to Be Clicked
Your title is your first impression—it’s the hook. It has to pull double duty: satisfying the algorithm with keywords while also sparking enough curiosity in a human to make them stop scrolling and click.
A generic title like "My New Vlogging Camera" is forgettable. But what about, "Why I Swapped My Sony for This $500 Vlogging Camera (Shocking Results)"? Now we're talking. It has the searchable term "vlogging camera," but it also creates intrigue with the brand swap and promises a surprising outcome.
Treat your title like a headline for a magazine cover. It needs to be punchy, promise real value, and pop in a crowded feed.
Writing Descriptions That Work for You
Your video description is prime real estate for what we call YouTube SEO. While most viewers will only ever scan the first couple of lines, the algorithm reads everything. This is your chance to really flesh out your topic and give YouTube all the context it needs.
Those first two or three sentences are gold because they show up before the "Show more" cutoff. Use this space to deliver your video's core promise and weave in your main keyword naturally.
Below the fold, you can really expand:
- Elaborate on the key points you cover in the video.
- Link out to helpful resources, products you mentioned, or other related videos.
- Add video chapters or timestamps. This is a huge boost for viewer experience and engagement.
A solid description is like a detailed brief you're handing to the algorithm, helping it find the perfect audience for your work.
The Understated Power of Tags
YouTube has downplayed the importance of tags over the years, but don't count them out. They still provide another layer of context, especially if you're a new channel trying to gain traction or if your topic has common misspellings.
A smart tagging strategy is all about focus. Mix it up with:
- Your primary tag: The main keyword you're targeting (e.g., "youtube video production workflow").
- Secondary tags: Broader, related terms that people might search for (e.g., "video production process," "how to make youtube videos").
- Niche tags: Super-specific terms that nail your unique angle (e.g., "beginner video editing tips," "sony a7siii setup").
Don’t just stuff the tag box. A dozen laser-focused tags are far more powerful than 50 vague ones. For a deeper look at this, check out our guide on YouTube SEO optimization.
Your Thumbnail: The Ultimate Marketing Tool
If your title is the headline, your thumbnail is the billboard. It’s the single biggest factor influencing whether someone clicks on your video or scrolls right past it. A winning thumbnail is clear, emotionally engaging, and visually distinct.
Pro Tip: High-contrast designs with a human face showing a clear emotion almost always win. Add a few words of bold, easy-to-read text (2-3 words max) to tease the video's main idea.
Never, ever just use a random still from your video. A custom-designed thumbnail is a non-negotiable part of the process. Experiment with different styles to see what your audience responds to.
Using End Screens and Cards to Keep People Watching
Your work isn't done when the viewer hits the end of the video. What do you want them to do next? Use end screens and cards to guide their journey and rack up that all-important session time.
In the last 10-20 seconds, pop up an end screen suggesting another one of your videos or a relevant playlist. You can also sprinkle in cards during the video to link to things, but be careful not to overdo it and annoy your viewers.
The goal is to create a frictionless viewing loop that keeps people on your channel, turning one view into a binge-watching session.
Analyzing Performance and Repurposing Content
 Okay, you've hit "Publish." It's tempting to breathe a sigh of relief and immediately dive into the next video idea. But if you do that, you're missing a huge piece of the puzzle. This is where the real growth happens.
This final stage of the YouTube video production workflow is less about creating and more about learning. It’s about looking at your audience's behavior and figuring out how to get more mileage from the hard work you’ve already put in. This is how you shift from being just a creator to a savvy content strategist.
What Your YouTube Analytics Are Really Telling You
Your YouTube Studio is a treasure trove of direct feedback. But it's easy to get sidetracked by vanity metrics like total views or subscriber bumps. To really sharpen your process, you need to focus on the numbers that reveal how people actually engaged with your video.
Here are the metrics I always check first:
- Click-Through Rate (CTR): This number tells you flat-out if your title and thumbnail worked. A low CTR, say below 3-4%, is a red flag that your packaging isn't grabbing attention, even if the video itself is brilliant.
- Audience Retention: This is the big one. The retention graph is your secret weapon, showing you second-by-second where viewers were hooked and where they decided to click away.
- Traffic Sources: Knowing if people found you through YouTube search, their homepage (Browse features), or Suggested videos shows you which of your optimization efforts are actually working.
Looking at these metrics gives you a much clearer picture of your video's real-world performance. If you want to get even more granular, this guide on key video performance metrics is a fantastic resource for understanding what all the numbers mean.
Key Insight: That sudden dip in your audience retention graph isn't a failure—it's a road map. Find that exact moment in your video. Was it a confusing point? A long, awkward pause? Use that specific, actionable data to make your next video's script and edit that much tighter.
Getting Smart About Content Repurposing
You just poured hours—maybe even days—into one solid, long-form video. Why let all that value live and die on a single YouTube upload? A smart repurposing system can multiply your reach and maximize the return on all that effort.
The idea is simple: take your main video and slice it into a dozen or more bite-sized pieces of content, each one customized for a different platform. Your main video is the "pillar," and these smaller clips are the "spokes" that all point back to the original.
For instance, one 15-minute product review video can easily become:
- 2-3 YouTube Shorts: Isolate the most exciting feature reveals or the final verdict.
- An Instagram Reel: Create a fast-paced, 60-second highlight reel set to some trending audio.
- A Twitter Quote Graphic: Pull a powerful or controversial statement you made and put it on a simple, branded background.
- A LinkedIn Post: Share a clip where you discuss the product's professional or business applications.
Spreading Your Content Far and Wide
This isn't just about saving time; it's about meeting people where they hang out online. The person who loves quick tips on TikTok might never sit through a 20-minute deep dive on YouTube. But your repurposed clip could be the perfect handshake that introduces them to your channel.
Once you’ve reviewed your video's performance, it's the perfect time to explore different content repurposing strategies that will give your video a second, third, and fourth life.
The best part? This becomes a natural part of your workflow. As you’re editing your main video, you'll start spotting those "micro-moments" that are perfect for pulling out later. By building analysis and repurposing into your process, you make sure every video you create works harder for you long after you click publish.
Clearing Up a Few Common Questions
Even the most organized creators run into questions as they dial in their own YouTube video production workflow. I've been there. Let's tackle some of the most common hurdles people face when trying to build a consistent and efficient system.
"How Long Should This Really Take?"
Honestly, there's no universal answer here. It all comes down to the complexity of what you're making. A simple, direct-to-camera video? You might be able to knock that out in 4-6 hours—an hour to plan, another to film, and a few more for the edit and upload. But a deep-dive documentary or a video with lots of moving parts could easily stretch past 40 hours.
The real goal isn't just to be fast; it's to be predictable. Start by timing yourself on your next three videos. How long did the planning take? The shoot? The edit? This will give you a personal baseline, which is crucial for scheduling your content calendar realistically and avoiding that dreaded creator burnout.
"Where Do Most Creators Get Stuck?"
For most people I talk to, editing is the single biggest bottleneck. It’s where all the great ideas and raw footage can turn into a time-consuming mess. The fix, surprisingly, isn't about becoming a speed-demon editor. It's all about what you do before you even open your editing software.
A solid script and a clear shot list are your best friends. They stop you from "discovering the story" in the timeline, which is a massive time-waster. While you’re filming, make a habit of noting which takes were the keepers. A little bit of prep work here makes the post-production phase so much smoother.
Real-World Fix: Don't chase perfection on your first pass through the footage. Get a "rough cut" assembled first. Just focus on the core narrative and pacing. Once that's locked in, you can circle back to add the B-roll, graphics, music, and other polish. This layered approach is so much more efficient.
"When Is It Actually Time to Upgrade My Gear?"
Upgrade your equipment when it's actively holding you back, not just because a shiny new toy came out. You need to be able to point to a specific problem your current gear can't solve.
The first upgrade you should make, almost without exception, is audio. Viewers will forgive slightly grainy video, but they will click away instantly for bad sound. A good microphone makes your videos feel more professional than a new camera ever will. After audio, look at lighting. Only after you've mastered sound and light should you think about a new camera, and only when you're hitting its limits, like poor low-light performance or unreliable autofocus.
"How Can I Stop Losing My Files?"
A disciplined file management system isn't just a nice-to-have; it's a must. You need a consistent folder structure for every single video project, no exceptions.
Here’s a simple, effective system. For every new video, create a main project folder (e.g., How_To_Train_Your_Dragon_Video_05-20-2024). Inside that folder, create these subfolders every time:
01_Footage(I even make subfolders in here for A-cam, B-cam, screen recordings, etc.)02_Audio(for any sound recorded separately)03_Project_Files(where your Premiere Pro or DaVinci Resolve project lives)04_Graphics(logos, thumbnails, lower thirds, etc.)05_Exports(for the final, finished video file)
Sticking to a system like this is a game-changer. It makes finding assets effortless and is a true cornerstone of a professional YouTube video production workflow.
Ready to slash your post-production time? With TimeSkip, you can generate perfect, SEO-optimized YouTube chapters in seconds, not hours. It’s the ultimate workflow hack to boost viewer retention and discovery. Get started for free at TimeSkip.io and see the difference for yourself.
