That feeling of staring at a blank slate for a new video can be paralyzing. The secret to pushing past it isn't raw creativity—it's having a reliable YouTube video workflow. This isn't about boxing yourself in; it's about building a smart, repeatable system that turns a flicker of an idea into a polished, published video without the chaos.
This kind of system ensures you deliver consistent quality and frees up your mental energy to focus on what really matters: making great content.
Your Blueprint for a Flawless Video Workflow
The most successful YouTubers aren't just creative; they're incredibly efficient. They don't reinvent their process for every single upload. Instead, they rely on a battle-tested system that guides them from start to finish. This approach eliminates the constant "what do I do next?" anxiety that plagues so many creators and leads to burnout.
By developing pre-filming checklists, content templates, and a predictable schedule, you move from guesswork to confident execution. Before diving deep into the specifics for YouTube, it helps to understand the universal principles of a solid content creation workflow.
The Four Pillars of a Successful YouTube Workflow
To build a workflow that actually works, it’s helpful to think of it as a structure built on four essential pillars. Each one supports the next, creating a solid foundation for your entire video creation process.
To give you a clearer picture, here’s a breakdown of how these stages fit together, the key tasks involved in each, and some go-to tools that can help.
| Pillar | Key Activities | Essential Tools |
|---|---|---|
| Strategic Planning | Idea brainstorming, keyword research, scripting & outlining, shot lists | Notion, Google Docs, TubeBuddy, VidIQ |
| Efficient Production | Setting up gear, lighting, and audio; filming B-roll and A-roll | Your camera, quality microphone, lighting kit |
| Streamlined Editing | Assembling footage, color grading, sound mixing, adding graphics & text | DaVinci Resolve, Adobe Premiere Pro, Final Cut Pro |
| Smart Promotion | SEO optimization, thumbnail design, writing descriptions, social sharing | Canva, Photoshop, YouTube Studio, Buffer |
This table outlines a complete, end-to-end system. Mastering each pillar is what separates sporadic hobbyists from consistent, growing channels.
The infographic below really nails down the critical first pillar—planning—and shows how its components flow into one another.
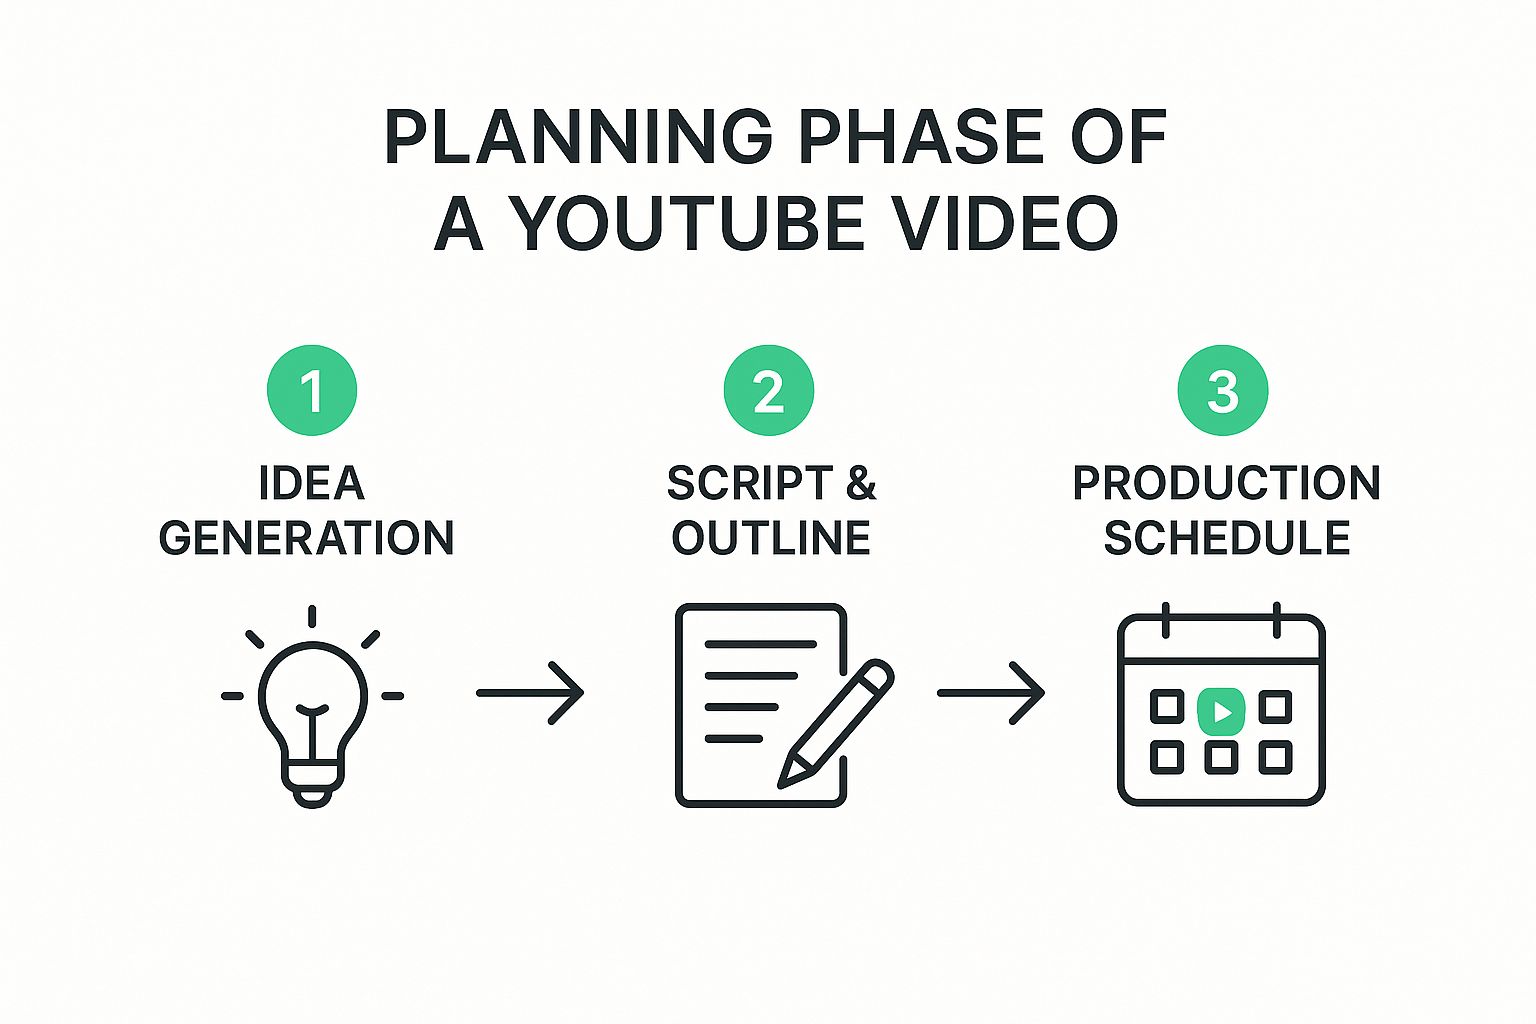
As you can see, a logical progression from a broad topic to a detailed production plan is what makes the rest of the process run smoothly.
Why a Systemized Approach Matters
Let's be real: winging it on YouTube isn't a long-term strategy. The sheer scale of the platform is staggering. As of 2025, YouTube hosts over 5.1 billion videos worldwide. That number has nearly doubled from 2.7 billion in just four years.
With over 360 hours of new content being uploaded every single minute, a haphazard approach means you're not just wasting time—you're getting lost in the noise.
A well-defined workflow is your competitive edge. It focuses your limited time and creative energy on what actually grows your channel, instead of squandering them on preventable errors and last-minute scrambles.
Building Your Foundation with Strategic Planning
 Let's be honest, the best YouTube videos rarely just happen. They're the product of serious, deliberate planning that takes place long before anyone even thinks about hitting the record button. This initial planning phase is easily the most important part of your entire youtube video workflow, setting the stage for everything else.
It's tempting to rush this part, I get it. But I’ve learned the hard way that skipping it leads to rambling, unfocused videos and an absolute nightmare in the editing suite. A few hours of focused planning now will save you double that time in post-production headaches. This is where you transform a fuzzy idea into a solid, actionable blueprint for success.
Finding Ideas That Actually Resonate
First things first, you need a topic that your audience genuinely wants to watch. This is about more than just what you feel like making; it’s about finding where your interests overlap with real viewer demand.
This is where you need to put on your detective hat and dig into some data. Keyword research tools are your best friends here.
- TubeBuddy & VidIQ: I live by these browser extensions. They plug right into YouTube and give you the dirt on search volume, competition, and what other related queries people are typing in. They're perfect for validating your ideas.
- Google Trends: This is great for spotting a topic's momentum. Is it a seasonal trend you can jump on, or a dying fad you should avoid?
- Community Deep Dives: Don't sleep on places like Reddit and Quora. They are absolute goldmines for understanding the exact problems and questions your audience is struggling with.
Your goal is to find that sweet spot: a topic you're excited about that also has a clear, hungry audience searching for answers.
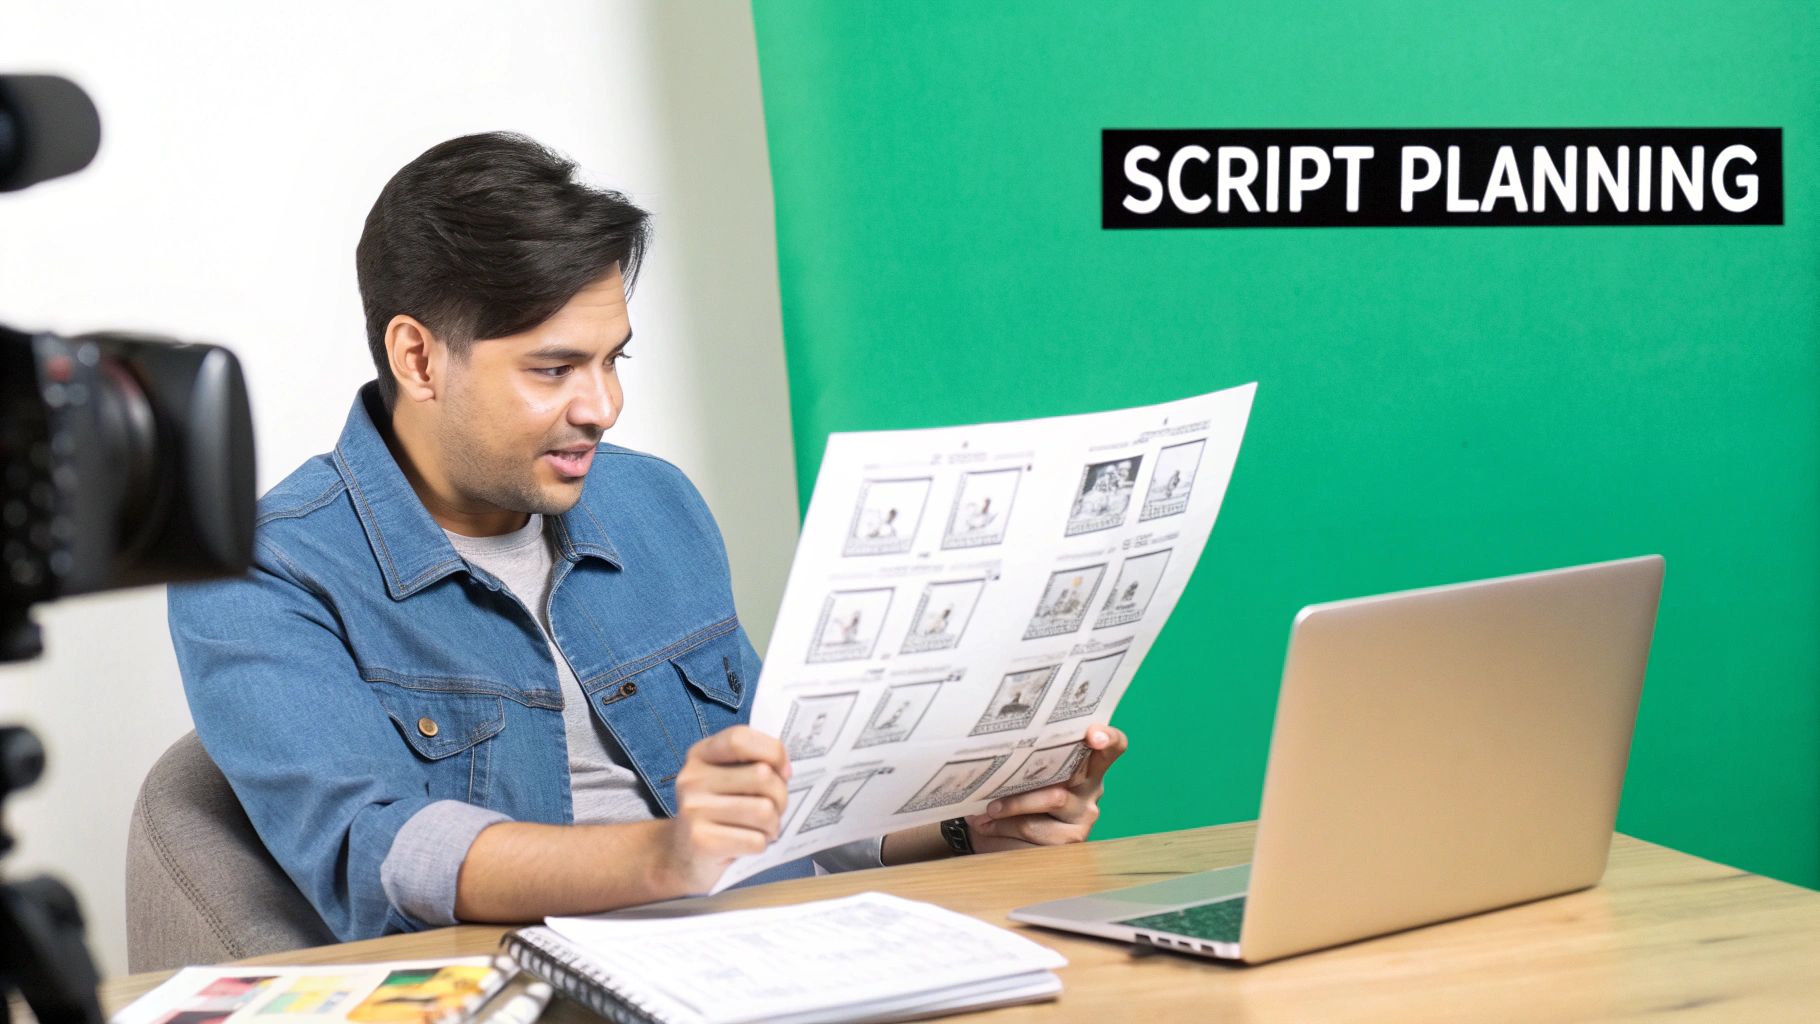
Crafting a Compelling Script and Outline
Once you've locked in your idea, it's time to give it some structure. Please, never just hit record and wing it. Whether you prefer a full word-for-word script or a detailed bullet-point outline, this document is the backbone of your video. A solid script ensures your video has a clear beginning, middle, and end.
A well-structured script is what turns a simple idea into a compelling story. It hooks the viewer fast, delivers value in a logical way, and wraps up with a powerful call to action that keeps people watching.
A great outline usually has a few key parts:
- The Hook: You have about 5-15 seconds to earn their attention. Start with a bold claim, a surprising question, or a quick preview of the final result.
- The Core Content: Break your main information into logical sections or steps. This not only helps your viewer follow along but makes the filming and editing process so much smoother.
- The Call to Action (CTA): What’s the next step for your viewer? Subscribe? Watch another one of your videos? Be specific and tell them exactly what to do.
If you want to get even more efficient, AI can be a huge help for brainstorming and outlining. Learning how to write AI prompts for better results can seriously speed up this part of your creative process.
Organizing Your Assets and Shot List
With your script ready, the last piece of the planning puzzle is getting all your logistics in order. This means creating a shot list and gathering all your digital assets before you start shooting. A shot list is just a checklist of every single shot you need to get. This includes your main A-roll (you talking to the camera) and all the B-roll you'll need to make the video dynamic (close-ups, screen recordings, product shots, etc.).
This simple step helps you avoid that gut-wrenching moment during the edit when you realize you forgot to film a crucial shot.
As you plan, think about how people will be watching. An effective youtube video workflow has to adapt. By 2025, YouTube's ad reach is projected to hit 2.53 billion users every month. People are already watching over 1 billion hours of content daily on their TVs alone. This shift to bigger screens means polished, high-quality visuals are no longer a luxury—they're a necessity that starts right here in the planning stage.
When you invest time in this foundational strategy—from research to asset organization—you’re building a powerful workflow that simply produces better videos, faster.
Mastering Your Filming and Production Process
Alright, your plan is locked in. Now comes the fun part: bringing your ideas to life on camera. The production phase is where all that preparation pays off, and getting this stage right is a total game-changer for your entire YouTube video workflow. The goal isn't just to hit record, but to create a repeatable process that gives you high-quality footage without the headache.
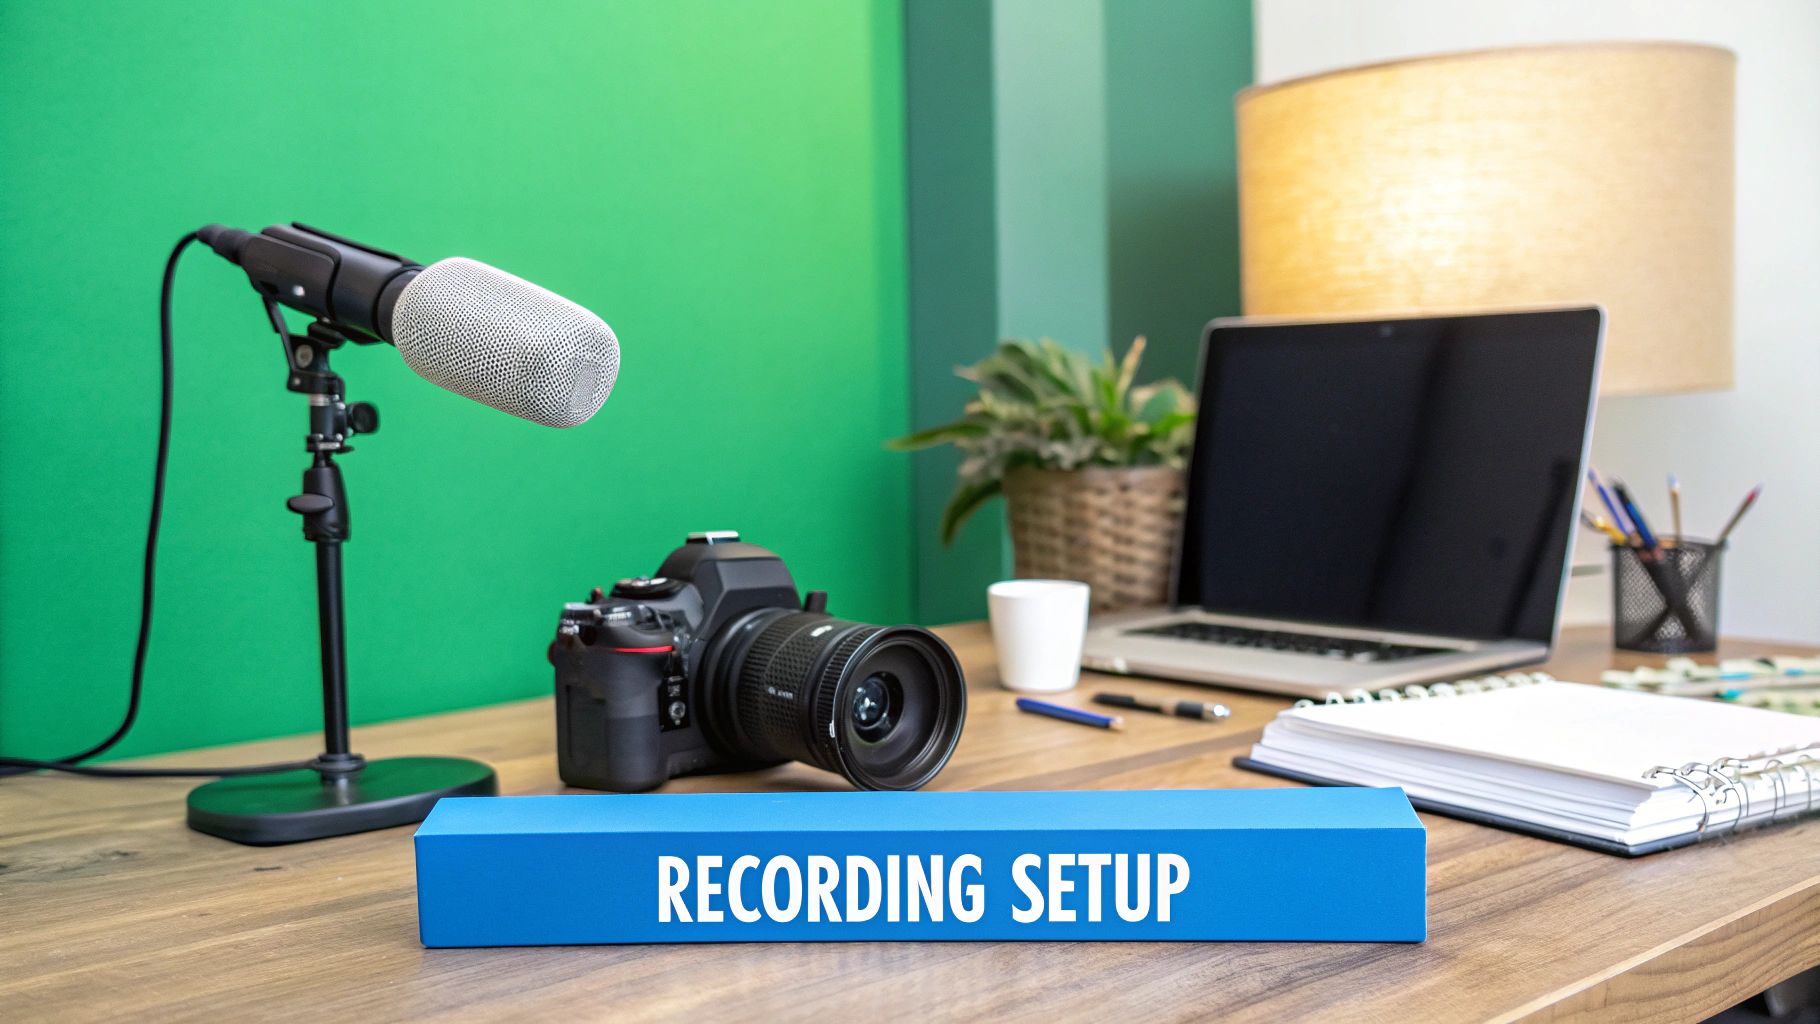
Think of your filming space less like a spare room and more like your personal studio. The real secret to professional-looking videos is controlling the environment—specifically, the light and sound. You don't need a Hollywood budget, just a smart, consistent setup.
Creating Your Optimal Recording Environment
Your surroundings have a massive impact on the final cut. A cluttered, noisy room will give you cluttered, noisy footage, which just means more cleanup work in the edit. To avoid that, dial in the two most critical elements first: audio and lighting.
Let's be clear: audio is non-negotiable. Viewers might forgive video that's a bit soft, but they will absolutely not tolerate bad sound. An external microphone is your best friend here. Even an inexpensive lavalier mic clipped to your shirt is a monumental improvement over your camera's built-in one. Get it positioned right—usually about 6-8 inches from your mouth—to capture crisp, clear audio without all the echo and background hum.
When it comes to lighting, the classic three-point setup (a key light, fill light, and back light) is the gold standard for a reason. It creates depth, gets rid of unflattering shadows, and makes you stand out from the background. You can pull this off with a pro kit or get creative with lamps and natural window light. Consistency is what matters.
Pro Tip: Once you nail a lighting and audio setup you love, document it. Snap a photo on your phone or jot down the settings. This little trick turns a frustrating setup process into a quick, repeatable checklist, saving you a ton of time before every shoot.
Dialing in Your Camera and Performance
Your camera is the main tool, but its settings are what unlock that professional look. Please, don't just leave it on auto mode. Taking a few minutes to learn some manual settings will elevate your video quality more than almost anything else.
- Set a Custom White Balance: Auto white balance can drift mid-take, making your colors shift unexpectedly. Set it manually with a white or grey card before you roll for consistent, true-to-life tones.
- Shoot in 24fps: For that smoother, more "cinematic" look, switch your camera to 24 frames per second. It just feels more natural and less like a home video.
- Master Your Aperture: A wider aperture (that’s a lower f-stop number) is how you get that beautifully blurred background (or bokeh) that makes you pop. It's one of the quickest ways to look like you know what you're doing.
Once the camera is rolling, your on-screen energy is everything. Talk to the lens like you're explaining something to a friend. Use your hands, show your personality, and let your enthusiasm shine through. Know your script, but don't sound like you're reading it. Your delivery is just as important as the technical stuff.
The Art of Capturing Engaging B-Roll
Your main shot (the A-roll) is the foundation, but B-roll is what keeps viewers hooked. This is all the extra footage—close-ups, screen recordings, different angles—that illustrates what you're talking about. It breaks up the visual monotony of a single talking-head shot and makes your videos feel dynamic.
This is where your shot list from the planning phase comes in handy. If you’re mentioning a specific product, get a great close-up of it. Discussing a website? Show a screen recording. B-roll adds context and visual interest, which keeps your audience engaged. It's also an editor's best friend for covering up cuts and structuring the story. Thinking about your B-roll early can also help you plan for viewer navigation. In fact, you can learn more about how to add chapters to YouTube to create an even better user experience.
Putting a system in place for your production process transforms it from a stressful scramble into a predictable, creative flow. This reliable YouTube video workflow ensures the footage you capture is top-notch and ready for a smooth, efficient editing session.
Polishing Your Video: The Post-Production Workflow
This is where the magic really happens. All that planning and filming comes together in the editing suite, where raw footage is molded into a finished story. If you want to stay consistent on YouTube without burning out, you need a solid, repeatable post-production system. I can't stress this enough.
This isn't just about splicing clips together. It’s about crafting the video’s rhythm, setting the mood, and making sure your message is crystal clear. Let's break down how to build an efficient editing workflow that gives you a professional result every single time.
First Things First: Get Organized
Before you even think about dragging a clip into your timeline, you have to get organized. Trust me on this: spending 15 minutes organizing your files at the start will save you hours of frustrated searching later on. For every video, I create a main project folder with the same set of subfolders inside.
Here’s the simple structure I’ve used for years:
- /01_Footage: All raw video files live here. I usually create subfolders for "A-Roll" (my main talking head shots) and "B-Roll" (all the supporting clips).
- /02_Audio: This is for my external mic recordings, background music, and any sound effects I plan to use.
- /03_Graphics: Logos, lower-thirds, call-to-action cards, and any other on-screen graphics go in here.
- /04_Exports: The final destination for every version of the rendered video.
- /05_Project Files: The actual project file from my editing software (Adobe Premiere Pro, Final Cut Pro, etc.) is saved here.
Once everything is neatly filed away, the first real step is syncing your clean audio from an external microphone with your camera footage. Thankfully, most modern editing software has an automatic sync feature that uses audio waveforms. It’s a game-changer.
From Rough Cut to Final Polish
With all your assets in place, it’s time for the first pass—the "rough cut." The goal here is pure speed. Lay out your A-roll and be ruthless. Chop out every mistake, long pause, and rambling tangent that doesn't move the story forward. Don't get bogged down with pretty transitions or effects; just build the core narrative.
Your rough cut is just the skeleton. The only things that matter are the story and the pacing. All the polish—the muscle and skin—comes later. This mindset keeps you from getting stuck on tiny details way too early.
Once the skeleton is there, you can start fleshing it out. Layer in your B-roll footage to add visual context, cover up jump cuts, and keep the viewer’s eye engaged. After that, I move on to the sound mix. This means balancing the volume of my voice, the music, and any sound effects to make sure everything is clean, clear, and professional.
The final touch is color. I start with color correction to fix any white balance or exposure problems, ensuring the footage looks natural. Then comes color grading, which is where the artistry comes in—I apply a specific look or "grade" to create a consistent mood. I highly recommend creating and saving presets for your color grades; it speeds up the process immensely.
To keep everything on track, a checklist is your best friend. It ensures no small detail is missed, especially when you're deep in the creative flow.
Essential Post-Production Checklist
This simple checklist helps maintain consistency and quality for every video, turning a complex process into a manageable set of steps.
| Task | Purpose | Recommended Practice |
|---|---|---|
| Organize Assets | Efficiency | Create a standard folder structure (Footage, Audio, Graphics, etc.) for every new project. |
| Sync Audio/Video | Quality | Use your software's automatic sync feature to align external audio with camera footage. |
| Create Rough Cut | Pacing & Story | Edit the A-roll first. Focus only on narrative flow and removing mistakes. Don't add B-roll yet. |
| Add B-Roll & Graphics | Engagement | Layer in supplemental footage and graphics to cover cuts and add visual interest. |
| Sound Design & Mix | Professionalism | Balance dialogue, music, and sound effects. Ensure audio levels are consistent. |
| Color Correct & Grade | Mood & Style | Correct exposure/white balance first, then apply a stylistic color grade for a consistent look. |
| Final Review | Quality Control | Watch the entire video from start to finish to catch any last-minute errors. |
Following these steps in order will make your editing process smoother and your final videos much more polished.
Smart Editing: Using AI and SEO to Your Advantage
The editing bay isn't just for manual labor anymore. AI-powered tools are changing the game. For instance, many tools can now automatically transcribe your entire video. Some, like Descript, even let you edit your video by simply deleting words from the text transcript—the software cuts the corresponding video clip automatically. It's an incredible time-saver.
This is also the perfect moment to think about your YouTube SEO. While editing, you're deeply familiar with the video's content and structure. This is the best time to map out your timestamps for YouTube Chapters. Chapters are fantastic for the viewer experience, but they're also a huge signal to the YouTube algorithm about what your video contains.
Manually typing out chapters can be a drag, but AI tools like TimeSkip can analyze your video and generate SEO-optimized chapters in seconds. This fits perfectly into a modern youtube video workflow by adding massive value without adding more work. Integrating this step is a crucial part of a complete YouTube video optimization strategy. By building these kinds of smart, repeatable systems, editing becomes less of a chore and more of a powerful engine for your channel's growth.
Time to Launch: Your Publishing and Promotion Game Plan
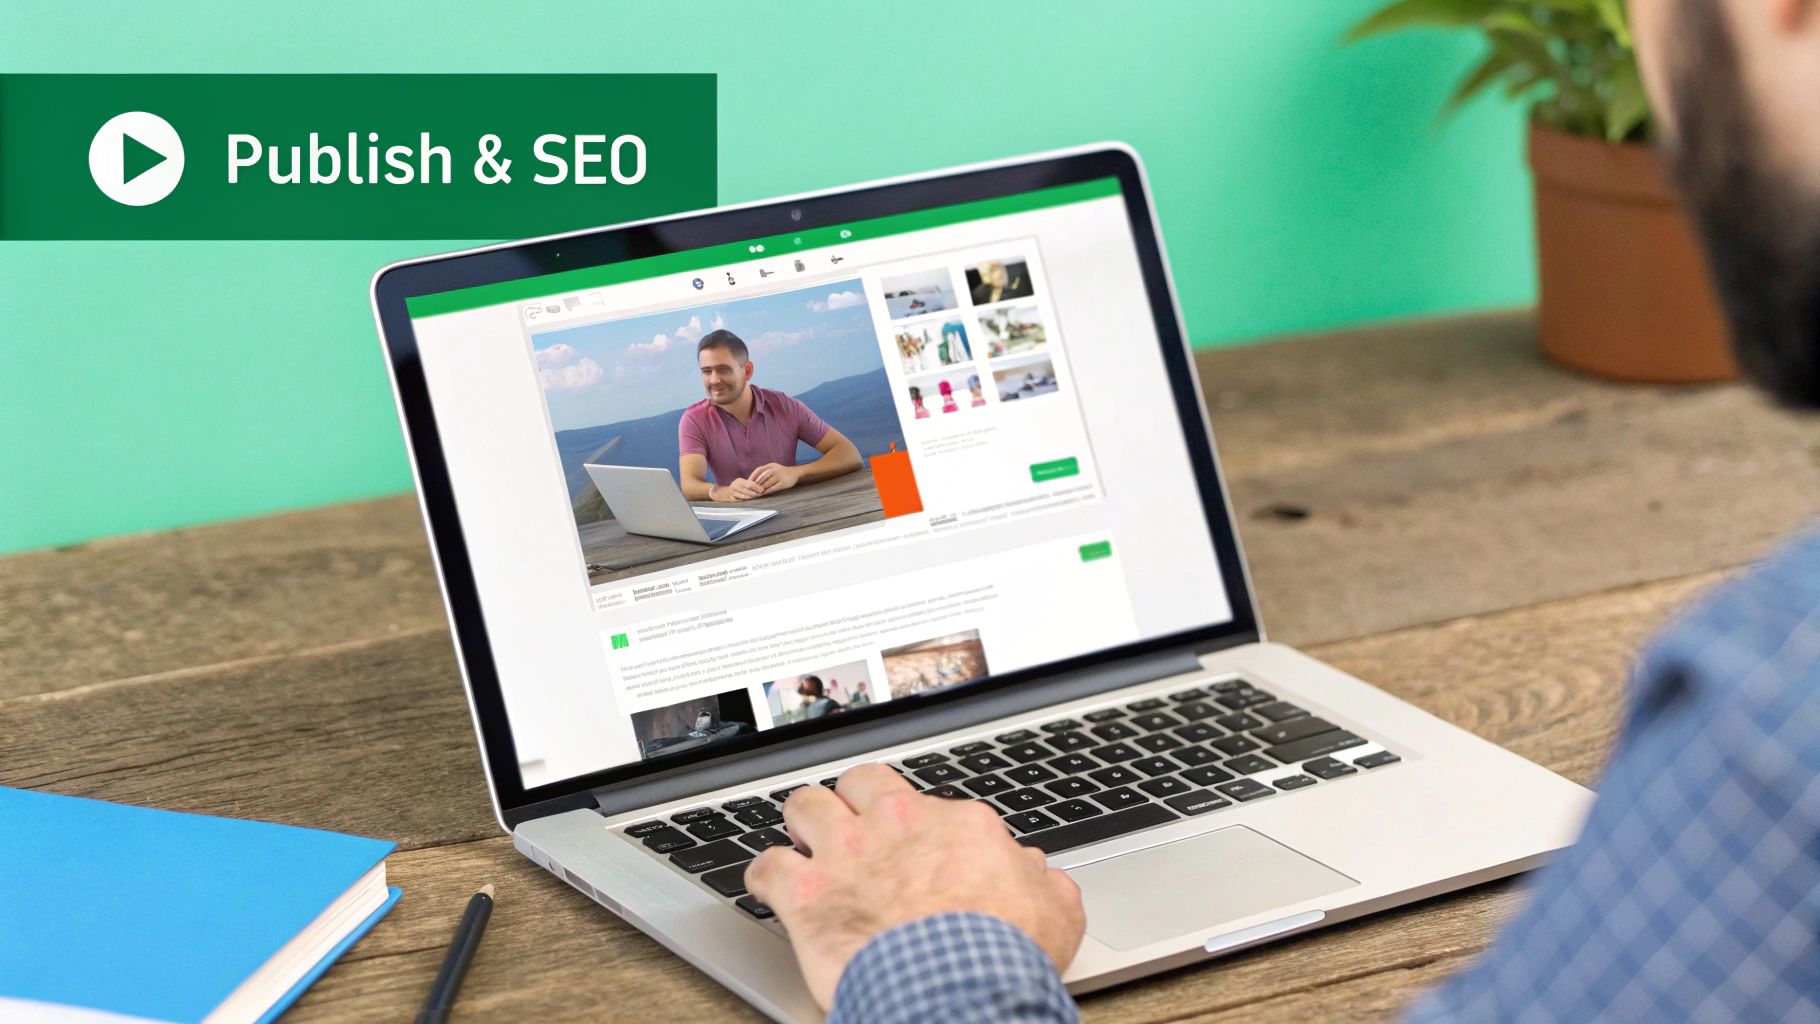
It’s easy to breathe a sigh of relief after all the work of planning, shooting, and editing. You might feel like hitting “Publish” is the finish line, but from my experience, it’s really the starting gun. This final stage of your YouTube video workflow—how you publish and promote—is what will separate a video seen by a few hundred people from one that reaches the massive audience it deserves.
This is where you give your video its best possible shot at success. A weak title or a dull thumbnail can stop a fantastic video dead in its tracks. Think of this as the final, crucial quality check before you send your work out into the world.
The Final Metadata and SEO Sweep
Before that video goes live, take a moment for one last, critical SEO review. This means fine-tuning all the metadata that both YouTube’s algorithm and your potential viewers will use to figure out what your video is about. It's essentially the digital packaging for your content.
- A Keyword-Rich, Clickable Title: Your title needs to be compelling while also including your main keyword. Put yourself in the viewer's shoes: what would they actually type into the YouTube search bar? A formula I've found that works well is combining a keyword-focused phrase with a touch of curiosity. So, instead of "My Review," something like "The Ultimate M2 MacBook Air Review: What They Don't Tell You" works much better.
- A Compelling Description: The first couple of lines of your description are absolute gold. This is the text that shows up in search results and directly under your video player. Use this prime real estate to quickly summarize the video's value and naturally weave in your primary and secondary keywords.
- Strategic Tags: While tags aren't as powerful as they used to be, they still play a role in helping YouTube properly categorize your video. I always make sure to fill this section with my main keyword, some close variations, and other relevant topics that the video touches on.
Getting these elements right is non-negotiable if you want to be found. For a much deeper look into these strategies, our detailed guide has more advanced YouTube SEO tips to help you climb the search rankings.
Designing a Thumbnail That Screams "Click Me!"
Your thumbnail is your video's billboard. On a crowded YouTube homepage, it’s often the only thing that determines whether someone clicks on your video or your competitor's. A truly effective thumbnail does three things: it grabs attention, it clearly shows what the video is about, and it sparks curiosity.
Over the years, I've learned to lean on bright, contrasting colors to make my thumbnails pop. Including a human face showing a strong, clear emotion (like surprise or excitement) is incredibly powerful. Lastly, add just a few words of bold, easy-to-read text—three to five words, max—that adds context to the title and makes people wonder. Never just pull a random frame from the video; always create a custom thumbnail using a tool like Canva or Photoshop.
A great video with a bad thumbnail is like a brilliant book with a boring cover—almost no one will ever discover what's inside. Your thumbnail isn't an afterthought; it’s a primary marketing tool.
Launch and Promote: The First 24 Hours Are Everything
The moment you hit publish, a crucial clock starts ticking. Your video's initial performance sends powerful signals to the YouTube algorithm. Your goal is to drive as much positive engagement as you can, as fast as you can.
This is where having a promotion plan ready to go is a game-changer. It’s not about just dropping a link everywhere; it’s about creating tailored content for each platform.
- Your Email List: These are your most dedicated fans. Send them a personal email letting them know the new video is live.
- Social Media Teasers: Don't just post the link. I create native, 30-60 second vertical clips for Instagram Reels, TikTok, and YouTube Shorts. These clips tease the most interesting part of the full video and drive people to my channel for the whole story.
- Community Engagement: Find relevant subreddits, Facebook groups, or Discord servers where your video provides genuine value and share it there. The key is to engage in the conversation, not just spam a link.
Finally, make sure you're active in your own comment section for the first few hours. Responding to those early comments not only doubles the visible engagement but also signals to the algorithm that your video is sparking a conversation. That initial momentum is vital on a platform as massive as YouTube. With 2.53 billion monthly active users as of early 2025, you need a deliberate and energetic launch to stand out from the noise. You can explore more of these user trends in Global Media Insight's comprehensive analysis.
Your YouTube Workflow Questions, Answered
Even with the best-laid plans, you're going to have questions pop up while you're in the trenches of creating. A great YouTube video workflow isn't a rigid set of rules you never break; it's a living system you constantly tweak and improve. This section tackles some of the most common questions I hear from creators, with practical answers to help you get past those frustrating roadblocks.
Think of this as your go-to guide for troubleshooting and fine-tuning your own content engine.
How Long Should a Typical YouTube Video Workflow Take?
This is probably the number one question, but the honest answer is: it depends. The time it takes is tied directly to how complex your video is and how much experience you have under your belt. A simple talking-head video, for example, might take you 4-6 hours from the initial idea to hitting the publish button. On the other hand, a deeply researched mini-documentary could easily eat up 40+ hours.
The real goal isn't to be the fastest; it's to build a process that's consistent and realistic for you.
Forget about how long it takes another creator. The single most valuable thing you can do is start tracking your own time for each phase—planning, shooting, editing, and promoting. You'll quickly see where your personal bottlenecks are, and that tells you exactly where you can get more efficient.
Using templates for your scripts, thumbnail designs, and editing projects is, by far, the quickest way to shave hours off your total time. Remember, consistency always wins out over raw speed.
What Are the Most Common Workflow Mistakes?
So many creators, especially when they're new, stumble over the same few issues. Just knowing what these common pitfalls are is half the battle in avoiding them in your own YouTube video workflow.
From my experience, here are the top three mistakes I see again and again:
- Skipping the Planning Stage: This is the big one. Diving right into filming without a script, a solid outline, or a shot list is a recipe for a rambling, unfocused mess. You'll pay for it tenfold with a brutal, time-sucking editing session.
- Ignoring Audio Quality: This mistake is an audience killer. Viewers are surprisingly forgiving of video that isn't perfect, but they have almost zero tolerance for bad audio. If your sound is echoey, muffled, or full of background noise, they will click away in a heartbeat.
- Forgetting to Promote: Too many creators fall into the "upload and pray" mindset. They pour all their energy into making a great video, publish it, and then just hope people find it. You have to actively promote your work on other platforms to give it that crucial initial push in the algorithm.
What Are the Best Tools for Managing a Video Workflow?
The "best" tool is simply the one that solves a real, recurring problem for you. There isn't a single magic bullet, but a few stand out as top-tier choices for different parts of the process.
- For Project Management: You need a way to track a video's journey from idea to finished product. Visual tools like Trello, Asana, or Notion are fantastic for turning a chaotic to-do list into a clean, easy-to-follow pipeline.
- For SEO and Ideation: To find video ideas that people are actually searching for, VidIQ and TubeBuddy are the undisputed champs. They bake invaluable keyword data and competitor insights right into the YouTube interface.
- For Post-Production: Beyond your main video editor (like DaVinci Resolve or Premiere Pro), look for tools that automate the tedious stuff. AI-driven software like Descript offers transcript-based editing that can slash the time it takes to assemble a rough cut.
How Can a Solo Creator Improve Their Workflow?
Flying solo as a creator is a massive balancing act. Without a team to fall back on, efficiency isn't just a goal—it's a survival tactic. The secret is to work smarter, not just harder.
Batching is your superpower. This means dedicating specific blocks of time to one type of task. For instance, you might spend one day scripting four videos, the next day filming them all, and then edit them over the following week. This prevents the mental whiplash of constantly switching gears between creative, technical, and administrative tasks.
Templates are your other secret weapon. Create them for absolutely everything:
- Script Outlines: A pre-made structure in Google Docs.
- Thumbnail Designs: A customizable template in Canva.
- Editing Projects: A project file in your editor with your intro, outro, branding, and audio effects already dropped into the timeline.
Finally, be brutally honest with yourself about your output. One high-quality, well-planned, and properly promoted video a week is infinitely more powerful than three rushed, mediocre videos that land with a thud. Consistency in quality will grow your channel much faster than consistency in quantity alone.
Ready to supercharge your YouTube editing workflow? TimeSkip automatically generates SEO-optimized chapters for your videos in seconds, boosting viewer retention and search visibility. Get started with two free videos today and see the difference for yourself at https://timeskip.io.
