In a content-saturated world, the distinction between amateur and professional video has never been more critical. Producing videos that captivate audiences, communicate messages clearly, and achieve specific goals requires more than just a high-end camera. It demands a disciplined approach and a firm grasp of the entire production pipeline, from the initial spark of an idea to the final, polished export. This guide is built to deliver that discipline, offering a structured collection of essential video production best practices designed to elevate your work, optimize your workflow, and ensure your content consistently meets a professional standard.
We will move beyond generic advice and dive into actionable strategies covering everything from meticulous pre-production and strategic lighting to crystal-clear audio and efficient file management. These principles are the bedrock of high-quality video, forming the framework that separates memorable content from the forgettable. You will learn how to organize projects for maximum efficiency, compose shots with purpose, and apply color grading that enhances your story. To truly unlock professional video quality, especially with aerial footage, a key step involves mastering drone video editing software and its diverse tools and techniques.
Whether you're an independent creator growing a YouTube channel, a marketer leveraging video for brand growth, or a podcaster expanding into visual formats, these proven methods will provide immediate value. By implementing these core practices, you can streamline your process, avoid common pitfalls, and dedicate more energy to what truly matters: your creative vision. Let’s explore the fundamental techniques that will transform your video projects from good to exceptional.
1. Pre-Production Planning and Storyboarding
Effective video production doesn't start when the camera rolls; it begins with a meticulous and comprehensive pre-production phase. This foundational stage is where you build the blueprint for your entire project, ensuring every creative and logistical detail is defined before filming. A well-executed plan prevents costly mistakes, streamlines the production process, and ultimately leads to a more polished final product. This is one of the most critical video production best practices for projects of any scale, from a solo YouTube video to a major commercial shoot.
The core of pre-production involves transforming a creative concept into an actionable plan. This means developing a tight script, creating detailed shot lists that specify camera angles and movements, and sketching storyboards to visualize the sequence of events. As legendary director Alfred Hitchcock, a master of pre-production, famously noted, "When I've finished my script and my storyboards, the film is perfect. I then have to go and shoot it." This mindset highlights the power of planning to solve problems on paper, saving time, money, and creative energy on set.
Key Planning Components
To implement this practice effectively, focus on these core deliverables:
- Detailed Shot Lists: Don't just list scenes. Specify the shot type (e.g., wide, medium, close-up), camera angle (e.g., high-angle, low-angle), lens choice, and any planned camera movement (e.g., dolly in, pan right).
- Storyboards: You don’t need to be an artist. Simple sketches or digital tools like Storyboarder can effectively map out the visual flow and composition of each shot. This helps the entire crew understand the director's vision.
- Location and Resource Management: Conduct thorough location scouts, taking photos and measurements. Simultaneously, create a detailed budget and production schedule, allocating resources and building in buffer time for unexpected delays.
The following diagram illustrates the fundamental workflow of the pre-production planning process.
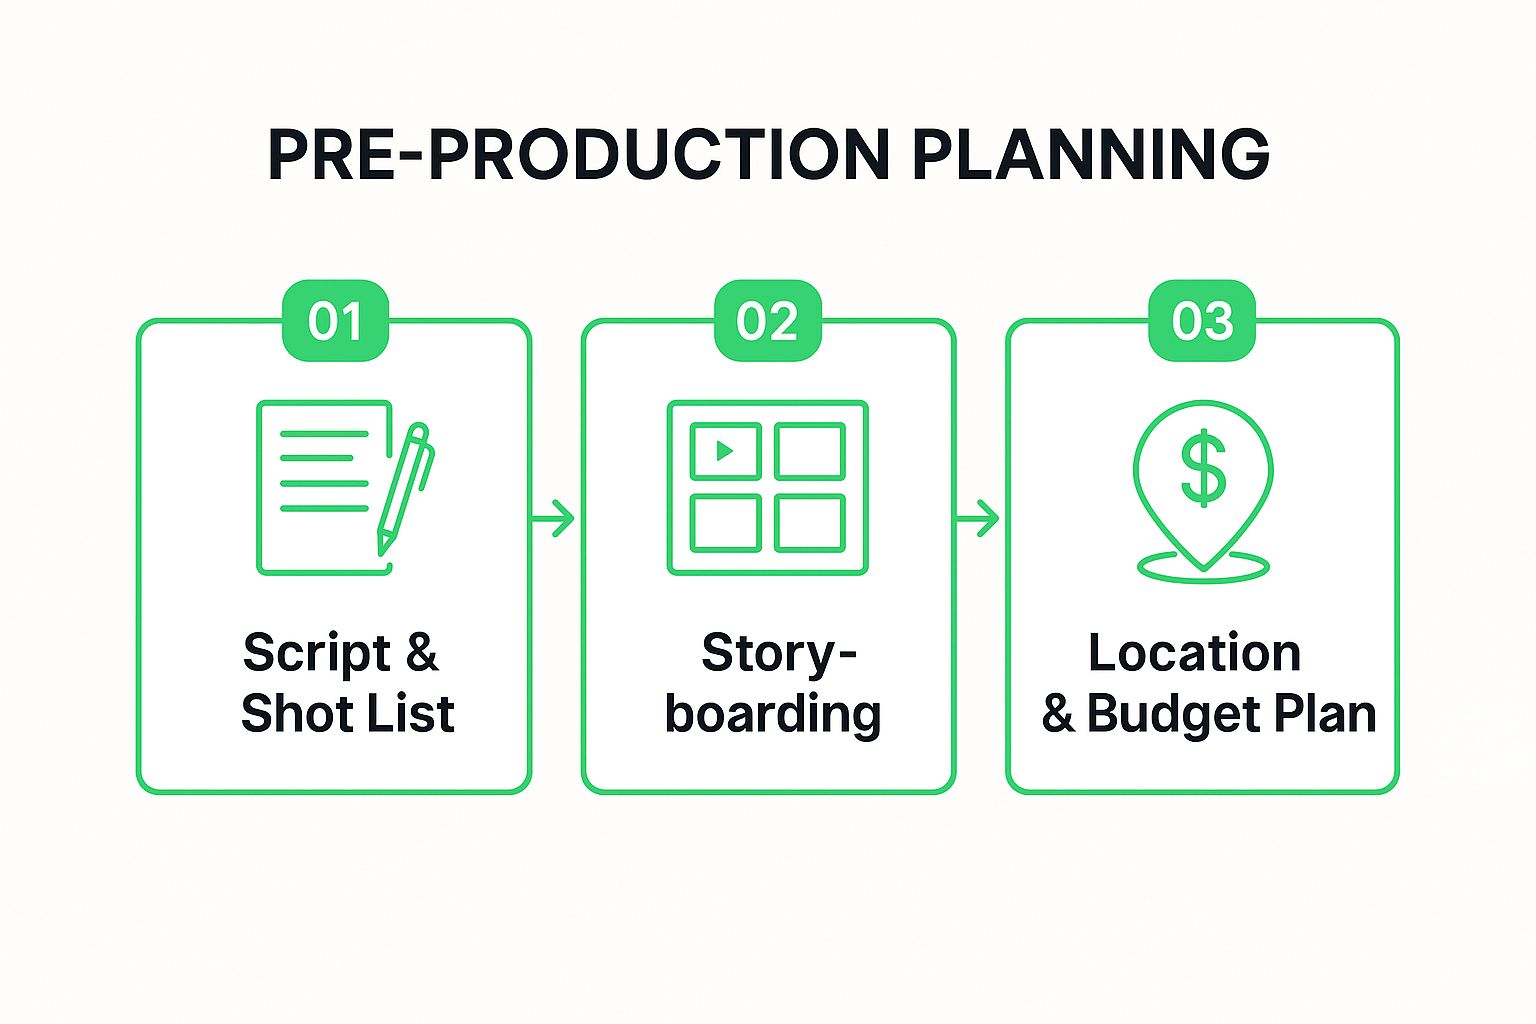
This linear progression demonstrates how each step builds upon the last, moving from the written concept to a complete logistical and creative roadmap.
2. Proper Lighting Setup and Management
Lighting is the paintbrush of video production; it shapes emotion, directs attention, and transforms a flat image into a dynamic, three-dimensional world. Proper lighting setup and management isn't just about making your subject visible; it's about sculpting the scene to create mood, depth, and a professional aesthetic. Mastering this element is one of the most impactful video production best practices because it instantly separates amateur work from polished, cinematic content.
The art of lighting lies in controlling the interplay of light and shadow to serve the narrative. Whether it's the high-contrast, moody atmosphere of Netflix's House of Cards or the pristine, even illumination in an Apple product video, every choice is deliberate. Cinematographers like Roger Deakins and Greig Fraser have built legendary careers on their ability to use light to tell a story. As Fraser demonstrated in The Mandalorian, thoughtful lighting can define the entire visual language of a project, creating iconic and memorable imagery.
Key Lighting Components
To implement this practice effectively, focus on mastering the fundamentals of a three-point lighting setup and beyond:
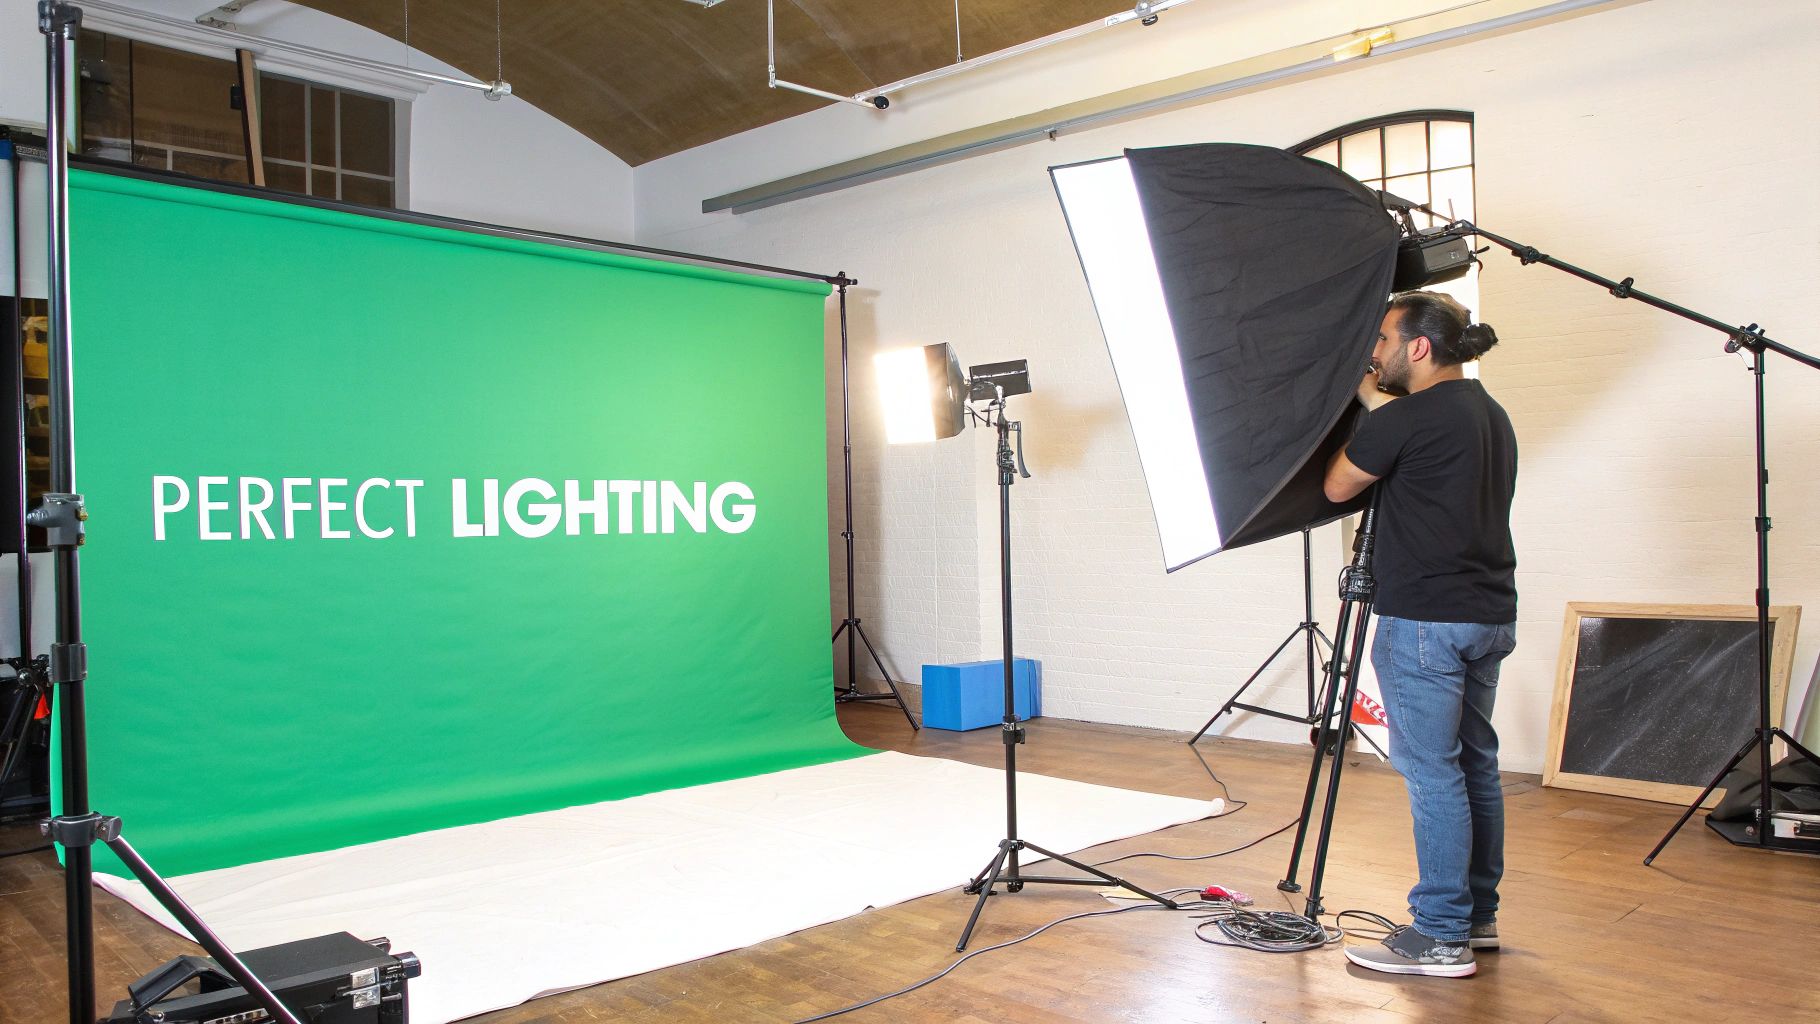
- Master the Three-Point Setup: This foundational technique uses a key light (main light), fill light (to soften shadows), and backlight (to separate the subject from the background). Position the key light at a 45-degree angle from the subject for a flattering, dimensional look.
- Control Color Temperature: Ensure all your light sources have a matching color temperature (measured in Kelvin) to avoid unnatural color casts. A scene mixed with warm indoor lights and cool daylight can look jarring and unprofessional. Use gels on your lights or adjust your camera's white balance to unify the scene.
- Utilize Diffusion and Reflection: Hard light creates harsh, defined shadows. Use diffusion materials like softboxes or sheer fabric to soften your light source for a more flattering effect. Use reflectors or bounce cards to fill in unwanted shadows without adding another light source.
The following video from Aputure, a leading lighting manufacturer, provides a comprehensive look at the principles behind cinematic lighting.
This tutorial breaks down how different lighting qualities and positions contribute to the overall mood and professional quality of a shot.
3. High-Quality Audio Recording and Management
While stunning visuals may capture a viewer's attention, poor audio quality will almost certainly drive them away. High-quality audio recording and management is a non-negotiable practice that involves capturing clean, clear, and professional sound. This encompasses everything from selecting the right microphones and using proper recording techniques to actively monitoring audio levels during the shoot. Prioritizing sound is one of the most impactful video production best practices because it ensures your message is heard clearly and maintains a professional standard that keeps your audience engaged.

The importance of this practice is championed by legendary sound designers like Walter Murch and Ben Burtt, who demonstrated that sound is not just an accessory but a core component of the storytelling experience. Their work shows that audio can evoke emotion, establish atmosphere, and guide narrative focus. From the pristine dialogue in a Marvel Studios film to the consistent clarity in Casey Neistat's run-and-gun vlogs, professional audio separates amateur content from polished productions. It is a critical investment in your video's overall impact and credibility.
Key Audio Components
To elevate your audio from an afterthought to a professional asset, focus on these fundamental practices:
- Microphone Selection and Placement: Use the right tool for the job. Lavalier (lav) mics are ideal for interviews as they capture clear dialogue from a single person. Boom mics are better for scripted scenes or wider shots where you need to hide the microphone from the frame. The golden rule is to always place the mic as close to the sound source as possible without it being seen.
- Active Monitoring and Technical Standards: Never "set it and forget it." A dedicated crew member should monitor audio levels throughout the recording using professional, closed-back headphones. Record at a professional standard of 48kHz/24-bit to capture more dynamic range and provide greater flexibility in post-production.
- Environmental Sound Capture: Always record at least 30-60 seconds of "room tone" in every location. This is the natural, ambient sound of the space without any dialogue, and it is essential for smoothing audio edits and filling gaps in post-production. Furthermore, leveraging a guide to free AI sound generator tools can provide unique and royalty-free sound effects, greatly enhancing your video's soundscape.
4. Thoughtful Shot Composition and Framing
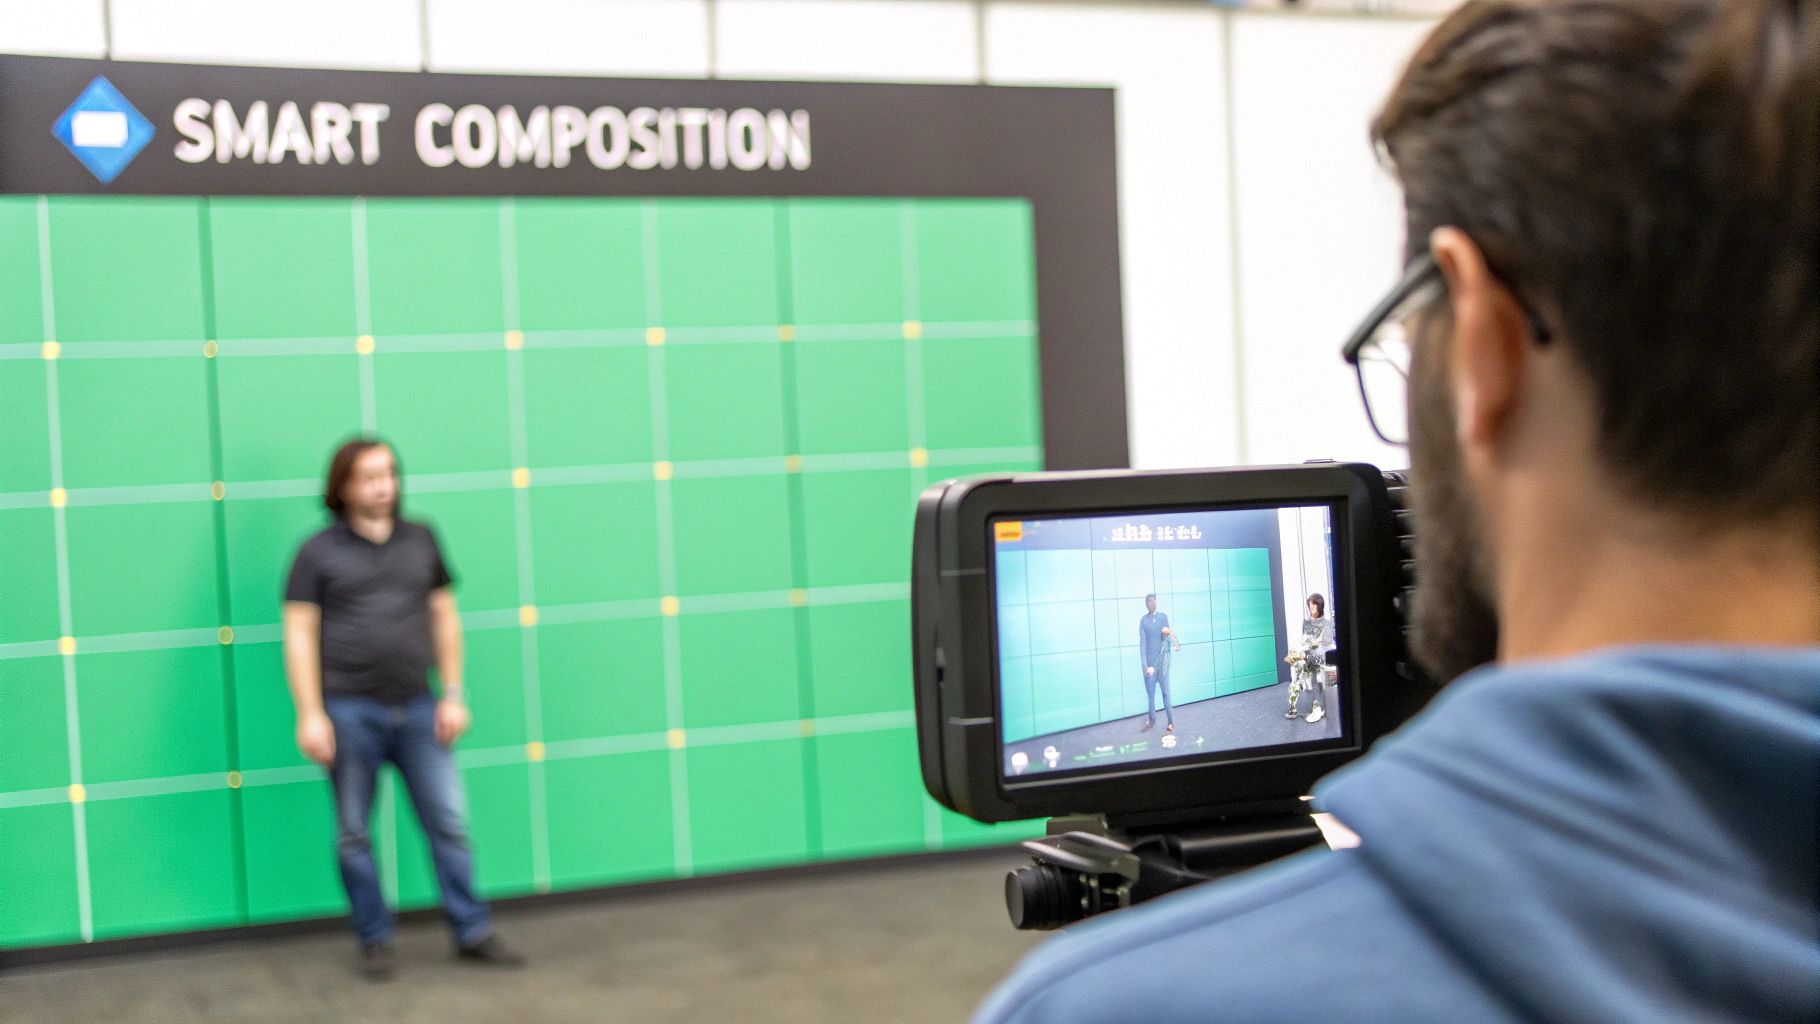
Beyond simply pointing the camera at a subject, thoughtful shot composition is the art of deliberately arranging visual elements within the frame. This practice leverages established principles like the rule of thirds, leading lines, and depth to create aesthetically pleasing, emotionally resonant, and clear visual narratives. By mastering composition, you elevate your footage from a simple recording to a piece of compelling visual storytelling, guiding the viewer's eye and reinforcing the video's message. This is one of the most impactful video production best practices for creating professional-looking content.
The power of composition lies in its ability to communicate non-verbally. Directors like Wes Anderson and Stanley Kubrick are celebrated for their distinctive styles, with Anderson favoring meticulous symmetry and Kubrick using one-point perspective to create feelings of order or unease. As cinematographer Emmanuel Lubezki demonstrates through his work, how you frame a shot can transform an ordinary moment into something profound. The goal is to make every frame intentional, ensuring that all elements work together to serve the story.
Key Compositional Techniques
To implement this practice effectively, focus on these core techniques during filming:
- Apply the Rule of Thirds: Activate your camera's grid lines and place key subjects or elements along the lines or at their intersections. This creates a more balanced and dynamic image than centering the subject.
- Vary Shot Sizes: Mix wide, medium, and close-up shots within a scene to maintain visual interest and control the narrative pace. A wide shot establishes context, while a close-up emphasizes emotion.
- Manage Depth and Focus: Use a shallow depth of field (blurry background) to isolate your subject and eliminate distractions. Conversely, a deep depth of field keeps everything in focus, which is ideal for landscape or architectural shots.
- Control the Frame: Pay close attention to the background to avoid distracting elements. Ensure you leave appropriate headroom (space above the subject's head) and looking room (space in front of a subject in profile) to create a sense of balance.
5. Efficient Project Organization and File Management
In the fast-paced environment of video production, the unseen work of organizing digital assets is as crucial as the creative work itself. Efficient project organization and file management is the systematic practice of structuring, naming, and storing all digital assets, including raw footage, audio files, graphics, and project files. A robust system prevents data loss, eliminates time wasted searching for files, and enables seamless collaboration, making it one of the most impactful video production best practices for maintaining sanity and efficiency.
The core principle is to create a single source of truth that is intuitive for every team member. This discipline transforms a chaotic collection of files into a well-oiled machine, ensuring a smooth handoff between production, post-production, and final delivery. As seen in the highly complex VFX workflows of studios like Marvel or the extensive archival systems of documentary filmmakers like Ken Burns, meticulous organization is not just an administrative task; it is the backbone of successful, scalable video production. This structured approach is what allows teams to manage vast amounts of data without compromising speed or accuracy. To ensure every stage runs smoothly, it's essential to understand how to apply robust strategies for mastering the project management workflow.
Key Organizational Components
To implement this practice effectively, focus on these foundational strategies:
- Standardized Naming Conventions: Before shooting begins, establish a clear and consistent naming convention for all files (e.g.,
ProjectName_Date_Scene_Shot_Take). This simple rule removes ambiguity and makes assets easily searchable. - Master Folder Templates: Create a universal folder structure template for every new project (e.g.,
01_Footage,02_Audio,03_Graphics,04_ProjectFiles,05_Exports). This ensures every project is organized identically, which is vital for team collaboration and long-term archiving. - The 3-2-1 Backup Strategy: This industry-standard rule is non-negotiable for preventing data loss. Maintain at least three copies of your data on two different types of media, with one copy stored off-site (e.g., cloud storage or a separate physical location).
By building these habits into your process, you create a resilient and efficient system. For those looking to delve deeper into building a complete production system, you can learn more about crafting a comprehensive video production workflow.
6. Color Correction and Color Grading Workflow
Transforming raw footage into a cinematic experience often hinges on the powerful, two-stage process of color correction and grading. Color correction is the technical phase of fixing issues like exposure, white balance, and contrast to create a neutral, accurate baseline. Color grading is the subsequent creative phase, where you apply a specific look or style to evoke mood, enhance the narrative, and establish visual consistency. This disciplined workflow is one of the most impactful video production best practices for elevating production value and achieving a professional, polished aesthetic.
The distinction between these two steps is crucial for success. Attempting to apply a creative grade to uncorrected footage is like building a house on a crooked foundation; the final result will be inconsistent and flawed. By first correcting and then grading, you ensure every shot starts from a clean, standardized point. As celebrated colorist Stefan Sonnenfeld, who shaped the look of blockbusters like A Star Is Born, demonstrates, color is a storytelling tool. The iconic green tint of The Matrix or the vibrant orange and teal of Mad Max: Fury Road weren't random choices; they were deliberate grades designed to immerse the audience in a unique world.
Key Workflow Components
To implement this practice effectively, separate the process into two distinct stages:
- Stage 1: Technical Correction: Begin by analyzing your footage with tools like waveform monitors, vectorscopes, and RGB parades. Adjust exposure so your highlights aren't clipped and shadows aren't crushed. Use a white balance tool to correct color casts and ensure whites appear pure white. Finally, adjust contrast to create a balanced image with good separation between tones. Always work with RAW or log footage when possible for maximum flexibility.
- Stage 2: Creative Grading: Once corrected, begin applying your creative look. This is where you can use Look-Up Tables (LUTs), like those popularized by creators like Peter McKinnon, to achieve a specific style. Make subtle adjustments to hue, saturation, and luminance to enhance the mood. The goal is to support the story, not distract from it.
- Maintain Consistency: To ensure a cohesive look across your project, create and save your own custom presets or LUTs. Apply your grade to a primary clip and then copy those attributes to other clips shot in similar lighting conditions, making minor adjustments as needed. A calibrated monitor is essential for ensuring your colors are accurate and will translate well across different screens.
7. Strategic Equipment Selection and Management
Choosing the right gear is a balancing act between creative ambition, budget realities, and logistical constraints. Strategic equipment selection isn't about owning the most expensive camera; it's about making informed decisions to assemble a toolkit that perfectly serves your project's specific needs. A thoughtful approach ensures your resources are invested wisely, preventing you from being over-equipped for a simple shoot or under-equipped for a complex one. This careful consideration is one of the most practical video production best practices for achieving a professional look without breaking the bank.
The core principle is to align your equipment choices with your final output goals. A creator like MKBHD, known for pristine 8K tech reviews, strategically invests in high-end RED cameras because his brand is built on unparalleled image quality. Conversely, a wedding videographer might prioritize a lightweight mirrorless system from Sony or Canon for its superior autofocus and portability, which are critical for capturing fleeting moments. As technical educator Philip Bloom has demonstrated throughout his career, the "best" camera is the one that best tells the story you want to tell, a philosophy that empowers creators at every budget level.
Key Equipment Considerations
To implement this practice effectively, focus on a holistic view of your production kit:
- Rent Before You Buy: For specialized or expensive equipment like a cinema camera or an anamorphic lens needed for a single project, renting is almost always the smarter financial decision. It allows you to access high-end gear without the significant capital investment and maintenance costs.
- Prioritize Quality Audio: Poor audio can ruin an otherwise beautiful video. Invest in quality microphones, recorders, and wind protection before splurging on a camera upgrade. A clean audio track is often more critical to the viewer's experience than a slight improvement in video resolution.
- Build a Cohesive Ecosystem: Select equipment that works well together. This includes ensuring your lenses are compatible with your camera mount, your batteries are standardized across different devices where possible, and your editing software efficiently handles the camera's video files. This synergy saves significant time and frustration during both production and post-production.
8. Effective Communication and Client Management
Beyond technical skills like camera work and editing, the ability to manage client relationships and maintain clear communication channels is a cornerstone of professional success. This practice involves establishing transparent workflows, setting realistic expectations, and fostering a collaborative environment from kickoff to final delivery. For any production company or freelancer, mastering this skill is essential for building trust, securing repeat business, and ensuring projects are completed on time, on budget, and to the client's satisfaction. This is one of the most vital business-oriented video production best practices that separates thriving professionals from struggling creatives.
The core of this practice is proactive and structured communication. It's about anticipating client needs, providing regular progress updates, and creating a feedback loop that feels constructive rather than chaotic. Business leaders like Gary Vaynerchuk emphasize a client-first service philosophy, while creators like Casey Neistat have built brands on radical transparency in their business dealings. This approach transforms the client-producer dynamic from a simple transaction into a genuine partnership, where both parties are aligned on the same creative and strategic goals.
Key Communication Components
To implement this practice effectively, integrate these protocols into your workflow:
- Establish Clear Terms Upfront: Before any work begins, get everything in writing. This includes a detailed scope of work, project deliverables, timelines, and a clear policy on revisions. Specify the number of included revision rounds and the cost for any additional work beyond the initial scope.
- Provide Regular, Proactive Updates: Don't wait for the client to ask for an update. Send scheduled emails with work-in-progress samples, even if it's just a rough cut or a color grade test. Using project management tools like Trello or Asana can help keep all communication and deliverables organized and visible.
- Manage Feedback Constructively: When challenges arise, present them with potential solutions, not just as problems. Frame feedback as a collaborative effort to improve the final product. Always aim to under-promise and over-deliver, even in small ways, to exceed expectations and solidify the relationship.
A well-defined communication plan is a key part of an efficient production process. You can learn more about building a structured video production workflow on timeskip.io that incorporates these client management principles.
9. Continuous Learning and Skill Development
The landscape of video production is in a constant state of flux, with new technologies, software updates, and creative techniques emerging at a breathtaking pace. A static skillset will quickly become outdated. Committing to continuous learning and skill development is not just beneficial; it’s an essential practice for staying relevant, competitive, and creatively fulfilled. This mindset ensures you can adapt to industry shifts and consistently elevate the quality of your work. Embracing this evolution is a core component of modern video production best practices.
The principle of continuous learning involves actively seeking out new knowledge and experimenting with unfamiliar methods. This could mean mastering a new feature in your editing software, understanding the nuances of a new camera sensor, or exploring emerging distribution platforms. As tech educator and creator MKBHD demonstrates by consistently adapting his content to new formats and technologies, staying ahead of the curve allows you to innovate rather than just imitate. This proactive approach to education prevents creative stagnation and equips you with the tools to solve new production challenges effectively.
Key Learning Components
To implement this practice effectively, integrate these habits into your workflow:
- Dedicated Learning Time: Schedule a few hours each week specifically for education. This could involve watching tutorials from creators like Peter McKinnon or Gerald Undone, reading industry blogs, or taking an online course. Treat this time as a non-negotiable part of your job.
- Practical Experimentation: Theory is only half the battle. Apply what you've learned to personal or low-stakes projects before using new techniques on client work. This hands-on practice builds muscle memory and reveals practical limitations or advantages.
- Community Engagement: Join online communities, attend local meetups, or follow industry leaders on social media. Engaging with peers and experts provides fresh perspectives, fosters collaboration, and keeps you informed about nascent trends and best practices.
By actively pursuing knowledge, you not only improve your technical abilities but also enhance your understanding of related fields, such as how to optimize your videos for search engines, which is crucial for discoverability.
9-Point Video Production Best Practices Comparison
| Aspect | Pre-Production Planning and Storyboarding | Proper Lighting Setup and Management | High-Quality Audio Recording and Management | Thoughtful Shot Composition and Framing | Efficient Project Organization and File Management | Color Correction and Color Grading Workflow | Strategic Equipment Selection and Management | Effective Communication and Client Management | Continuous Learning and Skill Development |
|---|---|---|---|---|---|---|---|---|---|
| Implementation Complexity 🔄 | Moderate to High; requires experience and detailed effort | High; technical expertise and equipment setup needed | High; technical audio knowledge and skilled operation | Moderate to High; artistic and technical skills required | Moderate; needs discipline and system setup | High; technical skill and calibrated tools necessary | Moderate to High; knowledge of equipment and planning | Moderate; requires business and communication skills | Moderate to High; ongoing commitment and diverse methods |
| Resource Requirements ⚡ | Time-intensive upfront (20-30% of total production time) | Significant equipment and power resources | Expensive audio gear and additional crew | Requires quality camera gear and monitoring tools | Organizational tools and cloud storage systems | Calibrated monitors and professional software/hardware | Significant budget for purchase, rental, maintenance | Time investment in communication tools and relationship building | Time and financial investment in education and networking |
| Expected Outcomes 📊 | Streamlined production; fewer reshoots; clear roadmap | Enhanced visual appeal, mood, and professional quality | Clear, engaging audio; reduces post-production fixes | Visually compelling footage; stronger emotional impact | Faster workflow; prevents asset loss; smooth collaboration | Consistent, professional look; enhanced mood and style | Appropriate equipment use; budget efficiency; reliability | Reduced misunderstandings; client satisfaction; repeat business | Up-to-date skills; creative and technical growth |
| Ideal Use Cases 💡 | Complex projects needing detailed prep and coordination | Productions emphasizing visual mood and subject clarity | Projects prioritizing audio clarity and viewer retention | Content needing strong visual storytelling and aesthetics | All project sizes where asset management is critical | Post-production workflows requiring color accuracy and style | Projects with varying equipment needs and budgets | Client-facing projects requiring clear communication | Professionals aiming for career growth and adaptability |
| Key Advantages ⭐ | Minimizes costly mistakes; maintains creative vision | Professional look; emotional engagement; reduced fixes | Improved audio quality; engagement; post-production flexibility | Elevated production quality; viewer focus; emotional tone | Saves time; prevents data loss; facilitates team collaboration | Professional polish; brand identity; salvage footage | Cost-effective use; prevents failures; competitive edge | Enhances reputation; improves project outcomes | Sustains industry relevance; fosters innovation |
Bringing It All Together: Your Blueprint for Video Excellence
Navigating the landscape of modern video creation can feel complex, but the path to producing exceptional content is paved with consistent, repeatable processes. This comprehensive guide has walked you through nine foundational pillars of production, from the initial spark of an idea in pre-production to the final polish in post-production. Each element, whether it's meticulous file management or the subtle art of color grading, functions as a critical component in a larger, interconnected system. Mastering these video production best practices is not about achieving perfection on the first try; it's about building a reliable framework that elevates your creative output every time you press record.
Think of these principles as a flywheel. Meticulous storyboarding makes your filming days more efficient. A thoughtful lighting setup reduces the time you need to spend fixing shots in post. Clean audio recording captivates your audience and keeps them engaged. Each practice you implement adds momentum, making the entire process smoother, faster, and more effective. The cumulative effect is what transforms a good video into an unforgettable one.
From Theory to Action: Your Next Steps
The true value of these best practices emerges when you move from reading about them to actively implementing them. To help you start, here is a simple, actionable plan to integrate these concepts into your workflow immediately:
- For Your Next Project: Before you even think about your camera, dedicate a full session to pre-production. Create a detailed shot list and a simple storyboard, even if it's just stick figures. This single step will bring clarity and purpose to your entire production.
- Conduct an Audio Audit: On your next shoot, record a short test clip and listen back only to the audio using headphones. Is there a hum from a refrigerator? Is your voice clear and present? Make audio a primary focus, not an afterthought. This practice alone can dramatically boost viewer retention.
- Organize Your Last Project: Go back to your most recently completed video and audit your file structure. Were your raw files, audio clips, graphics, and project files easy to find? Create a standardized folder template and commit to using it for all future projects. This organizational discipline will save you countless hours of frustration.
The Lasting Impact of a Refined Workflow
Adopting these video production best practices does more than just improve the visual and auditory quality of your content. It builds a foundation for sustainable creativity and growth. For busy YouTubers, podcasters, and social media managers, efficiency is just as crucial as quality. A streamlined workflow frees up valuable time and mental energy, allowing you to focus on what truly matters: connecting with your audience and creating impactful content.
When you consistently apply solid shot composition, manage your equipment effectively, and communicate clearly with collaborators, you are not just an artist; you are a proficient producer. This professional approach builds confidence, attracts better opportunities, and establishes your reputation as a skilled creator. The journey of mastering video production is ongoing, filled with continuous learning and refinement. By embracing these principles, you are not just making better videos; you are building a stronger, more resilient brand and a more fulfilling creative career. Every step you take to refine your process is an investment in your future success.
Ready to reclaim hours from your post-production schedule? A key part of an efficient workflow is optimizing your content for discovery. TimeSkip automatically generates SEO-rich, accurate video chapters and timestamps in minutes, boosting your YouTube video's visibility and viewer experience. Try TimeSkip today and see how one of the smartest video production best practices can be fully automated.
