A great edit actually begins long before you even touch your audio software. I've learned that the best podcast editing workflow is all about being proactive. If you're just reacting to problems as you find them, you're already behind. A little planning and organization before you make a single cut is what separates a smooth, creative process from a frustrating slog.
Building Your Pre-Edit Foundation
Every podcast that sounds polished and professional is built on this kind of groundwork. I've seen so many people make the mistake of jumping right into cutting and splicing, and it's always a mess. It's like trying to build a house without a blueprint—you'll waste time, get frustrated, and probably have to redo a bunch of your work. Seriously, taking 30 minutes to get organized first can easily save you hours later.
I like to think of it as setting the table before a big meal. You wouldn't just throw ingredients in a pan without a recipe, right? Same idea here. A structured start ensures you have everything you need, exactly where you can find it.
Organize Your Project Files
First things first, and this is non-negotiable: create a clean folder system. Nothing will kill your momentum faster than digging through a cluttered desktop full of randomly named files. It’s a recipe for disaster. For every single episode, I create a main project folder with a few key subfolders inside.
Having a consistent folder structure for every episode is a game-changer. It’s a simple habit that keeps your digital workspace tidy and makes finding a specific clip or music track totally painless.
Here’s a structure I’ve used for years:
- Raw Audio: This is where every original, unedited recording lives—from my mic, my co-host's, and any guests.
- Project Files: The home for my actual DAW project file (e.g., the Audition or Logic Pro session).
- Music & SFX: All the reusable stuff—intro/outro music, transitions, and sound effects—goes in here.
- Final Renders: Once the episode is finished, the exported MP3 or WAV file gets saved here.
Pro Tip: As soon as you get the raw files, rename them. I use a simple convention like
Ep_101_Host_Jane_2024-05-20.wav. This tiny step prevents so much confusion, especially when you're juggling recordings from multiple people.
The Essential First Listen-Through
Okay, now that you're organized, it's time to listen to the entire raw recording. I know, I know—it's incredibly tempting to skip this and start chopping. But trust me, a full listen-through is critical for understanding what you're working with. You're not making cuts on this pass; you're more like a strategist, getting the lay of the land.
As you listen, use your DAW's markers to flag important moments. I drop markers for:
- Major topic changes or content segments.
- Obvious mistakes like a dog barking, a phone buzzing, or a mic bump.
- Killer quotes or soundbites that would be perfect for a social media promo.
- Long tangents or side conversations that will probably get the axe.
Doing this gives you a real feel for the conversation's natural rhythm. You'll start to see the episode's story arc, which makes the next phase—the actual structural edit—so much more focused and effective.
Set Up Your Multitrack Session
With your mental map in place, it’s time to pull everything into your DAW and set up a multitrack session. The key here is to assign each audio source to its own dedicated track. For a standard interview with two speakers, you should have at least four tracks: one for the host, one for the guest, one for your intro/outro music, and maybe one for ad spots or sound effects.
This separation is what gives you total control. You can apply noise reduction to a guest's noisy track without touching the host's clean audio. You can adjust volume levels independently. It's this clean, organized setup that forms the bedrock of a truly professional podcast editing workflow.
Crafting the Narrative with a Structural Edit

Alright, with all your audio files organized and ready to go, the real creative work can start. This is the structural edit, and it's where you take a rambling, raw conversation and sculpt it into a compelling story. At this stage of your podcast editing workflow, you’re less of a technician and more of a storyteller. Your entire focus is on shaping the narrative and making sure it flows beautifully for your listener.
Think of it like being a film director in the cutting room. You're not worried about the tiny details yet; you're looking at the big picture and making bold decisions about what serves the final story. The goal isn't to create a flawless, robotic conversation—it's to make it clear, engaging, and worth someone's time.
Making Decisive Content Cuts
Your first editing pass should be all about the content. Even the best conversations wander off on tangents. While those side stories can be fun in the moment, they often kill an episode's momentum and can be the exact point where a listener decides to check out.
As you listen through, keep asking yourself one simple question: "Does this part actually serve the episode's main topic?"
Let's say you're interviewing a startup founder about their marketing strategies. If the conversation veers into a ten-minute chat about their favorite coffee shop, that's probably getting cut—unless, of course, that story somehow ties back into a brilliant marketing tactic they used. You have to be ruthless here. Cut the chatter that doesn't move the story forward.
A sharp structural edit is a sign of respect for your listener's time. Listener behavior studies consistently show engagement drops when a podcast strays too far from its promised topic. Keeping your content tight is the key to retention.
Reordering Segments for Maximum Impact
Sometimes, the best parts of a conversation don't happen in a neat, linear order. A killer anecdote buried at the very end of the recording might actually be the perfect cold open to hook listeners from the first second. Don't ever feel locked into the original timeline.
Imagine an interview where your guest shares their most powerful, personal story in the last five minutes. Try grabbing that entire segment and moving it toward the beginning. This can completely transform the episode's energy and emotional weight, grabbing your audience by the collar right from the start.
This process is pretty straightforward:
- Find your key moments: Use the markers you hopefully set during your first listen.
- Split the clips: Isolate the sections you want to move.
- Drag and drop: Rearrange the clips on your timeline into a new order that feels more impactful or logical.
Eliminating Distractions and Filler Words
Once the main structure is locked in, it’s time to zoom in a bit. This is where you hunt down all the little verbal tics and awkward pauses that distract from the core message.
I’m talking about filler words. Now, the goal isn't to erase every single "um" and "ah." Doing that can make people sound strangely robotic. Instead, focus on the ones that are genuinely distracting or break the flow of a thought. A good rule of thumb is to zap any fillers that are stacked back-to-back or when one speaker is leaning on them too heavily.
Along the same lines, trim out any awkward silences that feel unnatural. A short, thoughtful pause can be powerful, but a long stretch of dead air might make a listener think their app crashed. Tightening up these gaps keeps the pace crisp and professional, which is a crucial part of a polished podcast editing workflow.
Enhancing Audio for a Professional Sound
Alright, you've got the narrative structure locked in. The story flows, the segments make sense, and the pacing feels right. Now it's time to switch gears and focus on the technical side of things: making it all sound incredible. This is the stage where you transform a raw recording into something that feels polished and professional.
Don't let the jargon intimidate you. The tools we're about to cover—EQ, compression, and a few others—are all designed to solve very specific, common audio problems. The goal isn't to make your garage sound like a million-dollar studio. It's simply to remove distractions so your great content can be the star of the show.
Using an EQ to Add Clarity and Warmth
The best way to think about an Equalizer, or EQ, is as a high-powered tone control for your audio. It gives you the power to surgically adjust the volume of specific frequencies, from the low-end rumble of a desk bump to the high-end hiss of an old microphone.
For podcasters, the most common battle is with vocal clarity. For instance, a lot of home recordings suffer from a "muddy" or "boomy" quality, which usually lives somewhere in the 200-500 Hz range. By gently dipping this frequency area, you can often make a voice sound instantly cleaner. On the flip side, if a voice needs a bit more crispness and intelligibility, a small boost around 2-5 kHz can work wonders.
Here’s my go-to process with EQ:
- Cut the bad stuff first. Listen closely for anything unpleasant. Does the voice sound boxy, like they're talking from inside a cardboard box? Or is it overly nasal? Find that frequency and gently reduce it.
- Then, enhance the good stuff. Once the problems are tamed, find what you like about the voice. Is there a nice warmth in the lower-mids? A pleasant airiness in the highs? Give those areas a very subtle lift.
Remember, with EQ, less is almost always more. Drastic changes will make the audio sound processed and unnatural. You're aiming for subtle, surgical improvements.
Balancing Volume with Compression
Compression is easily one of the most powerful—and most misunderstood—tools in any editor's kit. In simple terms, its job is to reduce the dynamic range, which is just the gap between the loudest and quietest parts of your audio.
Picture this: you have one host who practically shouts into the mic and a guest who speaks very softly. A listener in their car would be constantly fiddling with the volume knob, turning it up for the quiet guest and then lunging for it when the loud host starts talking again. A compressor fixes this automatically. It turns down the loudest peaks, which then allows you to raise the overall volume of the entire track without causing distortion or clipping.
By evening out the levels, compression ensures that every word is heard clearly, whether whispered or shouted. This is a non-negotiable step for creating a professional, listenable podcast that sounds great on earbuds, in a car, or on smart speakers.
Smoothing Out Harsh Sibilance and Noise
With your levels now consistent, you can move on to the final polishing touches. A de-esser is a specialized tool that hones in on harsh "S" sounds, also known as sibilance. These sharp, piercing sounds can be incredibly grating to a listener's ears, and a de-esser can tame them without messing with the rest of the vocal tone.
Next up is noise reduction. This is for tackling consistent background sounds, like the hum of an air conditioner or the whir of a computer fan. Be very careful here. It's tempting to crank the noise reduction up, but being too aggressive will strip the life right out of the voice, leaving it sounding thin and robotic. A light touch is all you need.
Your entire podcast editing workflow is shaped by the software you choose. Digital Audio Workstations (DAWs) like Adobe Audition or the free tool Audacity give you the multitrack environment needed for these precise fixes. They help you manage everything from individual track levels to the final export bitrate, which for spoken-word podcasts is typically between 96 to 128 kbps. If you want to go deeper, you can discover more insights about podcasting software and how different platforms can affect your final product.
Using AI to Accelerate Your Workflow
Let's be honest: some parts of podcast editing are a total grind. Hunting down every "um," trimming awkward silences, and manually leveling tracks can eat up hours that you'd rather spend on the creative side of things. This is where modern AI tools come in, not to replace your expertise, but to act as a brilliant, tireless assistant.
Think of it this way: AI handles the tedious, repetitive work, freeing you up to focus on what really matters—telling a great story.
The most game-changing application for many podcasters is AI-powered transcription. Instead of scrubbing through waveforms for hours, you get a full, searchable script of your episode in minutes. Need to cut a rambling thought? Just delete the sentence in the text, and the corresponding audio is instantly snipped. It turns audio editing into something as simple as editing a Word doc.
How AI Streamlines Common Editing Tasks
Beyond just creating a transcript, AI is getting incredibly smart at refining the audio itself. These aren't just blunt instruments; they’re designed to perform surgical edits with a single command.
Here are a few of the biggest time-savers I've seen:
- Filler Word Removal: You can automatically find and eliminate every "um," "ah," and "you know" without having to manually hunt them down. This alone can save a massive amount of time.
- Silence Shortening: AI can intelligently trim those long, dead-air pauses to tighten up the pacing, but it's smart enough to leave the natural, conversational gaps that make an interview feel human.
- Automated Mixing: Many platforms now offer "auto-leveling" features that instantly balance the volume between you and your guests. This saves you the headache of manually applying compression and gain adjustments.
By offloading these monotonous tasks to an AI, you fundamentally change your role. You stop being a technical operator and become the episode's creative director, spending your energy on shaping the narrative and perfecting its flow.
The image below gives you a great visual of how these tools integrate directly into a typical production process. It’s not a separate, clunky step but a layer of assistance that works with your primary editing software.
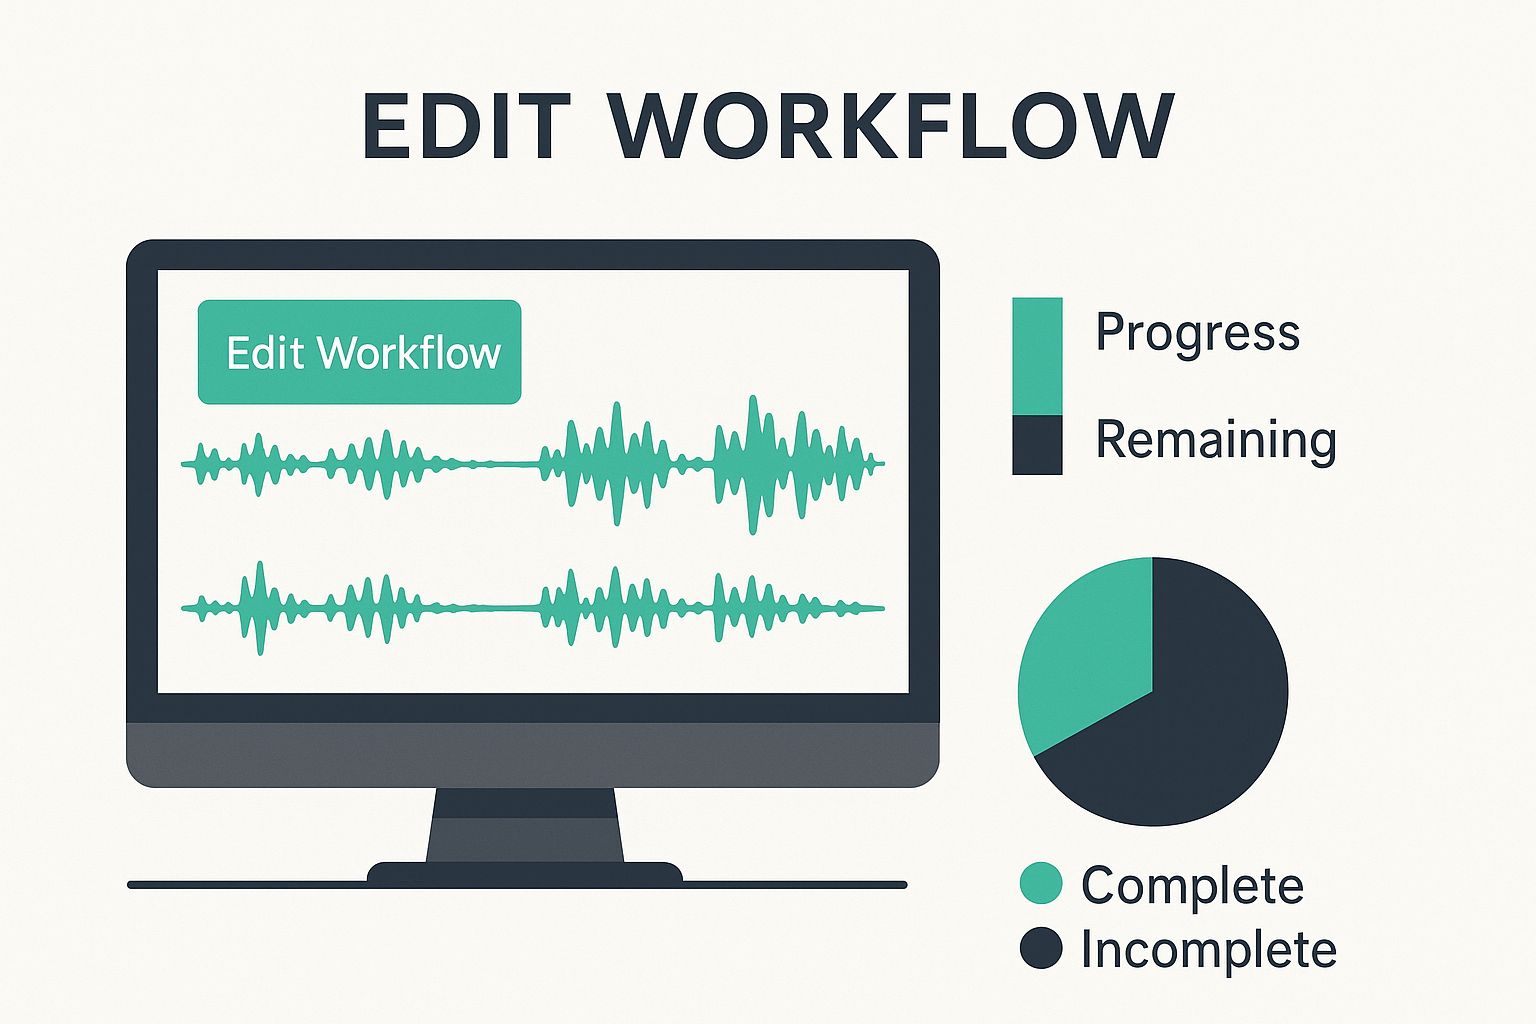
As you can see, the core principles of a solid podcast editing workflow don't change. AI just helps you execute them much, much faster.
To get a clearer picture of where these tools can plug into your existing process, here’s a quick breakdown.
AI Integration Points in Your Podcast Workflow
This table shows key stages where AI tools can be applied to enhance efficiency and the specific benefits they offer.
| Workflow Stage | AI Application | Primary Benefit |
|---|---|---|
| Initial Rough Cut | Text-based editing via AI transcription | Quickly remove large sections of unwanted content |
| Dialogue Cleanup | Automated filler word & silence removal | Drastically reduces manual cleanup time |
| Audio Sweetening | Auto-leveling, noise reduction, EQ presets | Achieves a balanced, professional sound with less effort |
| Content Repurposing | AI-generated summaries, show notes, & clips | Creates promotional assets in a fraction of the time |
As you can see, AI isn't just one tool for one job; it's a suite of helpers you can deploy across the entire production line.
The Growing Impact of AI in Podcasting
This isn't just a niche trend anymore—it's quickly becoming the standard. As of 2025, an estimated 40% of podcasters are using AI tools in their production, which has been shown to cut podcasting costs by up to 50%. This is huge for independent creators, making it easier than ever to produce a professional-sounding show on a tight budget.
And these ideas aren't just for audio. Many of the concepts behind https://timeskip.io/blog/video-editing-automation draw from the same well, applying AI to simplify visual content creation. If you want to go even deeper, this workflow automation guide offers some fantastic strategies that apply far beyond just podcasting.
Ultimately, these tools give you the power to produce better content, faster.
Adding the Final Polish with Music and Mastering
You've done the hard part. The story is tight, the dialogue is clean, and all the mistakes are gone. Now comes the really satisfying stage: taking that well-edited file and turning it into a professional-sounding podcast episode. This final phase of your podcast editing workflow is all about presentation.
https://www.youtube.com/embed/wmAlvG6Xoa0
This is where you add your sonic identity—the music and effects that make your show instantly recognizable—and make sure the final audio is ready for every listening app out there. It’s what separates a good episode from a truly great one.
Weaving in Music and Sound Effects
Your intro and outro music aren't just bookends; they're the first and last impression you make. The trick is to blend them so they feel like a natural part of the show, not something just tacked on.
A go-to technique here is "ducking." This is where your intro music starts at full volume for a couple of seconds to grab attention, then automatically fades into the background as soon as you start talking. The same logic applies to the outro—the music swells back up as you deliver your sign-off.
This is also your chance to sprinkle in other audio elements that elevate the production value:
- Stingers and transitions: Think of these as audio punctuation. They're short sound effects that signal a topic change or a break for an ad.
- Ad placements: If you have sponsors, this is where you'll drop in their ads. You'll want to make sure the volume transitions in and out smoothly so it doesn't jolt the listener.
- Background beds: Sometimes, a segment needs a little extra energy or emotion. A very subtle, low-volume music track playing underneath can work wonders.
If you're looking for custom audio, a great way to source it is by using an AI music generator. You can create unique intro themes or background music that perfectly fits the mood of your show without any copyright headaches.
Mastering Your Final Mix
I can't stress this enough: mastering is the most critical final step. It's often misunderstood, but think of it as the final quality check that makes your episode sound loud, clear, and consistent whether someone is listening on Apple Podcasts, Spotify, or in their car.
The main goal is hitting a specific loudness target, which we measure in LUFS (Loudness Units Full Scale). Why does this matter? Because all the major platforms have standardized their playback levels. If your show is too quiet, people have to crank the volume. Too loud, and the app will just turn it down for them, which can sometimes mess with the audio quality.
Key Takeaway: The industry standard for most podcasts is -16 LUFS for stereo files and -19 LUFS for mono. Hitting this target is non-negotiable if you want your show to sound as professional as the ones at the top of the charts.
Thankfully, most DAWs like Adobe Audition or Logic Pro have built-in loudness meters to make this easy. You'll typically apply a touch of final compression and a limiter to smooth everything out and prevent any stray peaks, then export your file at the target LUFS level.
This kind of technical polish is something you'll see in other media, too. As you expand your content, you’ll find that principles like discoverability and user experience apply to both audio and video. You can dive deeper into that with our guide to video content SEO. This last step in the podcast editing workflow ensures all your hard work pays off with a polished, professional final product.
Even with the best-laid plans, you’re going to run into questions as you refine your podcast editing workflow. It just comes with the territory. Let's dig into a few of the most common hurdles podcasters hit and get you some practical, real-world answers to keep you moving forward.
One of the first things I hear from new podcasters is always about the clock. How much time should this actually take?
How Long Does It Really Take to Edit a Podcast?
While there's no universal answer, a solid rule of thumb is to budget 2-4 hours of editing for every one hour of recorded audio. If you have a simple, two-person interview with pretty clean audio, you'll likely land closer to that two-hour mark.
But if you're producing a complex narrative show, weaving in sound effects, music, and multiple guest tracks? You can easily blow past the four-hour mark. It all really boils down to a few key things:
- The Quality of Your Raw Audio: The cleaner your recording, the less time you'll spend on cleanup. Garbage in, garbage out—and it takes a lot of time to polish garbage.
- The Complexity of Your Episode: A simple chat is a world away from a roundtable discussion or a documentary-style piece. More layers mean more time.
- Your Own Editing Experience: The more you do it, the faster you'll get. Your first few episodes will feel slow, but you'll build muscle memory and speed over time.
The good news is that you don't have to do it all by hand anymore. Many podcasters are now able to automate content creation and dramatically cut down that editing time.
What’s the Single Most Important Step in Editing?
Every part of the process matters, but if I had to pick one, the structural edit has the biggest impact on whether someone sticks around. You can polish the audio to perfection, but if the conversation meanders, repeats itself, or is just flat-out boring, you’ve already lost the listener.
It's all about the story. Your number one job is to shape the raw recording into a compelling narrative that flows well and keeps the listener hooked. Get the story and pacing right, and you're 90% of the way there.
I've always believed that listeners will forgive a few minor audio hiccups for a fantastic story, but they won't sit through a terrible story just because it sounds pristine.
Is Mastering to a Specific Volume Level Really Necessary?
Yes. Unquestionably, yes. Mastering your final audio to the industry standard—which is generally -16 LUFS for a stereo file—is an absolute must if you want your show to sound professional.
Mastering ensures your podcast plays at a consistent volume across different platforms like Spotify and Apple Podcasts. It prevents that awful experience where a listener has to crank up the volume for your show, only to have their eardrums blown out by the next one in their queue. It's a fundamental step that signals you respect your audience's listening experience.
Ready to cut down your content creation time? TimeSkip automates YouTube chapter generation in seconds, boosting your video's SEO and viewer retention. Get started for free at https://timeskip.io.
