Making a great tutorial video really boils down to four things: meticulous planning, practical gear, intentional recording, and editing for absolute clarity. From my experience, the most successful creators win long before they even think about hitting the record button. They build a solid foundation that guides every other decision they make.
Building Your Tutorial's Foundation
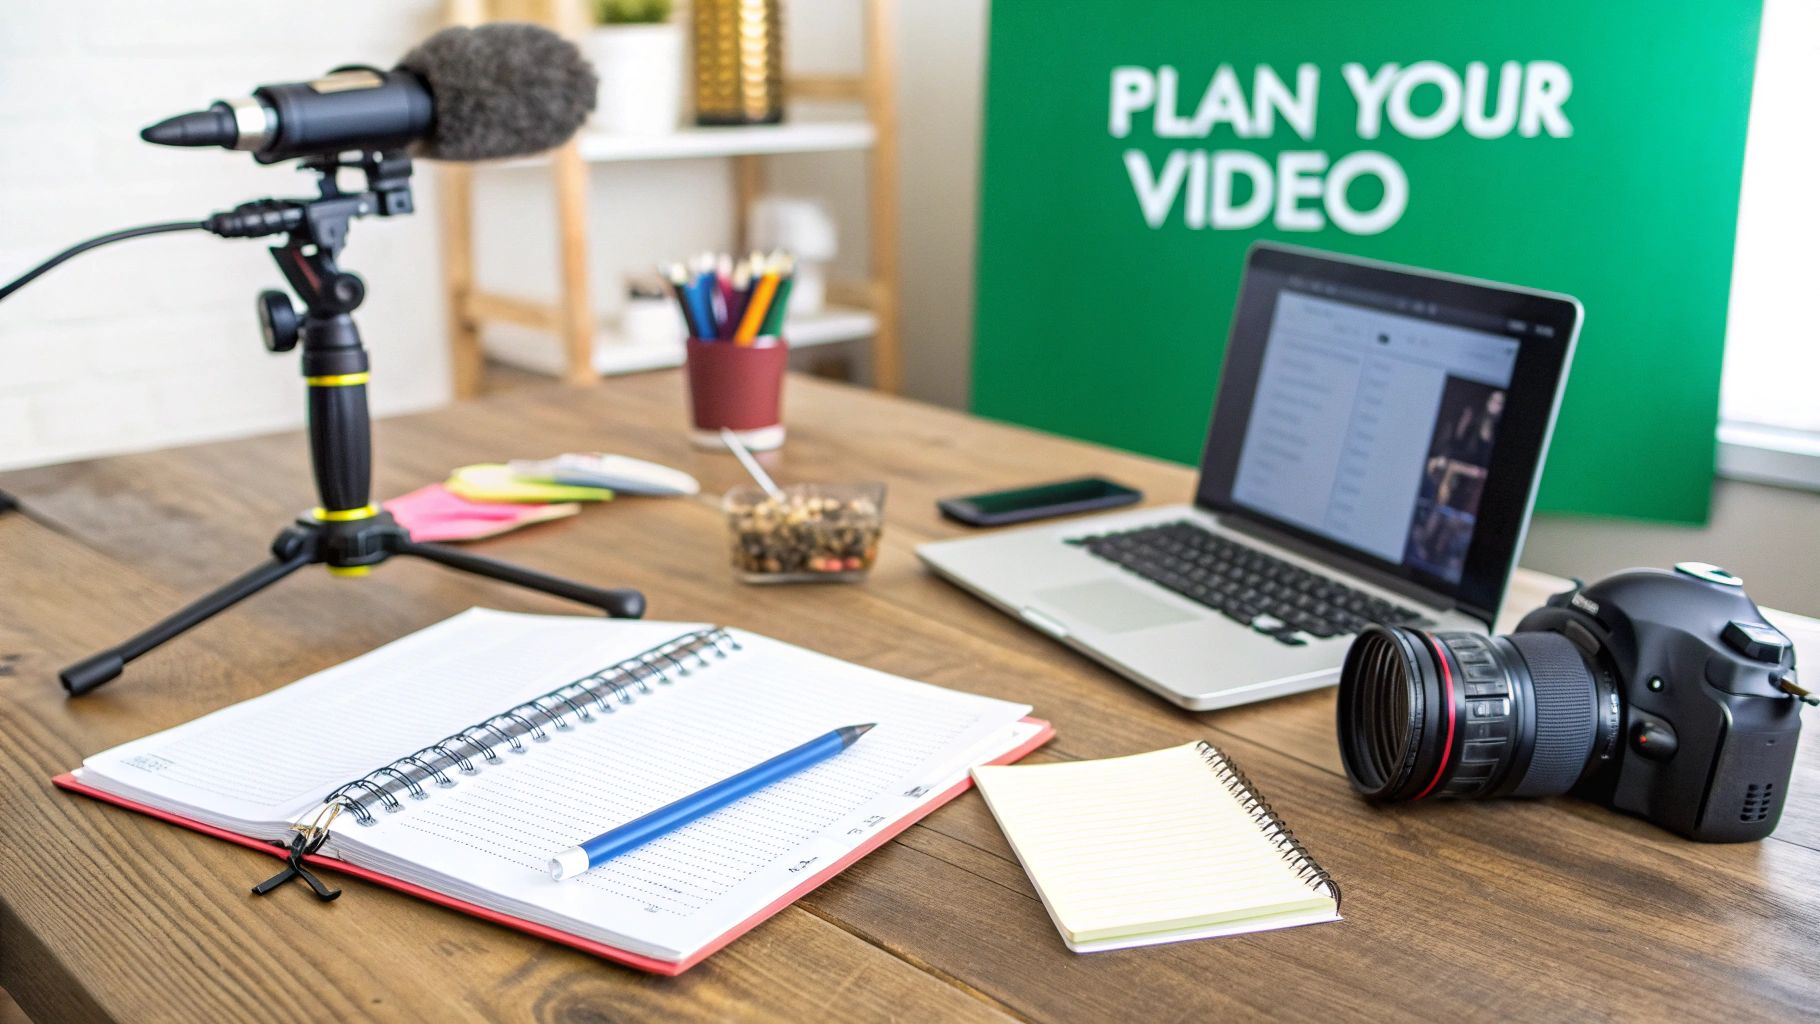
Before you touch a camera or a microphone, the real work begins. The most impactful tutorials are born in the planning stage, where you turn a fuzzy idea into a clear, actionable roadmap for a video that genuinely helps someone. I've seen it time and again—skipping this step almost always leads to rambling recordings, hours of painful editing, and a final video that just doesn't connect.
First things first: who are you making this for? You can't possibly create an effective tutorial if you don't have a crystal-clear picture of your audience. Are they total beginners who need you to define every term, or are they seasoned pros looking for advanced tricks? The answer dictates your tone, your pacing, and how deep you need to go.
Once you know your audience, you need to lock onto the exact problem they're trying to solve. A great tutorial doesn't just list off features; it solves a specific, nagging pain point. For instance, instead of a vague "How to Use Photoshop" video, a much stronger topic is "How to Perfectly Cut Out an Image in Photoshop." That kind of specificity makes your content instantly discoverable and far more valuable.
Crafting Your Content Structure
With your audience and their problem clearly defined, it's time to map out your content. You don't necessarily need a word-for-word script, unless that's your style. Honestly, for many of us, a simple bulleted outline is all it takes to stay on track.
This outline becomes your North Star, ensuring everything flows logically. You want to design your structure for learning, breaking down what might seem like a complex process into a series of simple, easy-to-digest moments.
I like to think of it like building with LEGOs. You start with the foundation, add one block at a time, and clearly explain how each piece connects to the last one. This builds your viewer's confidence and keeps them locked in. For a different perspective on making instructional content stick, you can find some excellent tips to create engaging tutorial videos that really resonate.
Key Takeaway: A structured outline is your best defense against rambling. It forces you to cover all the essential points in a logical sequence, which will slash your editing time and make it way easier for viewers to follow along.
There's no denying the demand for this kind of content. Educational videos, the category where tutorials live, command an impressive 46% play rate—a clear sign that viewers are highly engaged. The main roadblock has always been the time and cost of production, but modern tools have completely changed the game, making it possible for anyone to create high-quality tutorials. This initial planning is your first real step toward tapping into that massive, eager audience.
Getting The Right Gear On A Realistic Budget
Let’s bust a common misconception: you don’t need a Hollywood-level setup to produce engaging tutorial videos. Instead, focus on smart investments that move the needle. Your end goal is clear, helpful content—not an elaborate film studio.
Hands down, audio quality matters more than ultra-crisp footage. Viewers can forgive a bit of grain, but they’ll abandon a video the moment your sound cuts out or crackles. That means skipping your laptop’s built-in mic is non-negotiable.
Upgrading your audio is both affordable and game-changing. A simple external microphone will instantly elevate your tutorials and make you sound more professional.
Choosing Your Core Equipment
For most screen-share walkthroughs, you only need a handful of reliable tools. They should be easy to learn, budget-friendly, and deliver consistent results.
• USB Microphone: The Blue Yeti plugs right into your computer and captures clear, room-filling sound. For a more subtle setup, clip a lavalier mic to your shirt and keep your voice level even if you turn your head.
• Decent Camera: Don’t overlook your smartphone’s camera—most modern phones shoot excellent 1080p or even 4K video. If you film yourself at a desk, a standalone 1080p webcam is inexpensive and simple to position.
• Screen Recording Software: Screen capture sits at the heart of every tutorial.
- OBS Studio gives you robust features for zero cost.
- Camtasia and Descript offer intuitive interfaces and built-in editing tools, ideal if you’re willing to invest.
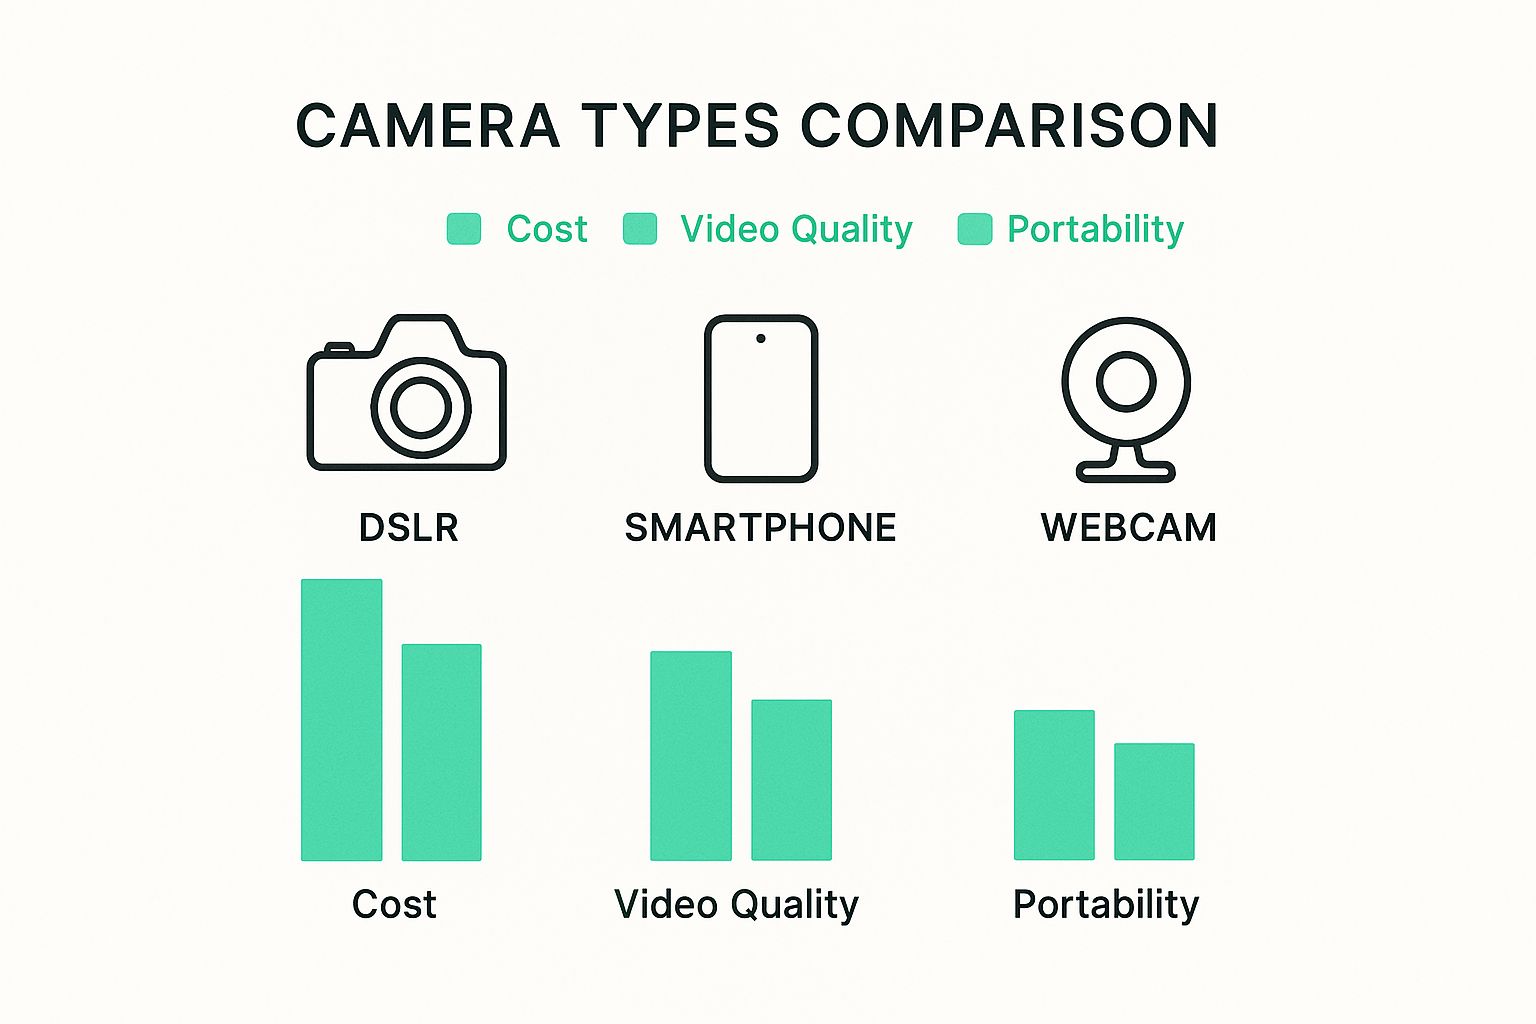
Smartphones strike an unbeatable balance: top-notch video with no extra expense. They’re the perfect launch pad for newcomers.
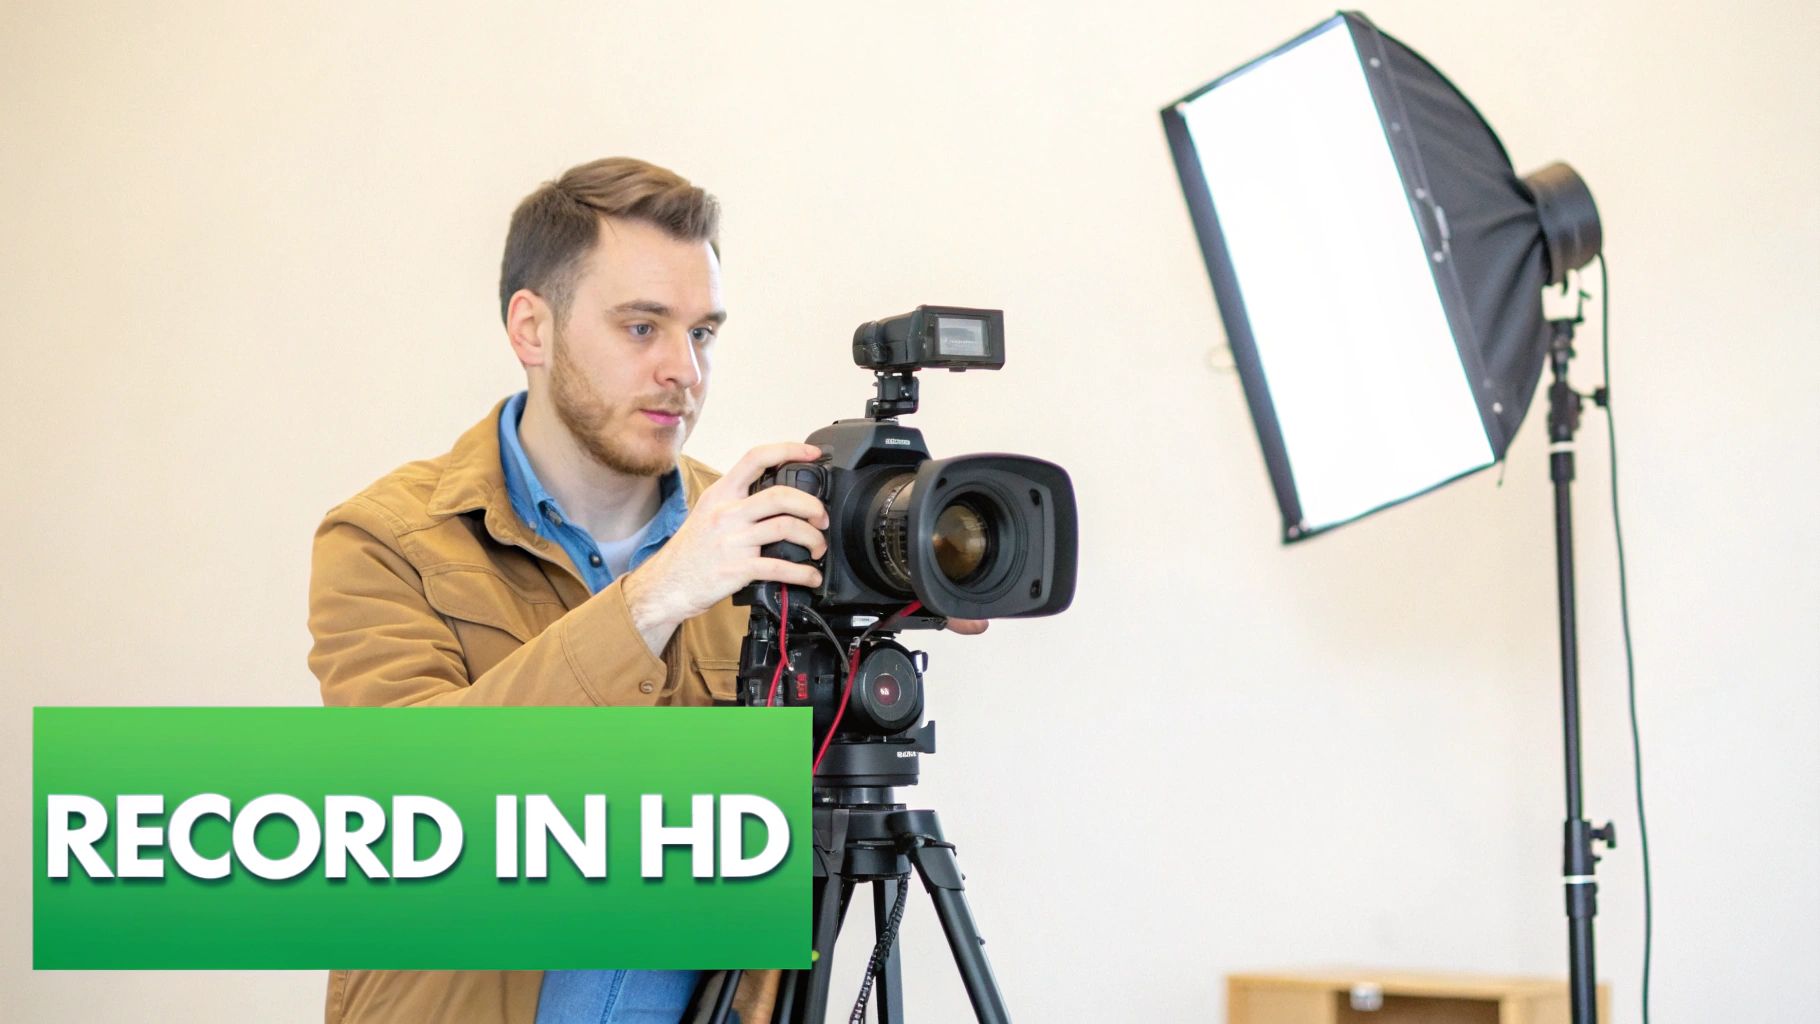
Key Insight: Don’t let gear hold you back. An external USB microphone and OBS Studio are all you need to start crafting professional-sounding, high-definition tutorials today. Master these basics first.
Once your footage is polished, lean on tools that shave minutes off repetitive tasks. For instance, a YouTube AI title generator can whip up catchy headlines in seconds—saving you precious time on SEO.
Essential Tutorial Video Production Tools
Below is a quick comparison to help you pick software and hardware that match your budget and goals.
Tool yourself with the right kit, and you’ll spend less time troubleshooting and more time teaching.
| Tool Category | Budget-Friendly Option (Example) | Professional Choice (Example) | Key Feature |
|---|---|---|---|
| Microphone | Fifine USB Condenser Mic | Blue Yeti | Plug-and-play setup, clear vocal capture |
| Camera | Smartphone (1080p) | Logitech Brio 4K Webcam | Crisp video, minimal lighting required |
| Screen Recording | OBS Studio | Camtasia | Advanced features vs. integrated editing suite |
| Clip-On Mic | Boya BY-M1 Lavalier | Rode Lavalier II | Discreet, consistent audio even when moving |
| Editing Software | DaVinci Resolve | Adobe Premiere Pro | Free with robust tools vs. industry-standard UI |
This side-by-side guide should clarify which tools fit your workflow and wallet. Start with the essentials, then level up as your audience and skills grow.
Your Guide to a Flawless Recording Session
This is where all that planning really pays off. A smooth recording session is what turns a great idea into a polished video, and getting it right the first time will save you hours of headaches during the editing phase.
Your recording space is basically a silent partner in your video's success. You don't need a professional soundproof booth, just a quiet room. Look for a space with soft furnishings—carpets, curtains, even a few well-placed pillows can work wonders to absorb echo. Make sure to kill any fans, air conditioners, or other devices that create a low hum. Those are the sounds that are a real pain to remove later.
Here’s a simple trick: record 30 seconds of silence and listen back with your headphones on. You'll be amazed at what your microphone picks up that your ears normally filter out.
Mastering Your On-Screen Presence
Whether you’re actually on camera or just doing a voice-over, how you deliver your lines makes a huge difference. People are here to learn from you, so your voice needs to project both clarity and a bit of enthusiasm. I’ve found that standing up while I record my audio really helps; it opens up your diaphragm and injects some natural energy into your voice.
Try to speak a little slower than you would in a casual conversation. This pacing makes it much easier for viewers to keep up and gives you clean gaps to edit out pauses, all without making the final video feel choppy or rushed.
Pro Tip: I always do a quick "warm-up" recording before jumping into the real thing. Just read a paragraph from a book or ramble about your day for a minute. It’s a great way to calm the nerves, double-check your audio levels, and find a confident, natural rhythm.
Smart Screen Recording Habits
When you're making a software tutorial, your screen is the star of the show. You have to guide your viewer’s eye, and thankfully, most screen recording tools have features built right in to help.
- Use Cursor Highlighting: Putting a colored circle or a highlight around your cursor is a simple move that makes it incredibly easy for people to follow along.
- Zoom Strategically: Any time you're about to click on a tiny button or a specific menu item, zoom in on that part of the screen. It takes all the guesswork out of it for your audience.
- Keep Your Desktop Tidy: Seriously, nothing looks more unprofessional than a messy desktop or random notifications popping up. Close every unnecessary app and browser tab before you even think about hitting record.
Getting the technical side right is key, but don't forget the overall look and feel. You can find some great tips on creating visually appealing content that, while focused on photos, have principles you can easily adapt for video. These small habits add up to a clean, focused tutorial that keeps people watching and makes you look like a total pro.
Editing Your Footage Into a Polished Tutorial
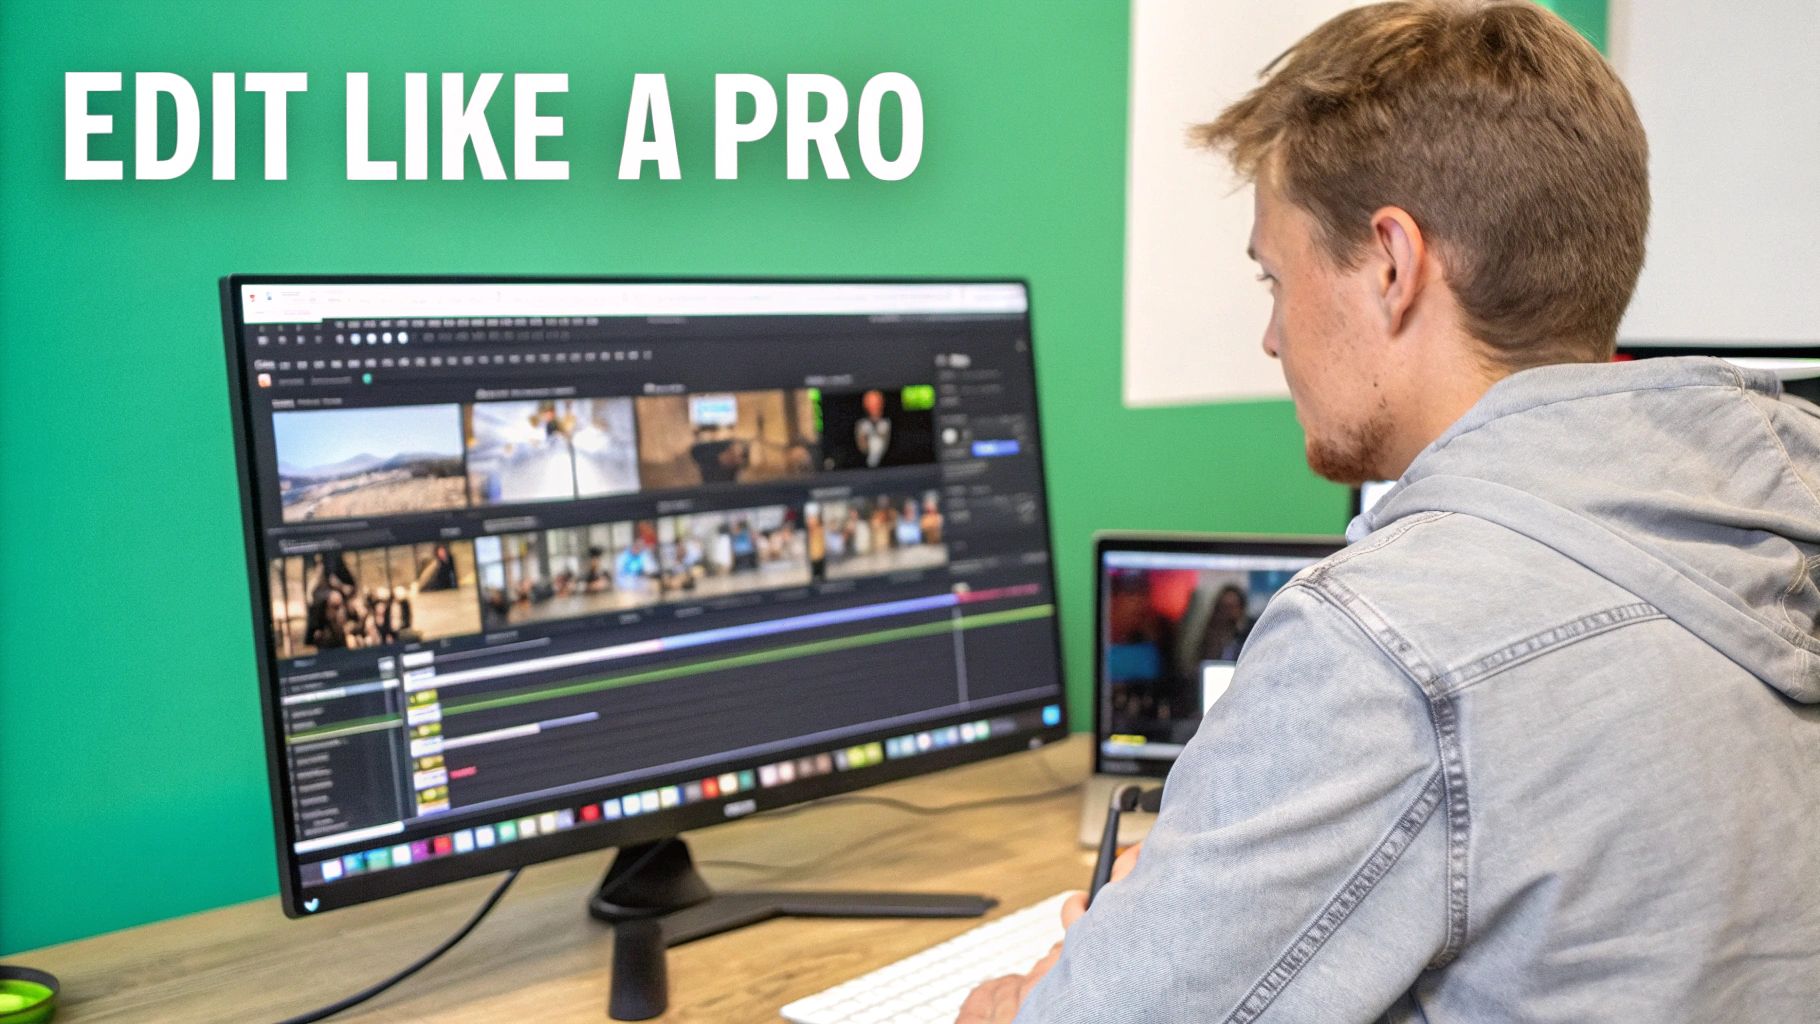 This is where the magic really happens. The editing bay is where your raw footage becomes a genuinely helpful learning experience. Forget about flashy effects for a moment; the real goal here is clarity and respecting your viewer’s time. A smart, efficient editing workflow is what separates tutorials people finish from those they click away from.
Your first pass through the footage needs to be ruthless. Seriously. Snip the dead air at the beginning and end of every single clip—that awkward pause before you start talking and after you finish a thought. Hunt down and eliminate every "um," "uh," and long, rambling pause. Tightening up the pacing keeps the energy high and instantly makes you sound more professional.
This isn’t just a stylistic choice; it's about meeting modern viewer expectations. Short-form video is projected to make up 90% of internet traffic by 2025, which tells you everything you need to know about attention spans. People want information delivered clearly and efficiently. This "microlearning" trend is your best friend when creating tutorials.
Enhancing Clarity with Visual Aids
Once you have a clean, tight timeline, it's time to add visual aids that support your instruction. These aren't just for decoration. Think of them as tools to prevent confusion and reinforce your key points.
- Text Callouts: Need to define a term or show a keyboard shortcut? Pop some simple text on the screen. Keep it brief and easy to read.
- Arrows and Highlights: When you're in the middle of a software demo, using an arrow or a quick highlight to point out the exact button you're clicking is a lifesaver for your audience. It removes all guesswork.
- Strategic Zooms: A quick, punchy zoom into a specific part of the screen makes sure nobody misses the fine details. No more squinting at the monitor.
To speed things up, you can check out straightforward tools like the tnote.ai editor, which can help you add these kinds of effects without a steep learning curve. The goal is to support your voiceover, not to create a visual mess.
Key Takeaway: Every single graphic you add needs to have a purpose. Ask yourself, "Does this make my instructions clearer?" If the answer is no, leave it on the cutting room floor. Simplicity wins.
Final Touches for a Professional Feel
With the core edit locked in, a few final touches can really elevate the entire video. Instead of hard cuts between clips, try a simple cross-dissolve for a smoother transition. You might also consider adding some quiet, instrumental background music. Keep the volume very low; it's just there to fill the silence and add a bit of polish, not to distract.
Lastly, think about your viewer's journey through the video itself. If your tutorial is more than a few minutes long, adding chapters is a non-negotiable for a good user experience—and it’s fantastic for SEO. We have a complete guide that walks you through exactly how to add chapters to YouTube to make your content more searchable and user-friendly. These are the small things that truly make a great tutorial stand out.
Getting Your Tutorial in Front of the Right Eyeballs
You’ve done the hard work of creating a brilliant tutorial. But let's be honest, if your video is just sitting on a server collecting digital dust, it’s not helping anyone. This final leg of the journey is all about making sure your hard work actually connects with the people who need it. It’s time to shift gears and focus on distribution and video SEO.
This all kicks off with your video's title and description—think of them as the digital storefront for your content. Your title has one job: to be compelling while directly answering a question your audience is already asking. You have to get inside their head. What specific phrase would they type into YouTube or Google? A title like "How to Fix Grainy Video in Premiere Pro" is infinitely better than a generic "Premiere Pro Tutorial."
Your description is your next best friend for SEO. Please don't just cram it with keywords. Write a genuinely helpful, human-readable summary of what the video actually teaches. The first two sentences are gold because they often show up in search results, so make them count.
The Undeniable Power of a Click-Worthy Thumbnail
On a crowded YouTube feed, your thumbnail is your single best shot at grabbing someone's attention. It's not a random freeze-frame from your video; it’s a tiny, powerful billboard. Your goal is to design a custom thumbnail that’s bright, high-contrast, and features bold, easy-to-read text. A great pro-tip is to look at what other popular videos in your niche are doing, and then do something that stands out from the noise.
A good thumbnail often includes:
- A clear picture of the final, successful result (like the perfectly edited photo or smooth footage).
- Minimal, large text that reinforces the promise of your title.
- A high-quality image of your face showing an engaging emotion can also seriously boost clicks.
When you nail the combination of a strong title and a compelling thumbnail, you make it easy for someone to click.
Key Insight: A great thumbnail makes a promise, and a great title clarifies it. When these two elements work in harmony, they tell a potential viewer exactly what value they'll get from watching, making the decision to click almost effortless.
Unlock a Flood of Search Traffic with Chapters
One of the most overlooked SEO tactics for tutorial videos is adding timestamped chapters. On the surface, chapters are just a great user experience—they let viewers jump straight to the part they need. But their real power is how they put your SEO on steroids.
When you add chapters, Google and YouTube can index each individual segment of your video. This is huge. It means your video can show up in search results not just for its main topic, but for all the specific sub-topics you cover in each chapter. You’re dramatically increasing your video's chances of being discovered. We dive much deeper into this and other search strategies in our guide to video content SEO.
Finally, don't just hit "publish" and cross your fingers. You have to give your video an initial push. Share it in relevant online communities where your audience hangs out, like specific Reddit subreddits or Facebook groups. Your email list is another powerful tool to kickstart those initial views and engagement, which signals to the algorithm that your content is worth watching. This first push can be the spark that ignites long-term organic growth.
The impact of a well-promoted video is staggering. An overwhelming 89% of people say that watching a video has convinced them to buy a product or service. This just goes to show how powerful tutorials are and why getting your content seen is so crucial for success.
Common Tutorial Questions Answered
If you’re just getting into making tutorial videos, you’ve probably got a bunch of questions bouncing around your head. It's totally normal. Getting some solid answers to these early sticking points can save you a world of headaches and help you make better videos right from the start. Let's dig into a few of the most common ones I hear all the time.
What's the "Perfect" Video Length?
This is the big one. Everyone asks about the magic number for video length, but here's the honest truth: it should be as long as it needs to be, but as short as possible.
Your mission is to solve one specific problem for the viewer, and to do it well. For a single, focused task, that sweet spot is usually somewhere between 5 and 10 minutes. This length is long enough to explain things clearly but short enough to hold someone's attention. If you're tackling something bigger, like a complex software installation, break it up. A playlist of shorter, dedicated videos is always better than one massive, overwhelming one.
Key Insight: Don't get hung up on the clock. The real measure of success is how effectively you solve the viewer's problem. A punchy 4-minute video that nails the solution is far more valuable than a rambling 20-minute video that loses them halfway through.
Which Tools Should I Start With?
The sheer volume of software out there can feel paralyzing when you're starting out. My advice? Keep it simple. The best tool for a beginner is one that doesn't get in your way.
Tools like Loom or Screencast-O-Matic are brilliant for getting your feet wet. They let you record your screen and voice with almost no setup. Once you find yourself wanting more editing power, Camtasia is a fantastic next step. It’s built from the ground up for tutorials and is incredibly intuitive.
On a tight budget? You can't beat the price of OBS Studio—it's free and unbelievably powerful. Just know that its power comes with a steeper learning curve. The trick is to pick the tool you need right now and really master it before you even think about upgrading.
How Do I Get That Crisp, Clear Audio?
Let's be clear: great audio isn't a "nice-to-have." It's everything. The single best investment you can make for your tutorials is a decent external microphone. Even an entry-level USB mic, like a Blue Yeti, or a simple lavalier mic that clips to your shirt will be a night-and-day improvement over your laptop's built-in mic.
But the gear is only half the battle. Your recording space is just as important. Find a quiet room, preferably one with soft surfaces like a carpet, curtains, or even a bed to soak up that nasty echo.
Always remember this simple rule:
- Clear audio from a cheap mic in a good room will always beat...
- Muffled audio from an expensive mic in a bad room.
Before you hit record for real, do a quick sound check. Record 30 seconds of silence and listen back with headphones on. You'll be amazed at the background noise—a humming fridge, a fan, street noise—that you can eliminate before you even start talking.
Do I Really Have to Show My Face?
Finally, the age-old question: do you need to be on camera? The short answer is no, not at all. A great tutorial doesn't require it.
Countless top-tier how-to videos are nothing more than a clean screen recording paired with a confident, clear voice-over. This approach works especially well for highly technical content where the on-screen action is the real star of the show.
That said, showing your face—even in a small picture-in-picture circle for the intro and outro—can do wonders for building trust and creating a personal connection. If you're not comfortable with it, don't force it. Instead, pour all that energy into delivering an amazing voice-over. A helpful, well-spoken voice is always more valuable than a reluctant on-camera presence.
Creating a great video is only half the job; people have to be able to find it. TimeSkip helps you add SEO-optimized chapters to your YouTube videos in seconds, which can seriously boost your visibility and keep viewers watching longer. You can get started with two free video generations at TimeSkip.io.
