To make a great educational video, you need a clear path. It all starts with a plan built around a specific learning goal. From there, you script your content for clarity, record with the best audio you can manage, edit to add polish, and finally, distribute it to your audience.
This process takes a big idea and breaks it down into a simple, manageable workflow. It’s less about having expensive gear and more about having a smart strategy.
Why Creating Educational Videos Is a Smart Move
Let's get past the obvious "video is popular" line and dig into why it's a genuine game-changer for learning. Video content isn't just a gimmick to grab attention; it dramatically boosts how much information people actually remember.
When you combine visuals and audio, you can explain complex topics in a way that plain old text just can't match. This makes the whole learning process stickier and way more effective.
The shift to video-based learning isn't just some passing trend. It's a fundamental change in how we all consume information. The global online learning market was valued at around USD 314.03 billion and is expected to hit a staggering USD 625.3 billion by 2029. That kind of growth tells you everything you need to know about the dominance of video in education.
The Real Impact of Educational Video
When you create a quality educational video, you're not just sharing information—you're positioning yourself as an authority and giving your audience something incredibly valuable.
Here’s what a good video really accomplishes:
- Boosts Comprehension: It lets you show instead of just tell. Think about it: a software tutorial video is miles more effective than a written manual filled with screenshots.
- Increases Engagement: Dynamic visuals, a conversational tone, and a clear story keep viewers hooked. They're far less likely to get bored and click away.
- Offers Scalable Learning: Once you make a video, it can teach hundreds or even thousands of people without any extra effort from you. It becomes a powerful educational asset that works for you 24/7.
The core goal is to make the learning process feel effortless for the viewer. A well-structured video respects their time, answers their questions directly, and guides them logically from one point to the next.
This guide is your complete roadmap for creating educational videos that actually make an impact. We’ll walk through everything from brainstorming your first concept to optimizing your final cut for discovery. By focusing on proven online education best practices, you can turn your expertise into content that truly connects.
Planning Your Video for Maximum Impact
Before you even think about hitting that record button, let's talk about the most important part of the process: the plan. I’ve seen it a hundred times—people with fancy cameras and mics create confusing, rambling videos. Why? Because they skipped the prep work.
A truly effective educational video is built on a solid foundation, long before any equipment is turned on. This is the stage that makes sure your final product is sharp, focused, and actually teaches something.
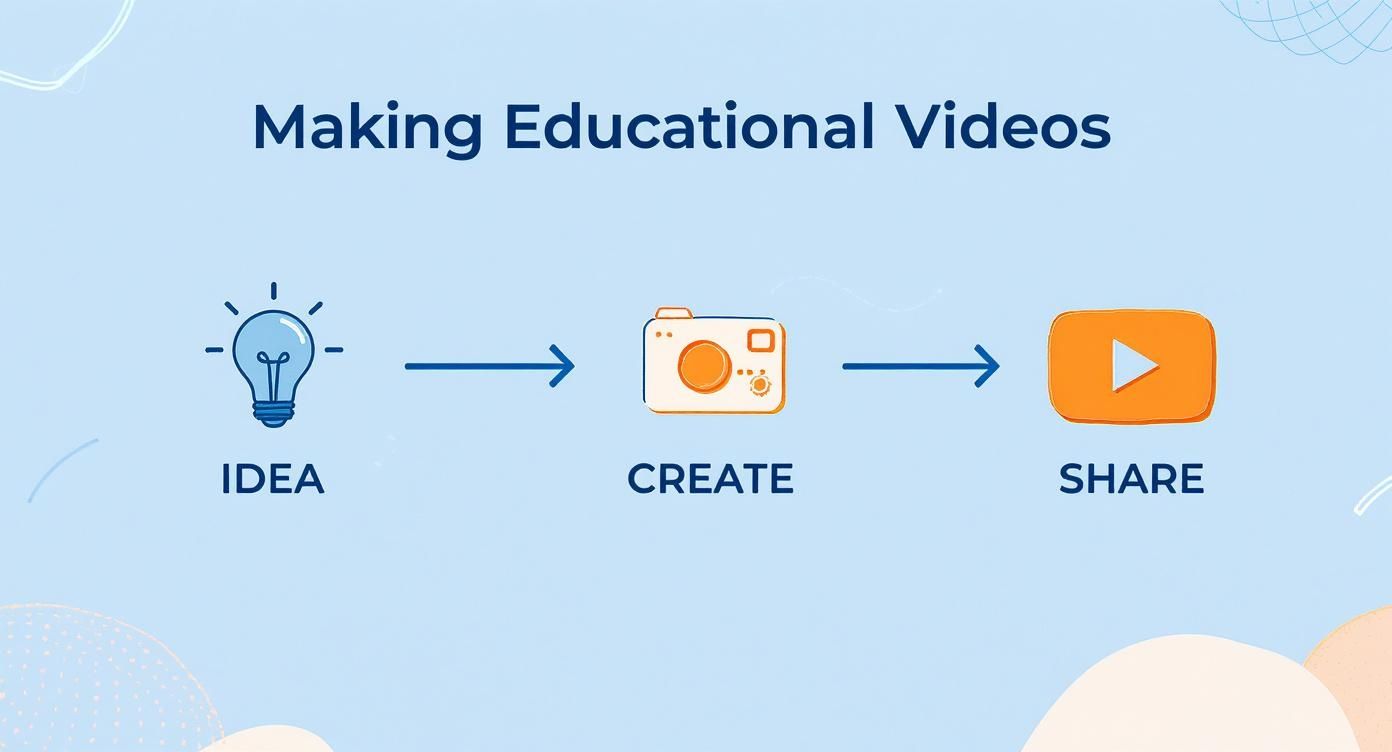
As you can see, a great idea is just the starting line. The real work is in the planning that happens before you ever get to production and sharing.
Define Your Learning Objective First
Every single video needs one, clear purpose. Trying to cram too much information into a single video is the fastest way to lose your audience.
Before you write a single word of your script, you need to finish this sentence: "By the end of this video, the viewer will be able to _________." That blank needs to be an action. Something measurable.
- Weak Objective: "Understand our new software."
- Strong Objective: "Log into the dashboard for the first time."
See the difference? The first one is vague and you can't really measure "understanding." The second is a concrete skill someone can immediately try and confirm they've learned. This focus is what makes your content genuinely useful.
A video without a clear learning objective is just noise. It might be interesting, but it won't be educational. Pinpointing a specific outcome is the most important step in the entire process.
Know Who You Are Talking To
Once your objective is locked in, you have to get inside your audience's head. Who is this for? Tailoring your tone, language, and examples to their needs is what makes the information stick.
Ask yourself a few questions about your ideal viewer:
- What’s their current knowledge level on this topic? Are they total beginners or seasoned pros?
- What problem are they actually trying to solve by watching this?
- What industry jargon will they understand, and what will just confuse them?
A tutorial for brand-new hires, for example, needs a slower pace and tons of step-by-step hand-holding. But a video for advanced users should cut the fluff and jump straight into the high-level troubleshooting they’re looking for.
Craft a Script That Flows Naturally
Even if you’re just making a quick, informal video, you need a script. Period. It stops you from rambling, makes sure you hit all your key points, and, most importantly, respects your viewer's time.
The key is to write for the ear, not the eye. Written text often sounds stiff and robotic when spoken. My advice? Read your script out loud. You'll instantly catch the awkward phrases and overly formal sentences. You want it to sound like you're explaining something to a friend over coffee.
For a simple structure that works wonders, try a two-column format. On the left, put your narration (what you'll say). On the right, describe the visuals (what the viewer will see). This forces you to think visually and ensures your on-screen actions perfectly match what you're explaining.
Visualize Your Shots with a Storyboard
You don't need to be an artist for this. A storyboard can be as simple as a sequence of rough sketches or even just a bulleted list outlining your video shot-by-shot. It’s all about visualizing the flow before you start recording.
This step is incredibly practical. It helps you figure out exactly what B-roll, graphics, or screen recordings you need to capture ahead of time. For a software tutorial, your "storyboard" might just be a list of the screens you plan to show, with notes on where to add an arrow or a zoom effect.
This bit of planning saves you from that gut-wrenching moment in the editing room when you realize you forgot to record a crucial step. By mapping out the visual journey first, you’ll end up with a much more polished video and save yourself the massive headache of reshoots.
Choosing the Right Gear for Your Budget
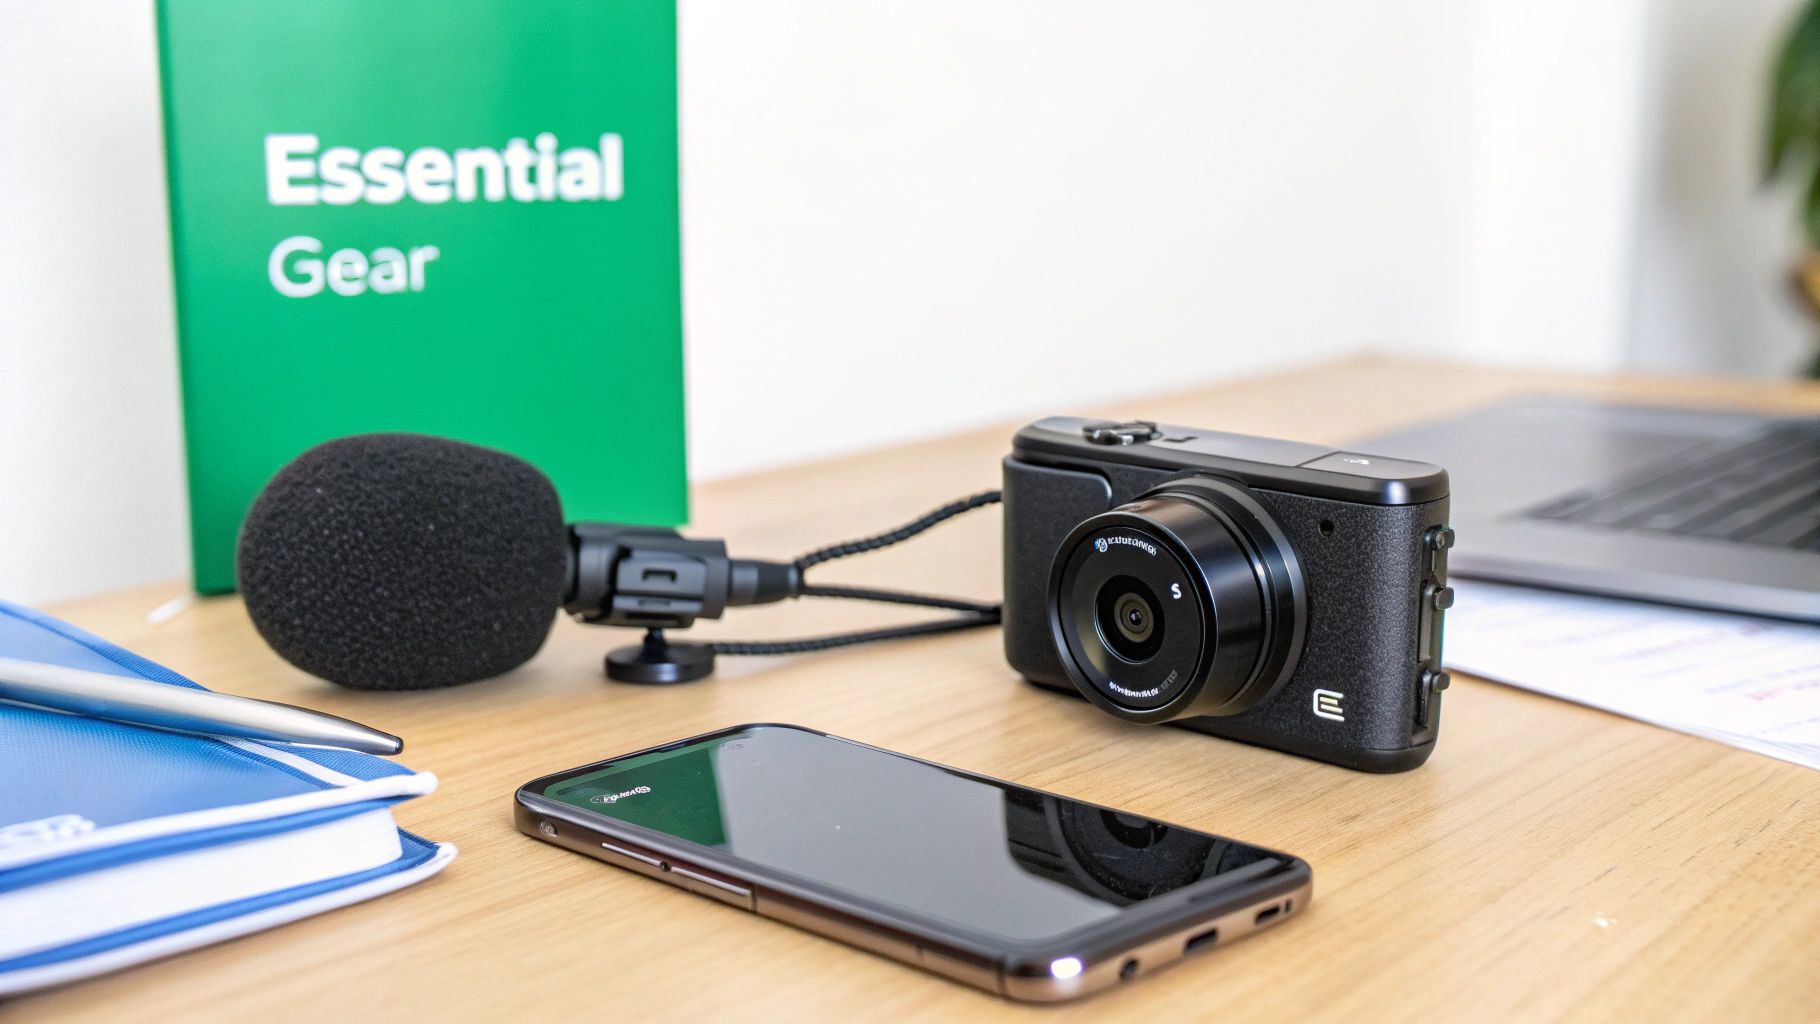
Feeling overwhelmed by the endless lists of tech specs and pricey equipment? Let's cut through the noise. You absolutely do not need a Hollywood-level studio to create compelling educational videos. The real secret is knowing where to focus your budget to get the biggest bang for your buck.
Remember, fantastic content will always trump expensive gear. That said, the right tools can seriously elevate your production value and make the whole creation process a lot less painful.
Start with the Camera You Already Own
Honestly, the best camera is probably the one in your pocket right now. Modern smartphones are absolute powerhouses, capable of shooting crisp 4K video with surprisingly good image stabilization.
Before you even think about dropping cash on a dedicated camera, get to know your phone’s video settings. Learn how to lock the focus and exposure, and for the love of all that is holy, always film horizontally. This gives you the standard 16:9 aspect ratio everyone expects on platforms like YouTube. This approach lets you prove your concept and build an audience before spending a single dollar on gear.
Your smartphone is more than capable of producing professional-looking footage. The real difference-maker isn't the camera body but the lighting you use and the audio you capture.
When you’re finally ready to upgrade, don’t feel like you need to jump straight to a high-end cinema camera. A great next step is a mirrorless camera with solid autofocus and a flip-out screen—that last feature is a lifesaver when you’re filming yourself and need to frame the shot.
Audio Quality Is Non-Negotiable
This is the hill I will die on: viewers will forgive a slightly grainy video, but they will never forgive bad audio. If your audience has to strain to hear you or gets distracted by echo and background hum, they're gone. Instantly.
Your camera's built-in microphone just won't cut it. It’s designed to pick up sound from every direction, which means it captures your voice along with every annoying echo, air conditioner hum, and distant siren.
Investing in a dedicated microphone is the single most important gear purchase you can make. Here are a few solid options for different setups and budgets:
- Lavalier (Lapel) Mic: These tiny mics clip right onto your shirt, keeping the microphone close to your mouth for crystal-clear audio. They're perfect for talking-head videos and are incredibly affordable.
- USB Condenser Mic: If you're recording voiceovers or screencasts at your desk, a USB mic like a Blue Yeti or Rode NT-USB will give you that rich, broadcast-quality sound.
- Shotgun Mic: These mics mount on top of your camera and are highly directional. They do a great job of focusing on the sound right in front of them while rejecting noise from the sides.
Whatever you choose, always record a quick test clip to check your audio levels before you hit record on the real thing.
Simple Lighting Makes a Huge Difference
Good lighting is what separates amateur-hour videos from professional-looking content. You don't need a complicated, three-point lighting setup to get started, but you do need to be intentional about how you light your scene.
The easiest and cheapest light source? A big window. Just position yourself so you're facing the window, letting that soft, natural light fall evenly on your face. Never, ever film with a bright window behind you—it’ll turn you into a dark, unrecognizable silhouette.
For a more controlled and consistent setup, a simple ring light is a fantastic and affordable investment. They provide soft, flattering light that eliminates harsh shadows. A single ring light placed in front of you can dramatically improve your video quality for a minimal cost.
Essential Software for Recording and Editing
Your editing software is where the magic happens. It’s where you’ll assemble your footage, slice out the mistakes, and add the final polish that makes your video shine. Luckily, some of the most powerful tools out there are completely free.
H3: Screen Recording Software
If your educational videos involve tutorials or software demos, you'll need a way to capture your screen cleanly.
- OBS Studio: This is the undisputed champ of free screen recording software. It's incredibly powerful, allowing you to create complex scenes with your webcam, screen capture, and other media sources. It has a bit of a learning curve, but it's well worth the effort.
- Built-in Tools: Don't overlook what's already on your computer. Both Windows (Xbox Game Bar) and macOS (Screenshot toolbar) have surprisingly capable built-in screen recorders that are perfect for simple captures.
H3: Video Editing Software
A good editor puts you in the driver's seat of your final product.
- DaVinci Resolve: The free version of DaVinci Resolve is more powerful than many paid programs. It’s an all-in-one suite with professional-grade color correction, audio post-production, and visual effects tools.
- OpenShot or Shotcut: If Resolve feels a bit intimidating, OpenShot and Shotcut are fantastic open-source alternatives. They're more beginner-friendly but still packed with all the essential features you need to get started.
The cost of producing a video can vary wildly depending on its complexity and whether you hire help. Learning to do it yourself is incredibly valuable because professional production isn't cheap.
Educational Video Style Cost Comparison Per Minute
This table breaks down the typical production costs for different educational video styles, giving you a ballpark idea of what you're saving by DIY-ing it.
| Video Style | Pre-Production Cost (Per Minute) | Production Cost (Per Minute) | Total Estimated Cost (Per Minute) |
|---|---|---|---|
| Infographic Animation | $200 - $250 | $500 - $550 | $700 - $800 |
| Complex 2D Animation | $300 - $400 | $1,100 - $1,500 | $1,400 - $1,900 |
| Live-Action Talking Head | $150 - $200 | $400 - $600 | $550 - $800 |
| Screencast with Voiceover | $50 - $100 | $150 - $250 | $200 - $350 |
As you can see, costs can stack up quickly. An infographic-style video might run you $700 to $800 per finished minute, while more complex animated videos can easily jump to $1,400 to $1,900 per minute. You can find more detailed breakdowns of these costs over at bluecarrot.io.
By investing a little time in learning the process and starting with the gear you already have, you can create high-quality content without breaking the bank.
Bringing Your Video to Life in Filming and Editing
This is where all that careful planning starts to pay off. With your script ready and your gear set up, it’s time to turn your ideas into an actual video. This part is less about chasing technical perfection and more about connecting with your audience and just being yourself on camera.
Your goal isn't to create a flawless Hollywood production on your first go. It's about delivering your message with confidence and getting clean footage that you can polish up in the editing room.
Mastering Your On-Camera Presence
Talking to a camera lens can feel weird at first, but your presence is what builds that bridge between you and your viewer. The trick is to stop thinking of it as a performance and start thinking of it as a conversation.
Imagine you're explaining this concept to a single, interested friend. That simple mental shift helps relax your body language and makes your delivery feel far more natural and engaging. Speak clearly, vary your tone, and don't be afraid to use hand gestures just like you normally would.
Pro Tip: Before you record the real thing, do a quick "warm-up" take. Just talk through your script's main points off the cuff. This helps shake off the nerves and makes your scripted delivery feel much less robotic.
Another simple trick is to look directly into the camera lens—not at yourself on the screen. This creates direct eye contact with your audience, making them feel like you’re speaking right to them. It’s a small detail that makes a massive difference in building that trust and connection.
Filming Techniques for a Smoother Edit
How you film has a huge impact on how easy (or painful) your editing process will be. A little forethought during the recording session can save you hours of headaches down the line.
One of the best techniques is to record in short, manageable chunks. Instead of trying to nail a ten-minute script in one perfect take, just record it paragraph by paragraph. Pause for a few seconds between each take—this creates clean breaks in your footage that are incredibly easy to slice and assemble later.
This approach also makes fixing mistakes a total breeze. If you stumble over a word, just take a deep breath, pause, and start that sentence or paragraph again. You can easily trim out the flub later without having to scrap the whole video.
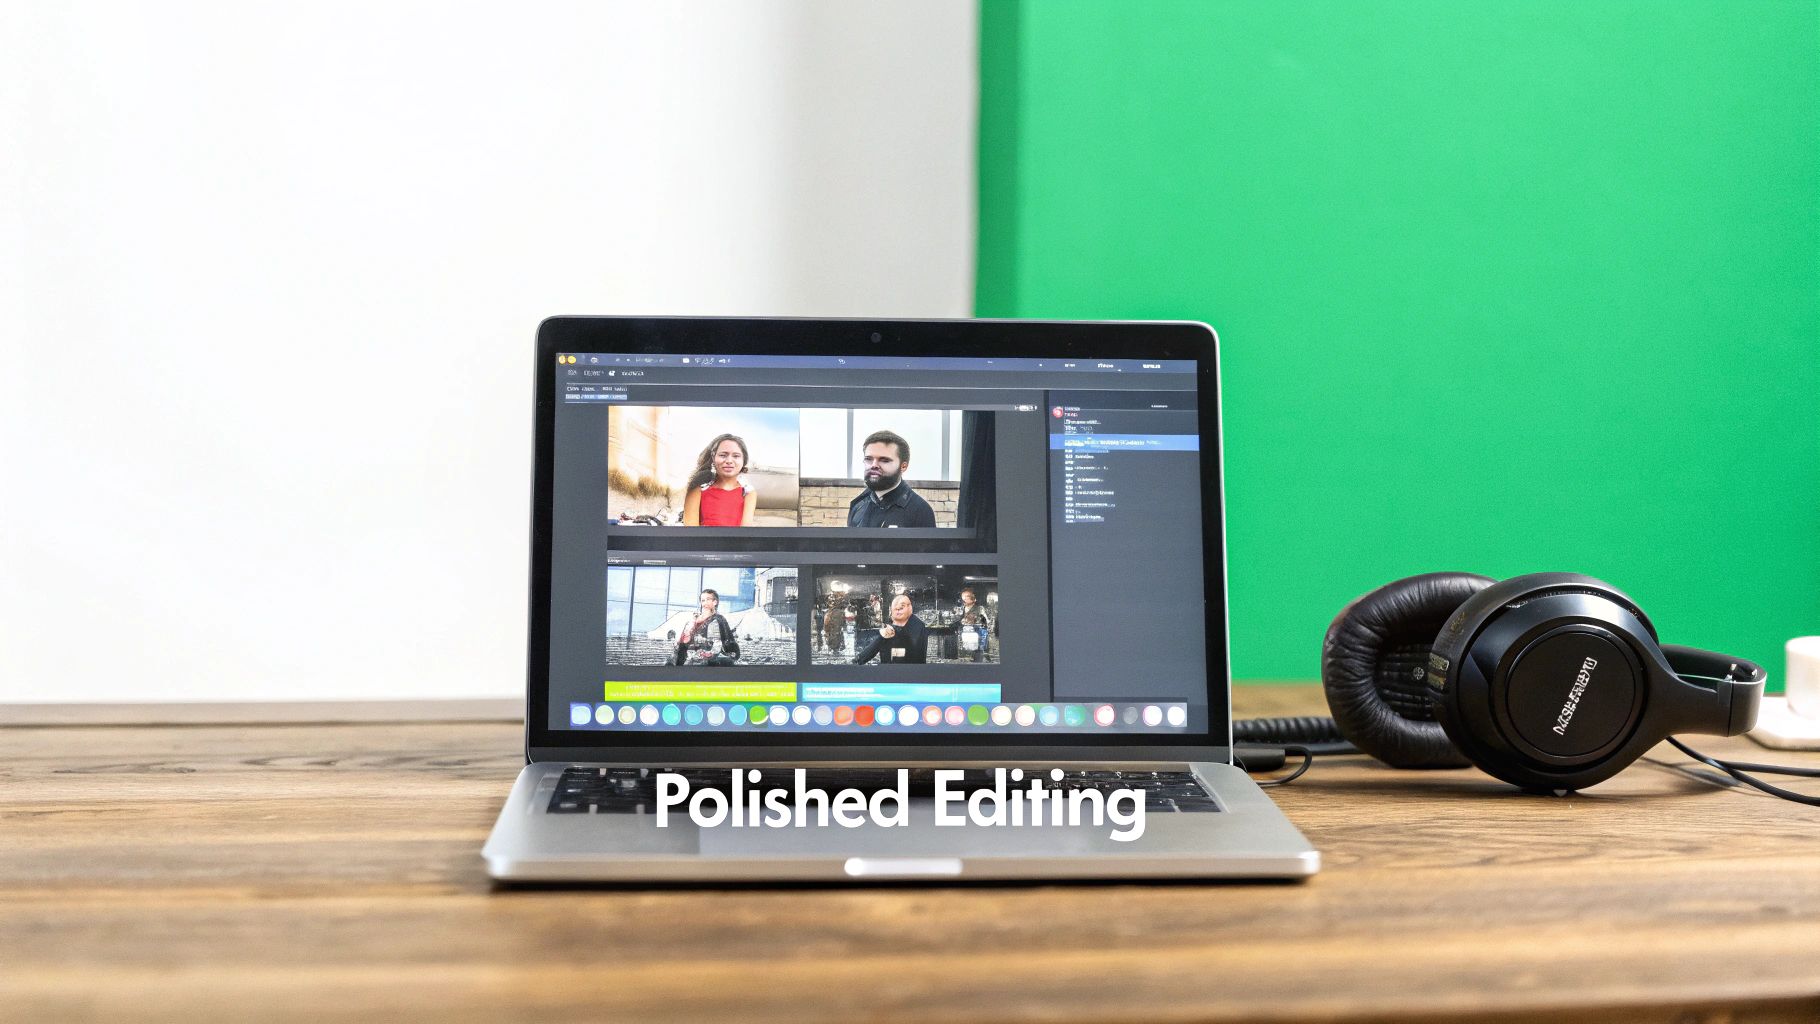
The Art of the Editing Workflow
Editing is where your raw clips get sculpted into a polished, professional video. It’s about more than just cutting out mistakes; it’s about pacing, emphasis, and making sure your message is crystal clear.
The first pass is what I call the "assembly cut." This is where you lay all your best takes onto the timeline in the correct order, trimming the fluff to create a rough but complete version of your video. Don't stress about perfection here—just get the core structure locked in.
Once you have your plan and equipment, the next step is bringing your vision to life by actually filming and editing your video. Focusing on techniques for creating engaging online course videos is essential for capturing and holding viewer attention. This includes everything from your on-camera delivery to the strategic use of visuals in the final edit.
Using B-Roll and Graphics to Enhance Learning
Once your main footage (your "A-roll") is assembled, it's time to add visual aids that really drive your lesson home. This is where you can make complex ideas stick.
B-roll is just any supplemental footage that illustrates what you're talking about.
- If you’re teaching a physical skill, show close-ups of your hands performing the action.
- For a software tutorial, use screen recordings of the interface.
- In a more conceptual video, you could use stock footage or simple animations to visualize an idea.
On-screen text and graphics are also incredibly powerful. Use them to:
- Highlight key terms: When you introduce a new concept, make the word appear on screen.
- Summarize steps: Display a numbered list to reinforce a process.
- Add context: Use callouts or arrows to point to specific areas in a screen recording.
That combination of spoken words and visual reinforcement is what makes video such an effective teaching tool. It engages multiple parts of the brain, leading to way better information retention. This is especially true in today's fast-paced world.
Mastering Your Audio in Post-Production
We’ve said it before, but it bears repeating: clear audio is non-negotiable. Even if your audio sounded pretty good during recording, the editing phase is your chance to make it sound fantastic.
Most video editing software includes basic audio tools that can make a world of difference.
- Noise Reduction: Use this to get rid of any persistent background hum from a fan or an air conditioner.
- Normalization: This adjusts the overall volume of your track to a consistent, standard level so your viewers aren't constantly fiddling with their volume controls.
- Equalizer (EQ): An EQ lets you adjust different sound frequencies. A simple boost to the mid-range can often make a voice sound richer and clearer.
Adding some subtle background music can also add a layer of professionalism, but use it sparingly. It should be quiet enough to sit comfortably underneath your voice without ever becoming a distraction.
For creators looking to speed up this whole process, there are plenty of modern tools that can help. You can find a great overview of options in our guide to the best AI video editing tools at https://timeskip.io/blog/ai-video-editing-tools, which covers software that can automate everything from cutting silence to balancing audio levels.
Getting Your Educational Video Seen
Creating a brilliant educational video is a massive win, but hitting "export" isn't the finish line. The truth is, a polished video is basically useless if no one ever finds it. Now it’s time to switch gears from creator to marketer and make sure your hard work actually gets seen.
This final stage is all about smart video SEO and strategic promotion. When you optimize your content for a search engine like YouTube, you attract the right viewers and build a real audience over time. It’s not about luck; it's about following a deliberate, repeatable process.
Optimizing Your Video for Discovery
Here's something a lot of people forget: YouTube is the second-largest search engine in the world, just behind Google. People are constantly searching for answers, and your video needs to be one of the top results they see. This all starts with treating your upload process with the same care you gave your script.
A keyword-focused title is your most powerful tool. It needs to be clear, compelling, and directly address the problem your video solves. Just think about what someone would actually type into the search bar.
- Weak Title: "Software Demo"
- Strong Title: "How to Set Up Your First Project in [Software Name] - Beginner's Guide"
The second title tells both the algorithm and the viewer exactly what to expect, making it far more likely to get the click.
Crafting a Description That Works for You
Your video description is prime real estate for SEO. So many creators just phone it in, but a well-written description does two critical things: it informs your viewer and gives YouTube’s algorithm crucial context.
Kick off your description with a clear summary of the video, making sure your main keyword is right there in the first sentence or two. From there, you can expand on the topics you cover. This is also the perfect spot to drop relevant links to your website, social media, or other resources you mentioned.
Don't just stuff a bunch of keywords into your description. Write for a human. The real goal is to provide value and context, which in turn helps search algorithms understand and rank your content.
You should also use this space to add timestamps or video chapters. Chapters break your video into easy-to-navigate sections, which dramatically improves the viewing experience for longer tutorials. This simple step can seriously boost your watch time, as people can jump right to the information they need. Tools like TimeSkip can even automate this for you, creating SEO-optimized chapters in seconds.
The Power of a Custom Thumbnail
Never, ever underestimate the power of a custom thumbnail. It’s often the single biggest factor in whether someone clicks on your video or the one next to it. Let’s be real, YouTube’s auto-generated thumbnails are usually blurry, awkward, and completely unappealing.
A great thumbnail should be:
- Bright and high-contrast: It has to pop on a crowded results page.
- Easy to read: Use bold, clear text that telegraphs the video's main benefit.
- Emotionally resonant: A clear shot of a person's face expressing an emotion (like excitement or focus) can do wonders for click-through rates.
Your thumbnail and title are a one-two punch. Together, they should create a cohesive package that sparks curiosity and promises a solution.
Promoting Your Video for Initial Momentum
Okay, your video is live and optimized. Now it's time to give it an initial push. The first 24-48 hours are critical. The YouTube algorithm is paying close attention to how a new video performs, and generating early viewership signals that your content is worth showing to more people.
Start by sharing your video with your existing audience.
- Email List: Shoot a dedicated email to your subscribers letting them know you’ve published a new resource.
- Blog Post: Embed the video directly into a relevant blog post. This is a great two-for-one—it promotes the video and increases the time visitors spend on your website.
- Social Media: Share the video across your social channels, but be sure to tailor the message for each platform.
This initial promotional burst helps build momentum and tells YouTube your video is worth recommending to a wider audience. If you want to go deeper, our guide on how to get your YouTube video noticed covers more advanced promotion techniques. By combining smart SEO with a little proactive promotion, you give your educational content the best possible chance to succeed.
A Few Common Questions About Making Educational Videos
Even with the best plan in the world, some questions always seem to pop up once you get into the weeds of creating educational videos. Let’s tackle some of the most common ones I hear, so you can clear those final hurdles and get your project over the finish line.
How Long Should an Educational Video Be?
Honestly? It should be as long as it needs to be, and not a single second longer. The perfect length is dictated entirely by your topic's complexity and where you plan on sharing it.
For a deep-dive tutorial on YouTube, a 10-15 minute video can do incredibly well, especially if you break it down with video chapters. But if you’re posting a quick tip on a social feed, you need to think more in the 2-5 minute range to keep people from scrolling past.
The real secret isn't some magic number—it’s about delivering value. Your job is to pack every minute with useful, practical information and be ruthless about cutting anything that feels like fluff.
What Is the Best Free Video Editing Software?
You absolutely don't need to spend a fortune to get a professional-looking result. In fact, some of the best tools out there are completely free and powerful enough for almost any educational video you can dream up.
- DaVinci Resolve: This is the heavyweight champion of free software. It offers professional-grade editing, industry-leading color correction tools, and even advanced audio post-production. It’s a complete suite that can grow with you.
- OpenShot and Shotcut: If Resolve feels a bit intimidating at first, these open-source editors are fantastic alternatives. They’re much more beginner-friendly but still handle all the essential editing tasks beautifully.
- OBS Studio: While it's not technically an editor, OBS is the undisputed king of free screen recording software. It's the standard for capturing your screen, but you'll need to pair it with an editor to finalize your project.
How Can I Make My Videos More Engaging on a Budget?
Engagement has very little to do with expensive gear and everything to do with connection. Your most powerful tools are your own genuine energy and a well-structured script. Passion for your subject is contagious, and it doesn't cost a dime.
Engagement is about clarity and personality. A clear, conversational delivery will always outperform a slick production with no heart. Speak with confidence, and your audience will listen.
To add some visual interest without spending money, try using simple on-screen text to emphasize key takeaways. During the edit, you can also vary your camera angle slightly or add a subtle zoom to keep the shot from feeling too static. These tiny changes make a huge difference in creating a more dynamic viewing experience.
Do I Really Need a Storyboard for a Simple Video?
You can definitely skip creating a frame-by-frame, artistic storyboard. What you can't skip is the planning it represents. A simple shot list or even a bullet-point outline of your visuals serves the exact same purpose.
This simple act forces you to think through how you're going to visually explain your topic before you ever hit record. It helps you capture all the footage you need in one go, preventing the massive headache of having to do reshoots later. For a screencast, this could be as basic as a numbered list of the screens you plan to show and the order you'll show them in. It's a lifesaver.
Ready to make your educational videos more discoverable and viewer-friendly? TimeSkip automates the creation of SEO-optimized YouTube chapters in seconds, boosting visibility and retention. Try it for free and see the difference. Get started with TimeSkip.
